
 Save to Pinterest
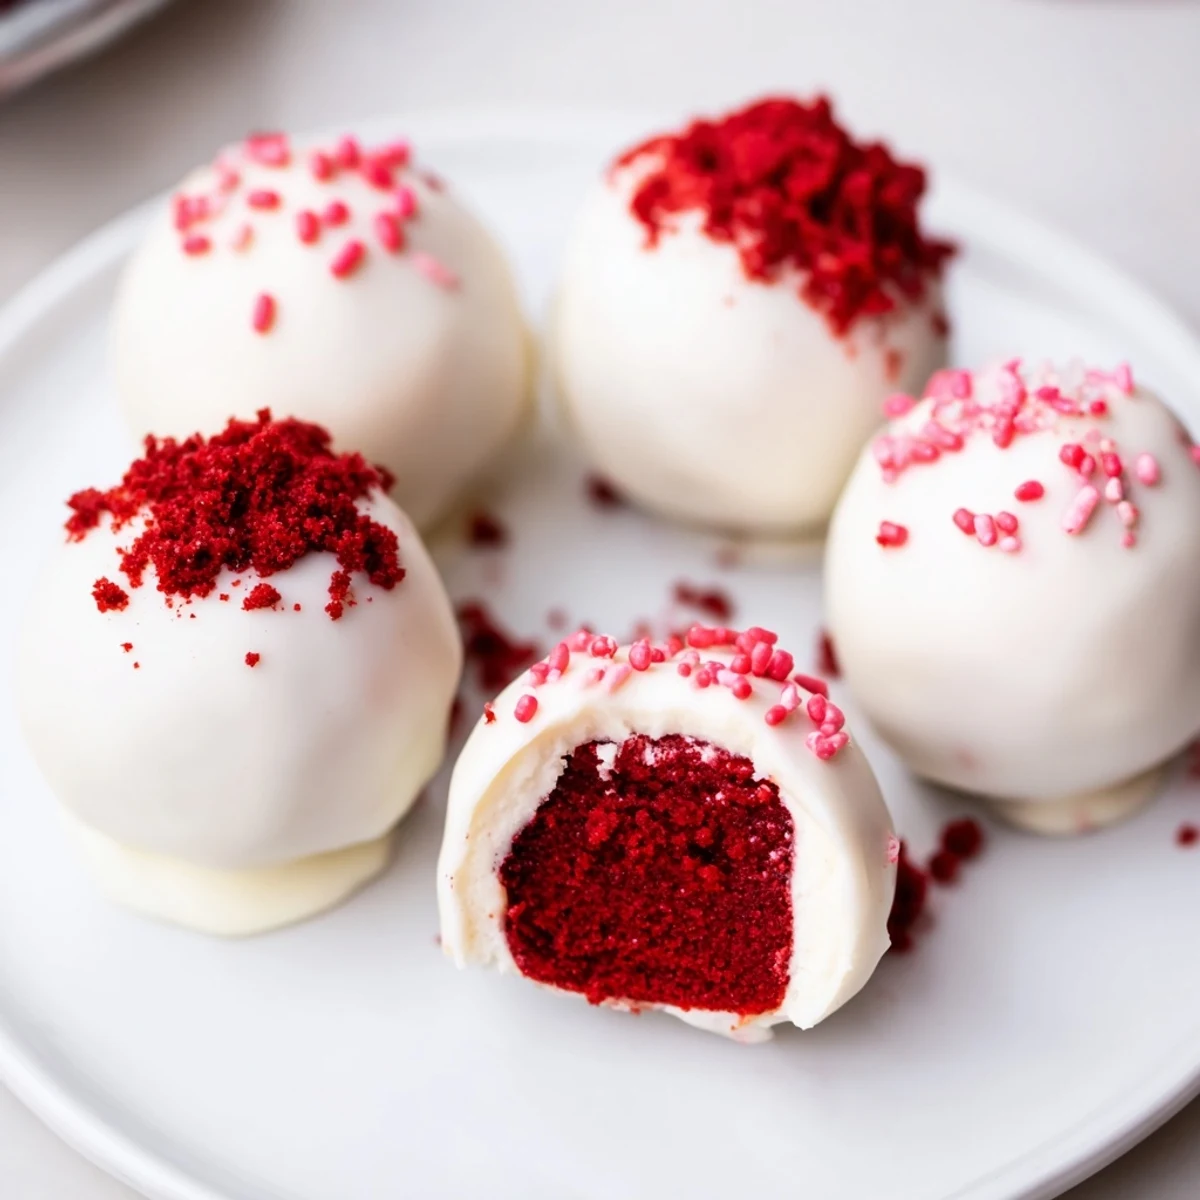
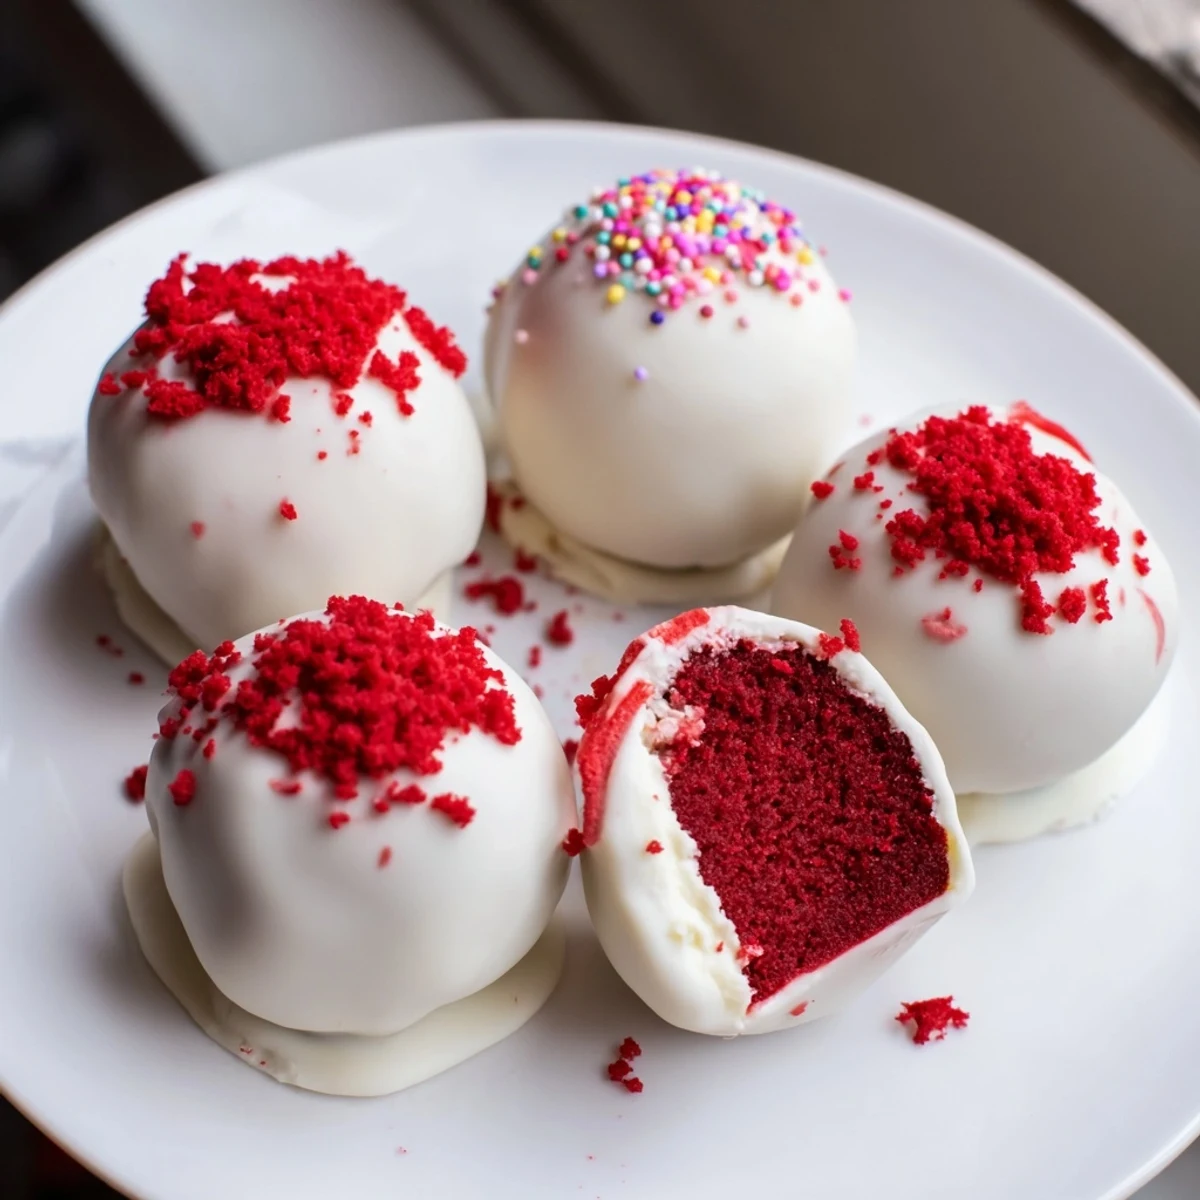
 Crumble baked red velvet into fine crumbs and fold in a smooth cream cheese mixture of powdered sugar and vanilla. Scoop and roll into tablespoon-sized balls, then chill at least one hour to firm. Melt white or dark chocolate and dip each ball, letting excess drip before decorating with crumbs or sprinkles. Keep chilled; adds nuts or coconut for texture.
The kitchen smelled like cocoa and sugar the afternoon my niece declared she wanted something red and fancy for her birthday, something that would look like it came from a bakery window. I had leftover red velvet cake in the fridge and a block of cream cheese that needed using, so I started crumbling and mixing with zero plan. Two hours later, there were two dozen glossy chocolate dipped balls lined up on parchment paper and a very happy seven year old dancing around the counter.
I brought a tray of these to a holiday potluck once and watched three adults hover near the dessert table pretending to chat while casually reaching for seconds and thirds. That is the highest compliment any food can receive.
Ingredients
- 300 g red velvet cake (fully baked and cooled): Store bought works beautifully here, and honestly the slightly denser texture of a boxed cake crumbles and binds better than some homemade versions I have tried.
- 200 g cream cheese (softened): Let it sit out for at least thirty minutes so it blends without lumps, because smooth filling is the whole point.
- 40 g powdered sugar: Just enough sweetness to round out the tang of the cream cheese without making the filling cloying.
- 1 tsp vanilla extract: A small amount but it bridges the flavor gap between the cake and the cream cheese beautifully.
- 250 g white chocolate: Use a decent quality bar rather than chips, since chips contain stabilizers that make melting unpredictable and coating frustrating.
- Red food coloring (optional): A drop or two in the white chocolate gives a lovely pink or red shell that makes these feel extra festive.
- Red velvet crumbs or sprinkles (optional): Save a handful of cake crumbs before mixing for decorating, it is a small touch that makes the finished balls look intentional and polished.
Instructions
- Crumble the cake:
- Break the red velvet cake into a large bowl and use your fingers or a fork to reduce it to fine, even crumbs, working through any stubborn dense spots until the texture is uniform.
- Whisk the filling:
- In a separate bowl, beat the softened cream cheese, powdered sugar, and vanilla until completely smooth and lump free, scraping down the sides once or twice to be sure.
- Combine everything:
- Pour the cream cheese mixture over the crumbs and stir, mash, and fold until you have a soft dough that holds together when you pinch it between your fingers.
- Roll into balls:
- Scoop tablespoon sized portions and roll them gently between your palms, placing each one on a parchment lined tray with a little space between them.
- Chill thoroughly:
- Slide the tray into the refrigerator for at least one hour so the balls firm up enough to handle without losing their shape during dipping.
- Melt the chocolate:
- Warm the white chocolate in a microwave safe bowl in short twenty second bursts, stirring between each, until it flows smoothly, then stir in food coloring if using.
- Dip and coat:
- Drop each chilled ball into the melted chocolate, roll it gently to cover completely, lift it out with a fork letting excess drip back into the bowl, and return it to the parchment.
- Decorate quickly:
- While the chocolate is still wet, scatter crumbs or sprinkles over the tops before the shell sets and nothing wants to stick anymore.
- Let them set:
- Leave the finished balls at cool room temperature or pop them back in the fridge until the coating is firm and dry to the touch.
 Save to Pinterest
 The batch I made for my niece became the thing she requested every single year after, and eventually her friends started asking for them too. Somewhere along the way, a messy afternoon experiment turned into a tradition I did not see coming.
Choosing Your Chocolate Coating
White chocolate gives the most striking visual contrast against the deep red interior, but dark or semisweet chocolate creates a richer, more grown up flavor that balances the sweetness of the cake. I have done half and half on the same tray for parties, and people love having the option to pick their preference. If you go with dark chocolate, a tiny pinch of flaky sea salt on top before it sets is a quiet detail that makes people close their eyes when they take a bite.
Storing and Make Ahead Advice
These keep beautifully in an airtight container in the refrigerator for up to five days, and the texture actually improves after the first day as everything settles together. You can also freeze them for up to a month, though I recommend letting them thaw uncovered so condensation does not ruin the glossy finish. For parties, I make them two days ahead and store them layered between sheets of parchment so they do not stick to each other.
Fun Variations to Try
Once you have the basic method down, the variations are honestly the best part of this recipe. Mix crushed pecans or toasted coconut into the filling for extra texture, or roll the finished balls in cocoa powder instead of dipping them in chocolate for a truffle style finish.
- Try adding a teaspoon of espresso powder to the cream cheese filling for a subtle mocha undertone.
- Swap the vanilla extract for peppermint during the holidays and watch how fast they disappear.
- Always taste your cake before crumbling, because a dry cake will need slightly less cream cheese to avoid an overly soft dough.
 Save to Pinterest
 Roll up your sleeves, accept that your kitchen will be briefly chaotic, and enjoy the process. The moment someone bites through that chocolate shell into the soft center, every minute of effort pays for itself.
Recipe FAQ
- → How long do the balls keep in the fridge?
-
Store in an airtight container in the refrigerator for up to 5 days. Keep them chilled to maintain a firm center and prevent the coating from softening.
- → Which chocolate works best for coating?
-
White, dark, or semisweet chocolate all work well. Tempering or adding a small amount of coconut oil helps achieve a smooth, glossy shell that sets evenly.
- → How can I make the balls firmer before dipping?
-
Chill the formed balls for at least an hour or briefly freeze them (10–15 minutes) so the centers are firm; this prevents them from falling apart when dipped.
- → Can I use homemade red velvet cake instead of store-bought?
-
Absolutely. Use any fully baked and cooled red velvet cake crumbled into fine crumbs. Homemade cake often yields a fresher flavor and better texture.
- → What are quick decoration ideas?
-
While the coating is still wet, sprinkle on cake crumbs, nonpareils, chopped nuts, or shredded coconut. A drizzle of contrasting chocolate also creates an attractive finish.
- → Can these be frozen for longer storage?
-
Freeze on a tray until solid, then transfer to a sealed container for up to 1 month. Thaw in the refrigerator before serving to avoid condensation on the coating.