
 Save to Pinterest
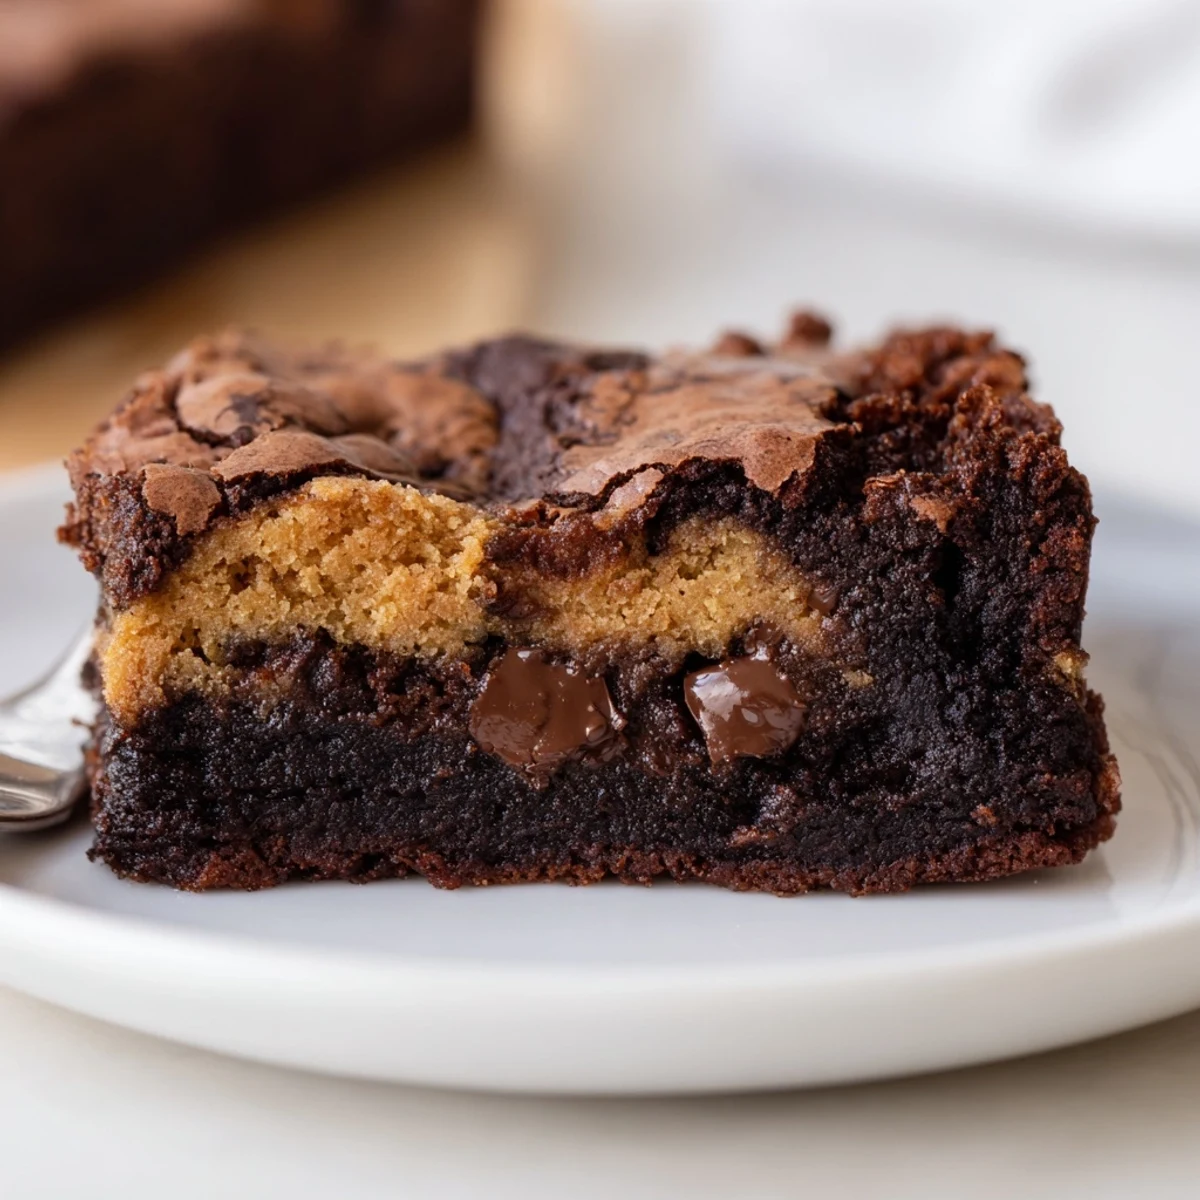
 Layer a fudgy cocoa batter beneath a soft, chocolate-chip cookie dough to create brookies with a crisp top and gooey center. Melted butter, sugar and eggs form the brownie base; a creamed butter-sugar and flour mixture with chocolate chips creates the cookie layer. Bake 28–33 minutes at 175°C (350°F), cool fully before slicing. For gooier bars, slightly underbake and chill briefly; add nuts or swap chips to vary the flavor.
The oven door had barely clicked shut when my kitchen filled with that impossible smell: butter browning at the edges and cocoa blooming into something deep and dark. I was trying to settle a debate between two friends who had been arguing about brownies versus cookies for an entire road trip. So I made both, in one pan, and called it a truce. That pan of brookies disappeared in under fifteen minutes.
I brought a batch of these to a potluck once and watched a very serious pastry chef go back for thirds before the main course was even served. She cornered me later and asked, with zero shame, for the recipe. That moment told me everything I needed to know about the persuasive power of chocolate layered on chocolate.
Ingredients
- For the brownie layer:
- Unsalted butter (115 g, melted): Browning it slightly before mixing adds a nutty depth that plain melted butter cannot match.
- Granulated sugar (200 g): This amount keeps the brownie layer fudgy rather than cakey, so resist the urge to reduce it.
- Large eggs (2): Room temperature eggs blend more smoothly into the warm butter mixture and prevent streaks.
- Vanilla extract (1 tsp): A full teaspoon matters here because it rounds out the cocoa and makes the chocolate taste richer.
- All purpose flour (65 g): Measure by weight if you can, because even a small overshoot turns a fudgy brownie into something dry.
- Unsweetened cocoa powder (30 g): Dutch processed gives a smoother darker flavor, but natural cocoa works beautifully too.
- Salt (1/4 tsp): Just enough to sharpen the chocolate without making itself noticed.
- For the cookie layer:
- Unsalted butter (115 g, softened): Leave it out for about an hour so it creams properly and traps air for a lighter chew.
- Brown sugar (100 g, packed): The molasses in brown sugar is what gives the cookie layer its signature soft bend.
- Granulated sugar (50 g): A smaller amount helps the tops get those golden crisp edges.
- Large egg (1): Binds the cookie dough and adds richness without weighing it down.
- Vanilla extract (1 tsp): Use the real stuff if you have it, because the flavor carries through the cookie top beautifully.
- All purpose flour (150 g): Spoon and level gently to keep the cookie layer tender.
- Baking soda (1/2 tsp): Gives the cookie dough just enough lift to puff slightly while staying chewy underneath.
- Salt (1/2 tsp): A slightly higher amount here balances the brown sugar sweetness perfectly.
- Chocolate chips (110 g): Semi sweet chips are classic, but dark chocolate chunks create those gorgeous melty pockets.
Instructions
- Preheat and prep:
- Set your oven to 175 degrees C (350 degrees F) and line a 20x20 cm baking pan with parchment paper, leaving an overhang on two sides like handles. This little trick saves you from ever having to dig a stuck brownie out of a pan again.
- Build the brownie base:
- In a medium bowl, whisk the melted butter and sugar together until glossy. Drop in the eggs and vanilla, whisking until the mixture looks smooth and slightly thickened. Gently fold in the flour, cocoa powder, and salt until you see no dry streaks, then spread this dark batter evenly across the bottom of your lined pan.
- Make the cookie dough:
- Beat the softened butter, brown sugar, and granulated sugar together until the mixture looks creamy and lighter in color. Stir in the egg and vanilla until everything is cohesive. Add the flour, baking soda, and salt, mixing until just combined before folding in the chocolate chips by hand.
- Layer it up:
- Drop spoonfuls of the cookie dough over the brownie batter and use a spatula to nudge it into an even layer. It is perfectly fine if some brownie peeks through because those spots become the best gooey patches.
- Bake until just right:
- Slide the pan into the oven and bake for 28 to 33 minutes, watching for a golden cookie top and a toothpick that comes out with a few moist crumbs clinging to it. Pull it sooner rather than later because brookies continue to set as they cool.
- Cool and slice:
- Let the pan sit completely at room temperature before using the parchment handles to lift the whole slab out. A cold knife makes cleaner cuts if presentation matters to you.
 Save to Pinterest
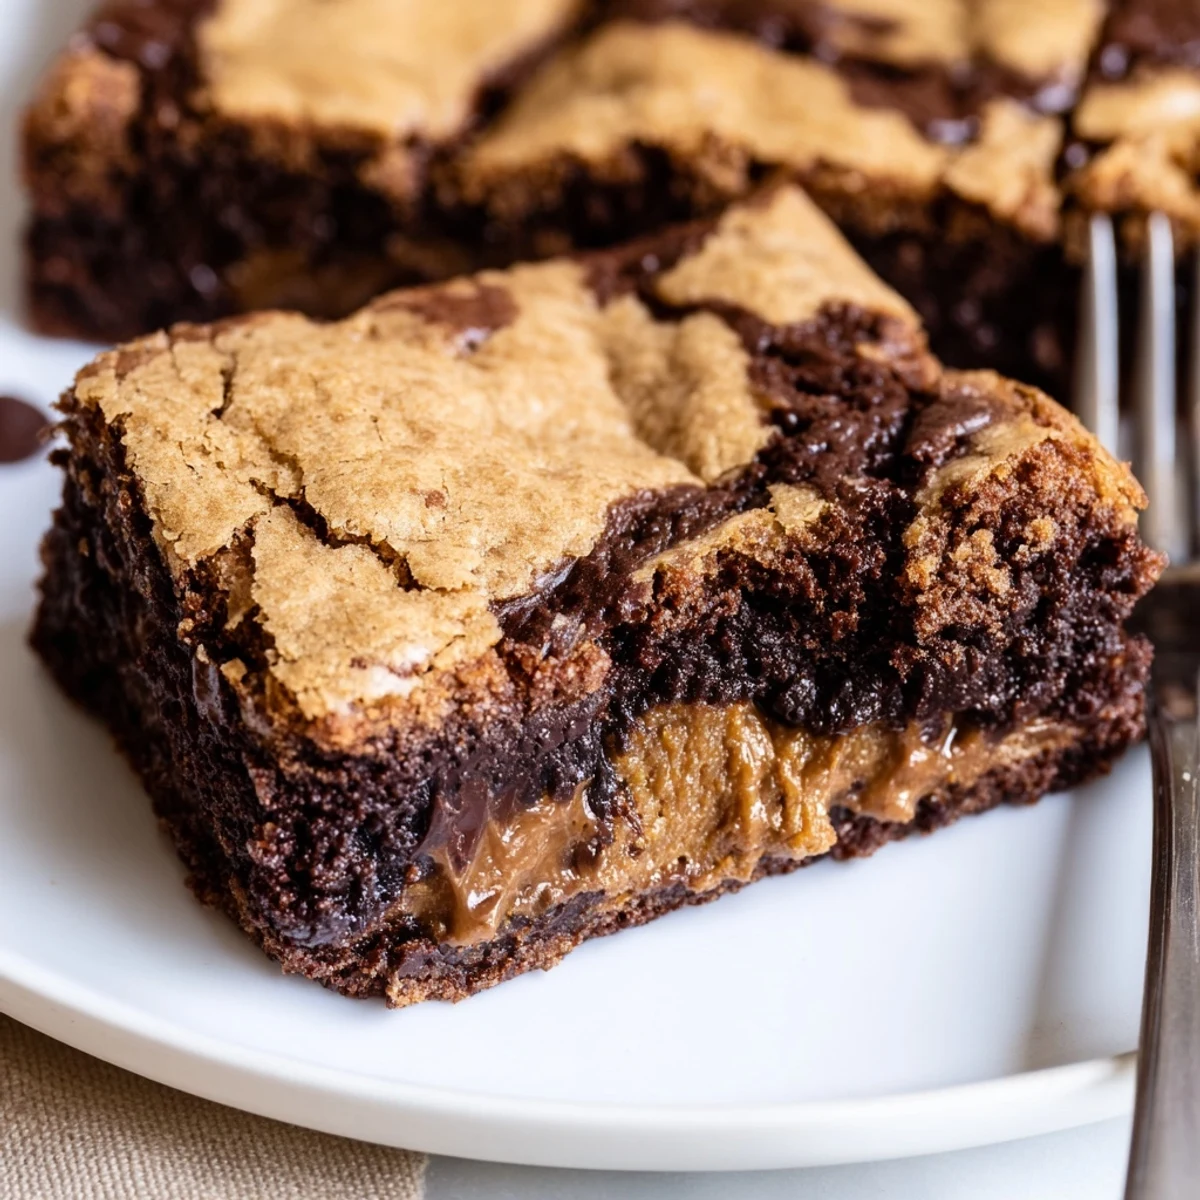
 The first time I served these still slightly warm, the cookie top pulled away from the brownie bottom in the most beautiful stretchy mess. Nobody cared about neat squares, they just grabbed forks and dove in right over the cutting board.
When to Make Brookies
These bars shine at bake sales, birthday parties, late night kitchen raids, and any moment that calls for something unapologetically indulgent. I have made them for holidays, rainy Sundays, and once at midnight for no reason at all. They fit every occasion because people rarely say no to two desserts stacked together.
Swaps and Variations
Try folding chopped walnuts or pecans into the cookie dough for a satisfying crunch against the soft brownie layer. Butterscotch chips instead of chocolate chips create a completely different flavor profile that tastes like a blondie met a brownie. You can also add a teaspoon of espresso powder to the brownie batter to deepen the chocolate without adding any coffee taste.
Serving and Storing
A warm brookie bar with a scoop of vanilla ice cream slowly melting on top is the kind of thing that makes people close their eyes at the table. Store leftover bars in an airtight container at room temperature for up to four days, though they rarely last that long in my house.
- Freeze individual bars wrapped tightly in plastic wrap for up to three months and thaw them at room temperature when cravings strike.
- A ten second warm up in the microwave brings back that fresh baked softness even on day three.
- Always label your container if you are hiding them in the freezer, or someone will mistake them for leftover lasagna and be very confused.
 Save to Pinterest
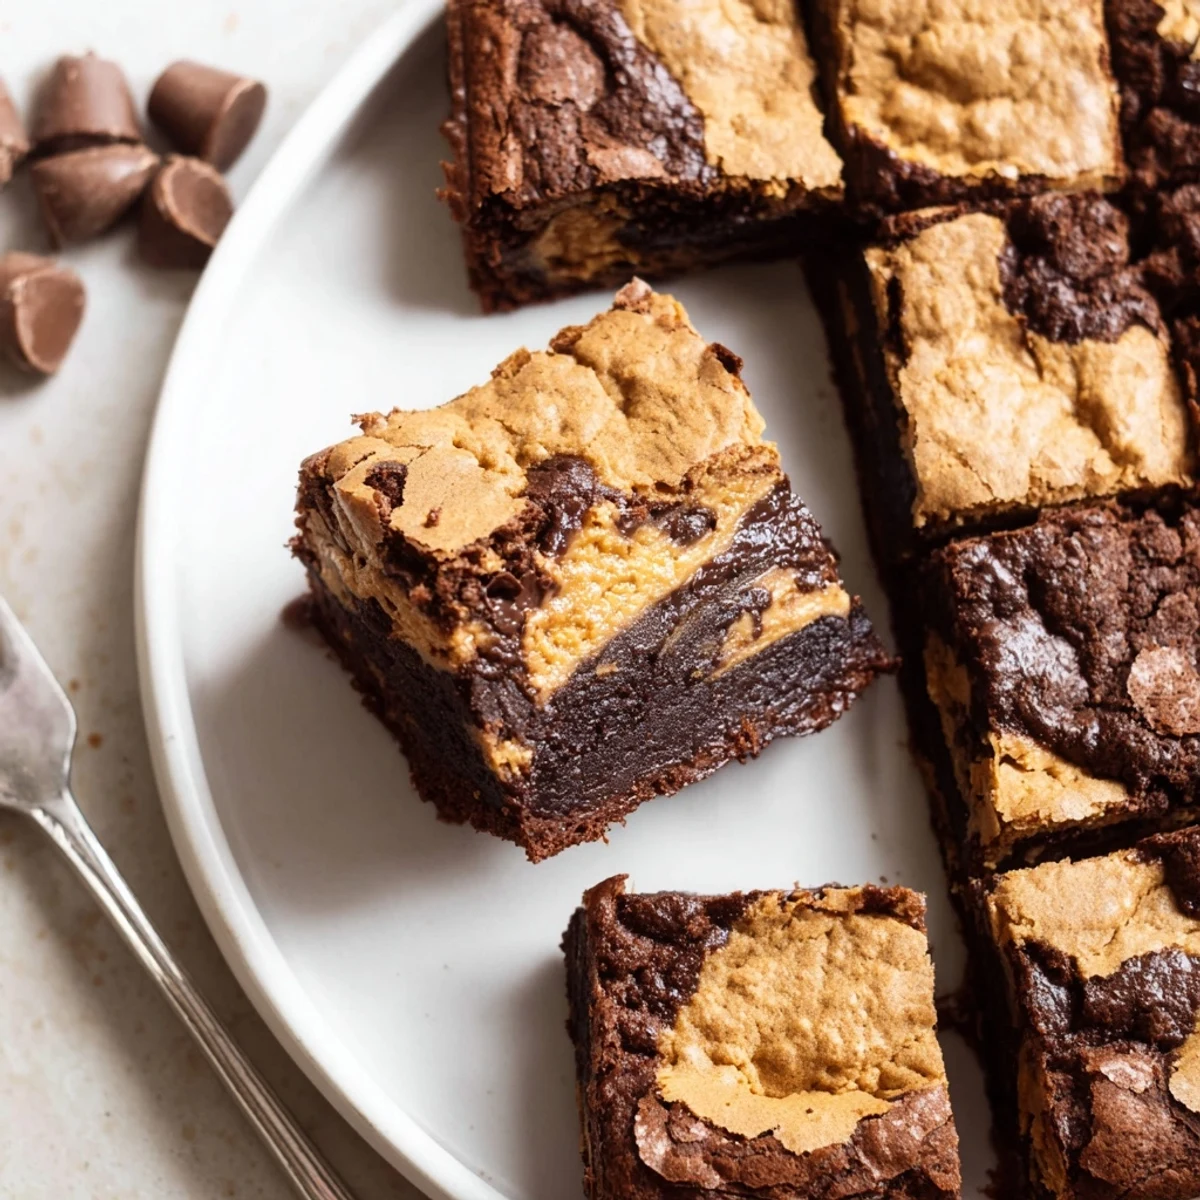
 Every batch of brookies reminds me that sometimes the best thing you can do in the kitchen is refuse to choose just one thing. Make them once and you will understand why two layers will always be better than one.
Recipe FAQ
- → How do I achieve a gooey center?
-
Remove from the oven when the cookie layer is golden but a toothpick still shows a few moist crumbs from the brownie beneath. Cool completely in the pan, then chill briefly before slicing to set the center while preserving fudginess.
- → What's the best way to layer the cookie dough over the brownie batter?
-
Drop spoonfuls of cookie dough across the brownie batter and gently spread with an offset spatula or the back of a spoon. It’s fine if some brownie peeks through—this helps create the marbled brookie effect.
- → How should I store and reheat the bars?
-
Store airtight at room temperature for up to 3 days or refrigerate up to 5 days. Freeze in a single layer, wrapped, for up to 3 months. Reheat briefly in a low oven or microwave a few seconds to revive the gooey texture.
- → Can I swap ingredients for dietary needs?
-
Use a gluten-free flour blend in place of all-purpose flour and dairy-free butter and chocolate chips to reduce dairy; egg substitutes will alter texture and may yield denser bars. Make small test batches to fine-tune ratios.
- → How can I tell when the bars are done without overbaking?
-
Look for a golden cookie top and check the center with a toothpick—aim for a few moist crumbs rather than a clean pick to keep the brownie layer fudgy. Avoid long additional bake time to prevent drying.
- → What happen if I change the pan size?
-
An 8x8 inch pan yields thicker, chewier bars; using a larger pan will make them thinner and shorten bake time by several minutes—watch closely and test early to avoid overbaking.