
 Save to Pinterest
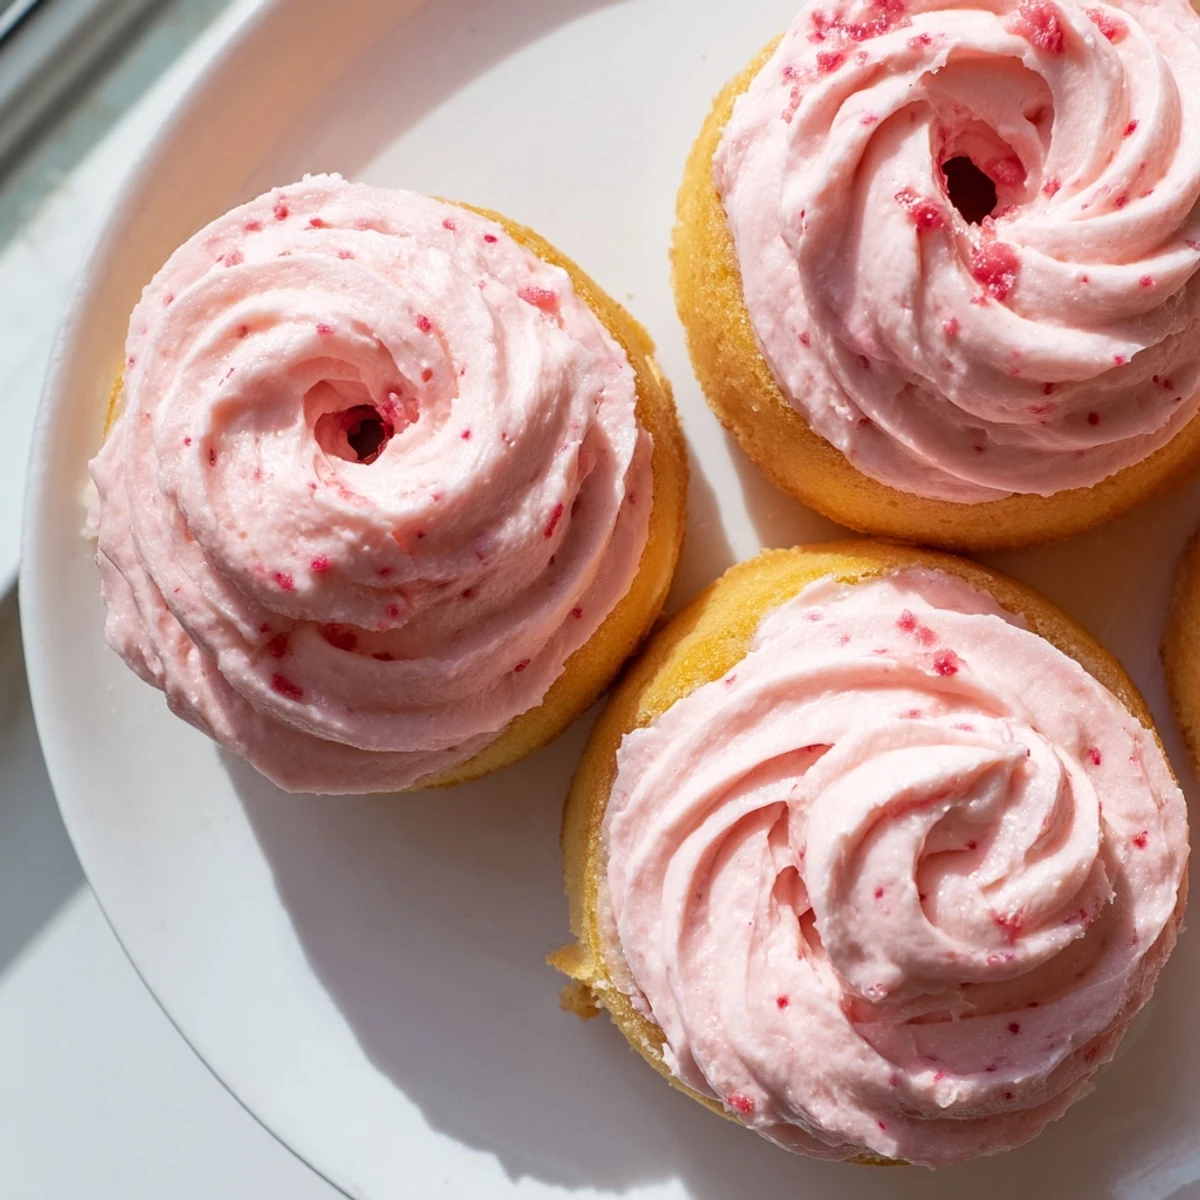
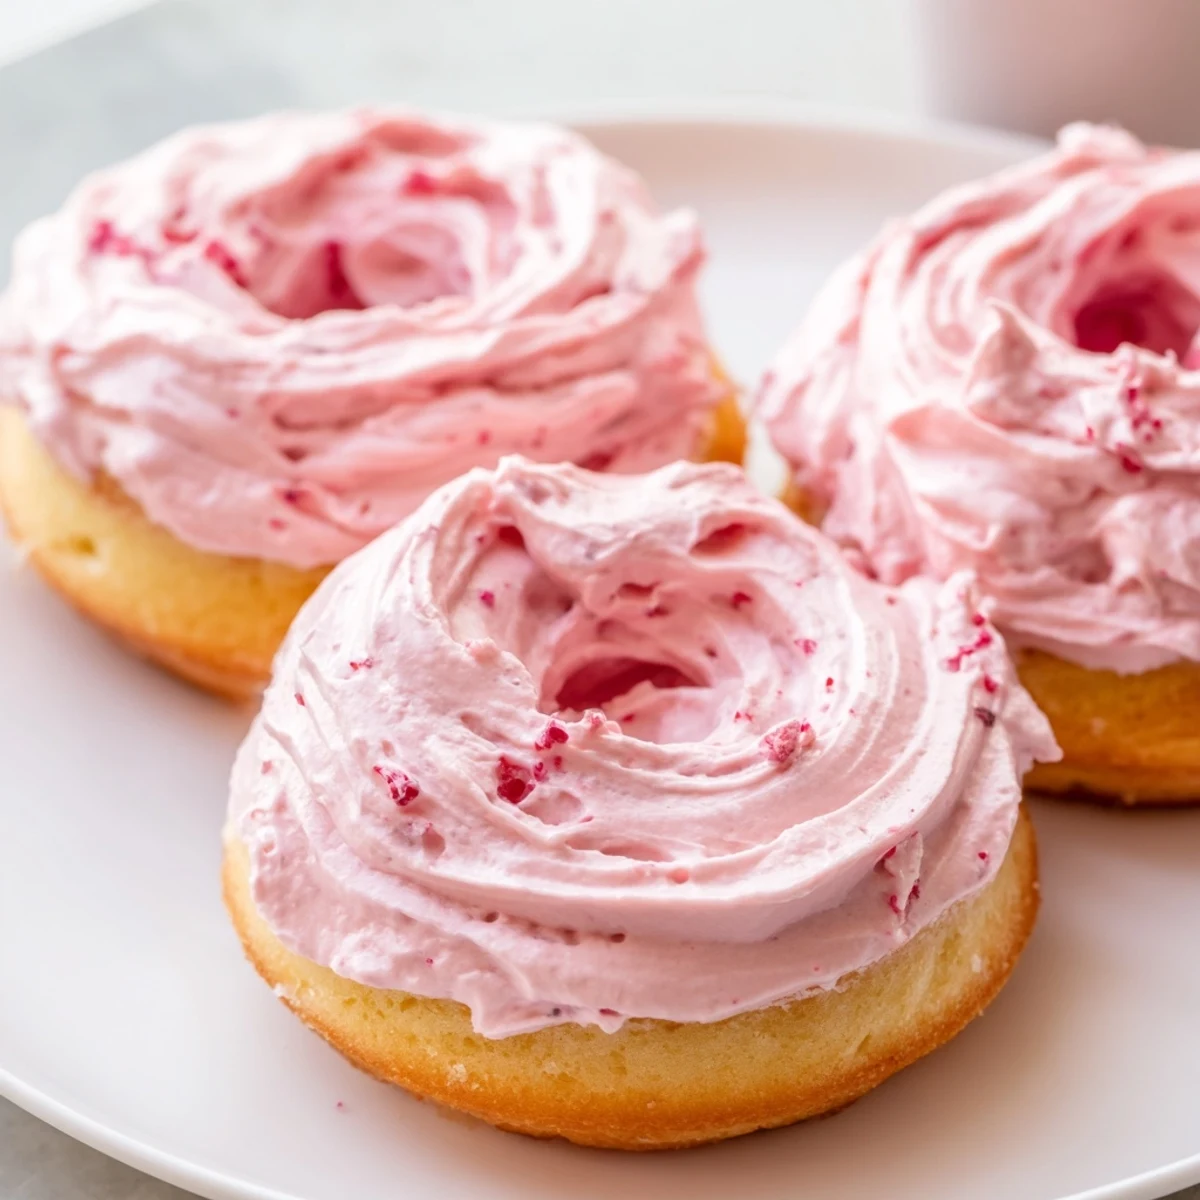
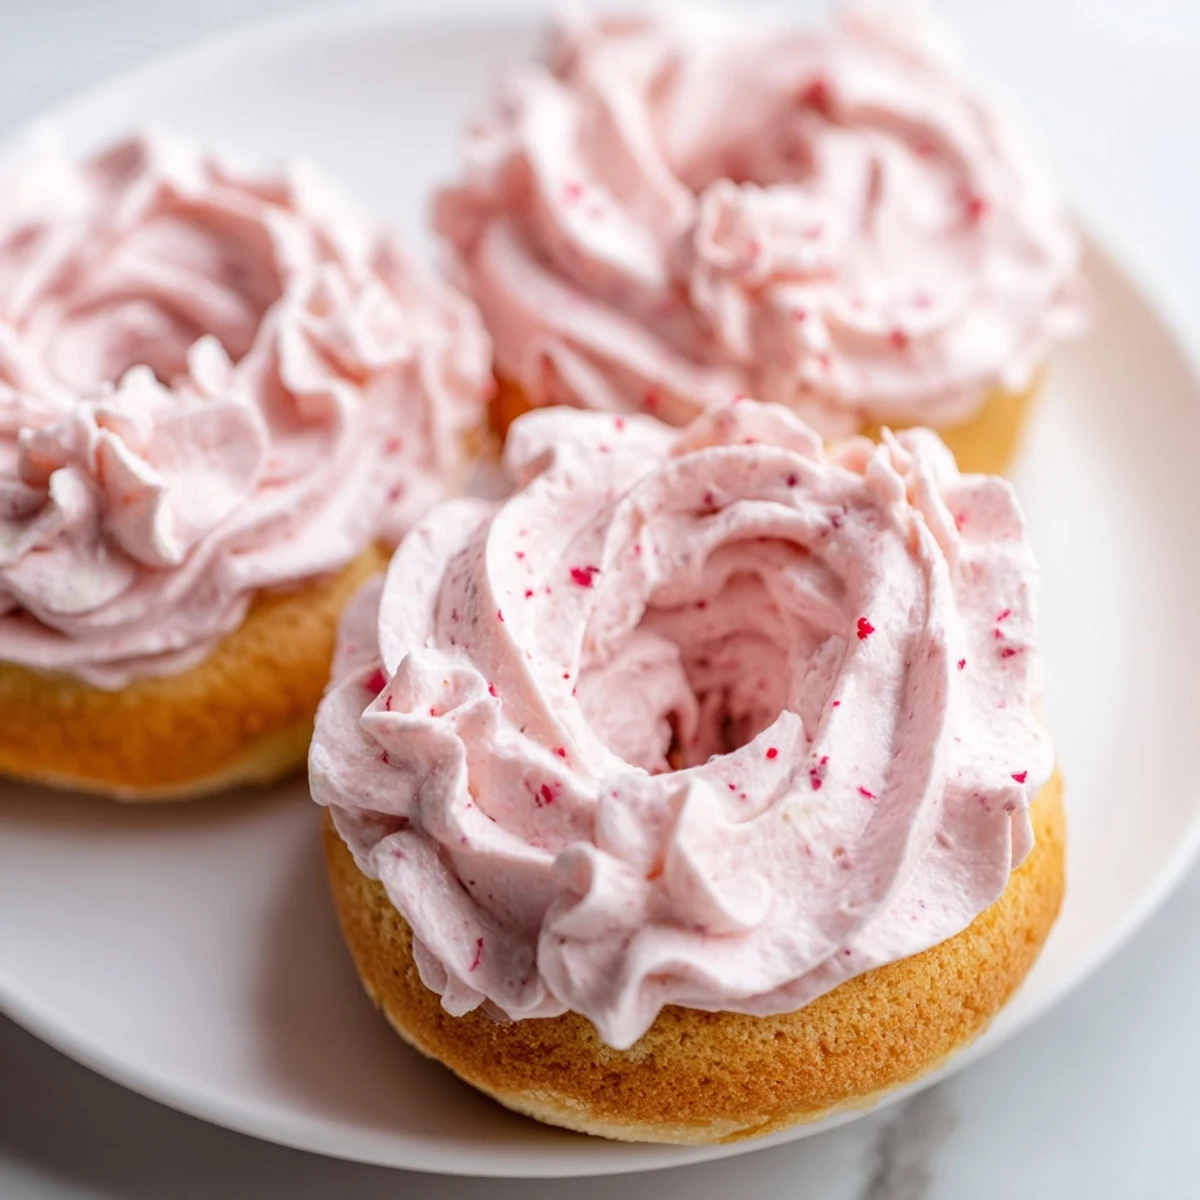
 These strawberry buttercream frosted donuts are soft, moist baked treats topped with a pillowy pink strawberry frosting. Made with simple pantry staples like flour, sugar, eggs, and butter, they come together in just 40 minutes from bowl to plate.
The donut batter is gently mixed to keep them tender, then baked in a standard donut pan until golden. The buttercream gets its fruity flavor and natural pink hue from fresh strawberry puree blended right into the frosting.
Perfect for weekend brunches, birthday celebrations, or whenever you want something sweet and homemade. Pipe or spread the frosting on cooled donuts for a bakery-worthy finish.
The batter hit the donut pan with a soft plop, and my daughter pressed her nose right up against the oven door watching them rise like tiny golden crowns. There is something absurdly satisfying about baking donuts at home instead of frying them, and the smell that fills the kitchen is warm and sweet without being heavy. Strawberry buttercream on top felt almost theatrical the first time I tried it, a soft pink swirl that made everyone gasp before they even took a bite. These have since become the unofficial centerpiece of every lazy Saturday morning in our house.
One rainy Sunday my neighbor stopped by unannounced just as I was piping the frosting onto the last batch. She ended up sitting at the kitchen counter for an hour, eating two donuts and telling me about her garden, while my daughter licked the leftover frosting straight from the bowl. It was one of those effortless afternoons that only happen when something warm is sitting on the counter.
Ingredients
- All-purpose flour (1 1/4 cups, 160 g): Provides the structure, and spooning it into the cup rather than scooping prevents dense donuts.
- Granulated sugar (1/2 cup, 100 g): Just enough sweetness in the base without competing with the frosting.
- Baking powder (1 1/2 tsp): Gives the donuts their lift in the oven since there is no yeast involved.
- Salt (1/4 tsp): A small amount that sharpens every flavor in the batter.
- Milk (1/2 cup, 120 ml): Whole milk makes the crumb tender, but any milk you have on hand will work fine.
- Large eggs (2): Bind everything together and contribute to the moist texture.
- Unsalted butter, melted (1/4 cup, 60 g): Adds richness without the sogginess that oil can sometimes create.
- Vanilla extract (1 tsp): Rounds out the flavor of the donut itself.
- Unsalted butter, softened (1/2 cup, 113 g) for frosting: The foundation of the buttercream, so make sure it is truly at room temperature.
- Powdered sugar (2 cups, 240 g): Creates that silky frosting texture, and sifting it prevents unwelcome lumps.
- Strawberry puree (3 tbsp): Blended fresh or frozen strawberries give the frosting its real fruit flavor and blush color.
- Vanilla extract (1/2 tsp) for frosting: Enhances the strawberry flavor in a subtle way.
- Salt (pinch) for frosting: Balances the sweetness so the frosting never tastes one-dimensional.
- Optional pink food coloring: Only needed if you want a more vivid pink than the puree provides on its own.
Instructions
- Warm up the oven:
- Preheat to 375 degrees F (190 degrees C) and grease your donut pan generously so nothing sticks later. Let the oven fully reach temperature before putting anything inside.
- Whisk the dry team together:
- In a large bowl, combine the flour, sugar, baking powder, and salt with a whisk until evenly distributed. You want no pockets of baking powder hiding in corners.
- Blend the wet ingredients:
- In a separate bowl, whisk the milk, eggs, melted butter, and vanilla until smooth and slightly frothy on top. The butter should be cooled enough that it does not scramble the eggs.
- Marry the two mixtures:
- Gently fold the wet into the dry and stop as soon as you see no more dry flour streaks. Overmixing is the enemy here and will give you tough little rings instead of tender ones.
- Fill the pan:
- Spoon or pipe the batter into each donut cavity until about two-thirds full, leaving room for them to rise. An uneven fill leads to lopsided donuts, which still taste fine but look a bit funny.
- Bake until golden:
- Slide the pan into the oven for 13 to 15 minutes, checking with a toothpick at the 13-minute mark. A clean toothpick means they are done, and a few golden spots on top are a good sign.
- Cool them properly:
- Let the donuts rest in the pan for 5 minutes, then gently turn them out onto a wire rack to cool completely. Frosting a warm donut is a guaranteed mess.
- Make the strawberry buttercream:
- Beat the softened butter with a mixer until creamy and pale, then gradually add the powdered sugar until light and fluffy. Add the strawberry puree, vanilla, salt, and food coloring if using, then beat until everything is smooth and spreadable.
- Frost and finish:
- Once the donuts are completely cool, spread or pipe the frosting over the tops in generous swirls. A piping bag gives a neater look, but a spatula and a confident hand work just as beautifully.
 Save to Pinterest
 The moment my daughter carefully placed a frosted donut on a plate and carried it to her grandmother with both hands, I realized these were never just a weekend project.
What to Know About Baked Donuts
Baked donuts have a texture closer to a tender cake than the crispy fried versions from a bakery case. They are lighter and slightly less sweet on their own, which is exactly why the strawberry buttercream works so well as a pairing. The tradeoff is that they do not keep as long, so plan to share them or eat them within a day or two.
Choosing Your Strawberries
Fresh strawberries at peak season will give you the most fragrant puree, but frozen berries work surprisingly well and are available year round. Thaw frozen berries completely and drain off any excess liquid before blending so your frosting does not turn runny. A pinch of sugar blended into tart berries can help round out the flavor before you add the puree to the buttercream.
Serving and Storing
Arrange the frosted donuts on a platter for a beautiful presentation, or stack them on a tiered stand if you are feeling fancy. They pair perfectly with a cup of coffee or a cold glass of milk, and a few fresh strawberries scattered on the plate make everything look intentional.
- Keep leftovers in a single layer if possible, as stacking causes the frosting to smudge.
- Refrigerate if your kitchen is warm, but bring them back to room temperature before eating.
- Avoid covering them tightly with plastic wrap directly on the frosting.
 Save to Pinterest
 Make these once and they will quietly become the thing everyone asks for at every gathering. That pink frosting has a way of turning an ordinary morning into something worth remembering.
Recipe FAQ
- → Can I make these donuts without a donut pan?
-
Yes, you can use a muffin tin instead. Fill the cups about halfway with batter and reduce the baking time slightly, checking at around 10–12 minutes. The shape will be different but the taste remains the same.
- → Can I use frozen strawberries for the buttercream frosting?
-
Absolutely. Thaw frozen strawberries completely and blend them into a smooth puree. Strain out excess liquid if needed so the frosting doesn't become too soft. Frozen strawberries work just as well as fresh ones.
- → How should I store leftover frosted donuts?
-
Store them in an airtight container at room temperature for up to one day. For longer storage, refrigerate for up to two days, but let them sit at room temperature for about 15 minutes before serving to soften the buttercream.
- → Can I make the donut batter ahead of time?
-
It's best to bake the batter right after mixing since the baking powder activates once combined with wet ingredients. However, you can prepare the strawberry buttercream frosting a day ahead and refrigerate it, then re-whip before using.
- → Why did my donuts turn out dense instead of fluffy?
-
Overmixing the batter is the most common cause. Stir the wet and dry ingredients together until just combined—some small lumps are perfectly fine. Also make sure your baking powder is fresh and active for the best rise.
- → Can I pipe the batter into the donut pan for cleaner results?
-
Yes, transferring the batter to a piping bag or a zip-top bag with a corner snipped off gives you much more control. It fills the pan evenly and prevents messy spills over the center hole.