 Save to Pinterest
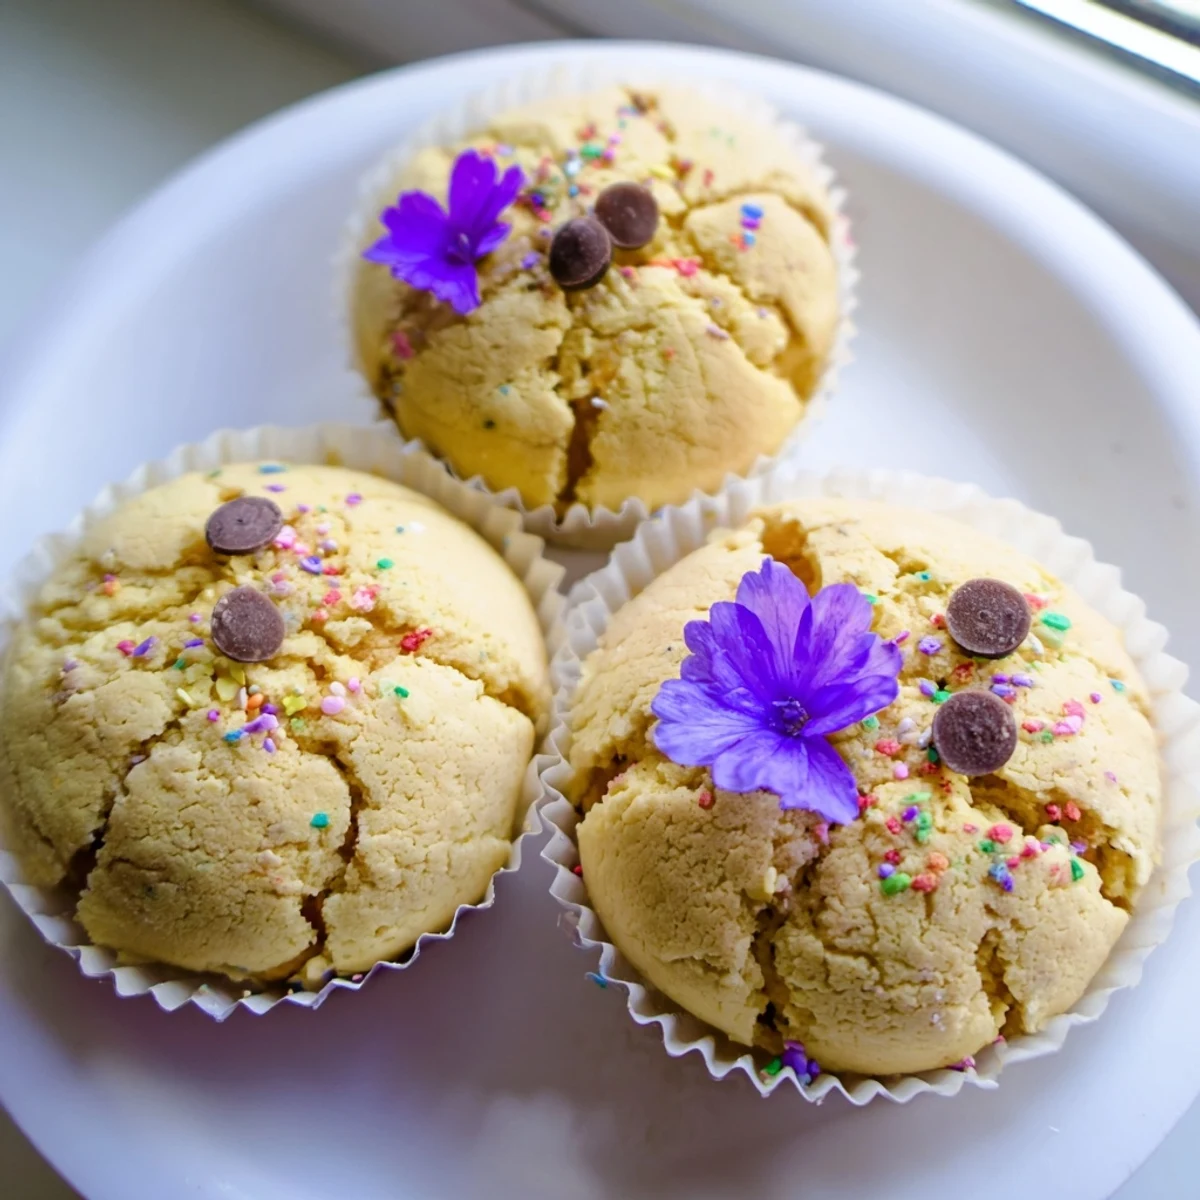
 These steamed cupcakes offer a clever alternative to traditional baking, delivering incredibly moist and tender results with a unique blooming appearance. The stovetop method creates perfectly fluffy treats in just 15 minutes of cooking time, ideal for anyone without oven access or seeking quicker dessert preparation.
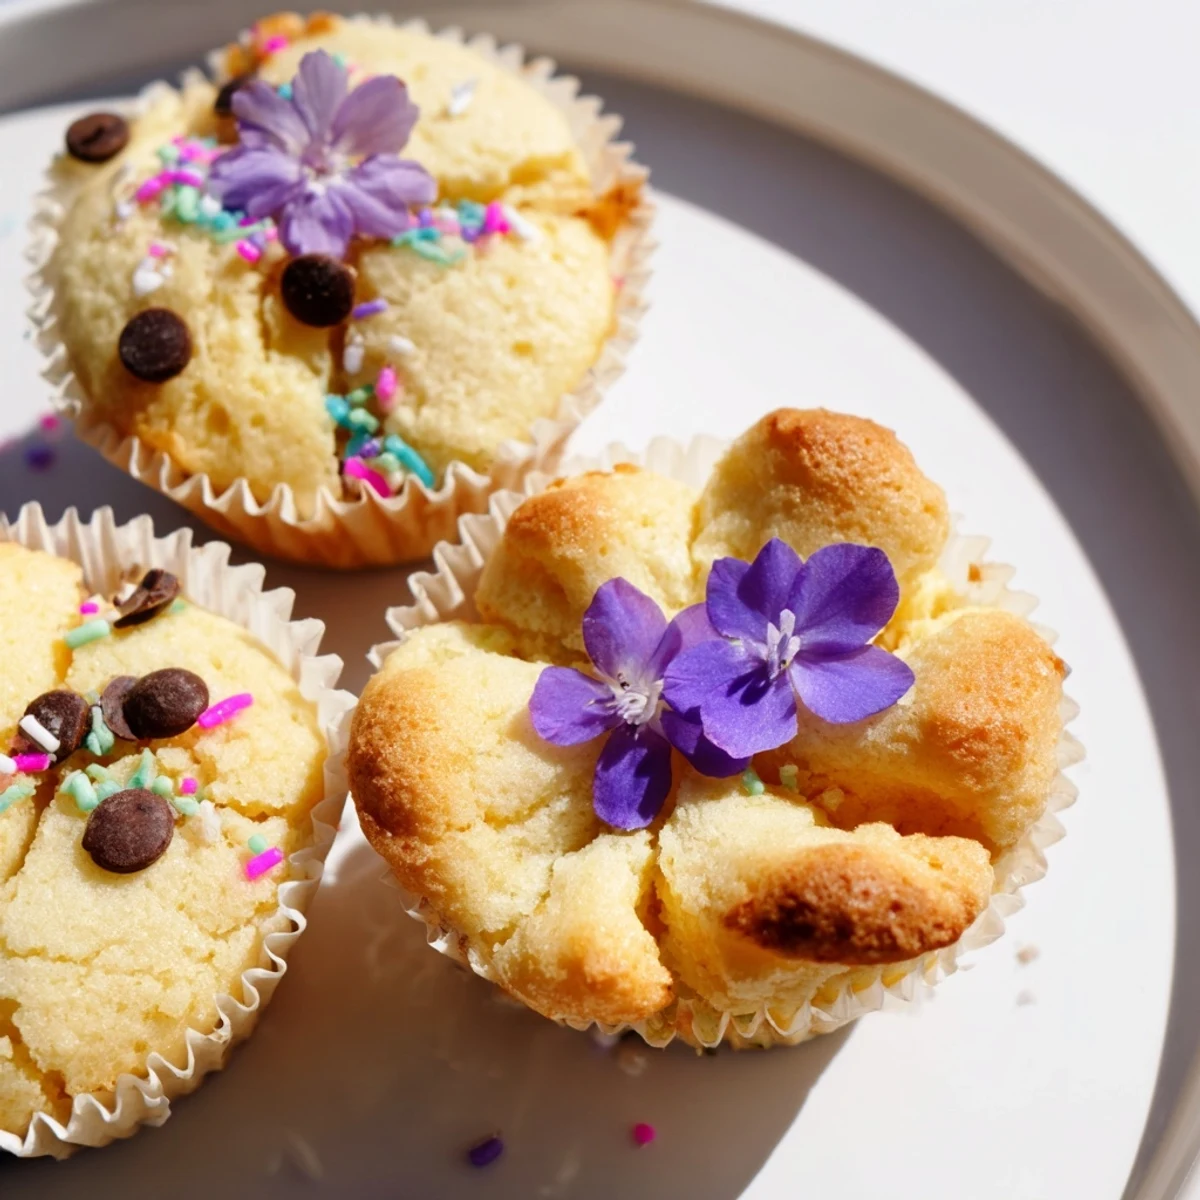
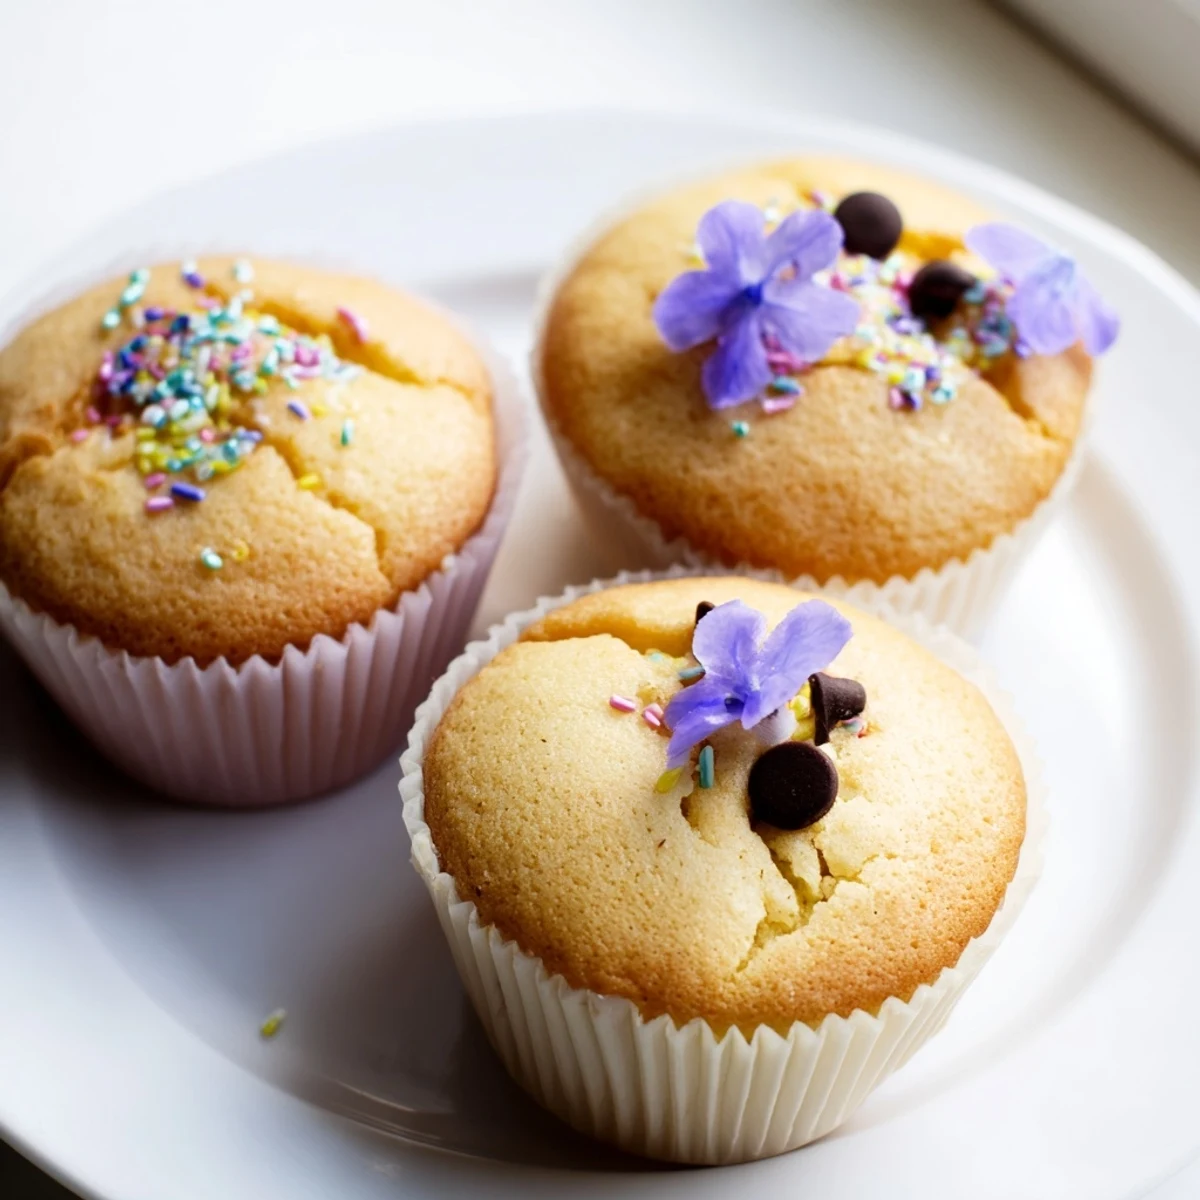
The magic happens during steaming, where the batter rises and creates a beautiful cracked top resembling a blooming flower. You can customize with natural food colorings, matcha, or beet powder for stunning visual effects. The method prevents condensation from affecting texture by covering the steamer lid with a clean cloth.
Perfect for beginners and experienced cooks alike, these versatile cupcakes work with various dietary modifications including gluten-free flour and plant-based milk alternatives. The result is consistently moist, tender treats that rival any oven-baked version.
The summer our oven died unexpectedly, I discovered the magic of steamed cakes in my grandmothers kitchen. She pulled out her trusty bamboo steamer and promised me something magical was about to happen. Watching those cupcakes rise and crack open like tiny flowers in the steam felt like witnessing a small kitchen miracle. Now even with a perfectly working oven, I still find myself reaching for the steamer.
Last summer my niece was obsessed with baking but our apartment AC had given up completely. We made these steamed cupcakes in her favorite colors, watching steam fog up the kitchen windows while rain poured outside. She declared them better than any bakery cupcakes and honestly, I had to agree with her.
Ingredients
- All-purpose flour: The structure builder here, sift it if you can for extra lightness
- Baking powder and soda: Your blooming agents, make sure they are fresh for the best rise
- Salt: Just a pinch to wake up all the flavors
- Granulated sugar: Creates the tender crumb and helps those tops crack beautifully
- Eggs: Room temperature eggs beat up fluffier and incorporate better
- Whole milk: Adds richness and keeps the crumb moist
- Melted butter: Butter gives better flavor than oil, but oil works too if you prefer
- Vanilla extract: Pure vanilla makes everything taste homemade and special
Instructions
- Get your steamer ready:
- Fill your steamer with water and bring it to a gentle simmer while you prepare the batter. Line your cupcake molds with paper liners.
- Whisk the dry ingredients:
- In a medium bowl, combine flour, baking powder, baking soda, and salt until well blended.
- Beat the eggs and sugar:
- In a large bowl, beat eggs and sugar until pale and thick, about 3 minutes. Add milk, melted butter, and vanilla extract.
- Fold everything together:
- Gradually fold the dry ingredients into the wet mixture until just combined. The batter should be smooth but do not overmix.
- Add some color if you want:
- Divide batter and fold in food coloring. Layer different colors in the molds or swirl gently for a marbled look.
- Fill your molds:
- Spoon batter into prepared cupcake molds, filling each about three quarters full to allow room for blooming.
- Steam with care:
- Place molds in steamer with space between them. Cover the lid with a clean cloth to catch condensation.
- Watch the magic happen:
- Steam over medium heat for 12 to 15 minutes until a toothpick comes out clean and tops have bloomed.
- Finish with fun:
- Let cool slightly then decorate with sprinkles, edible flowers, or chocolate chips as desired.
 Save to Pinterest
 These became my go to birthday treat for my friend who lives in a dorm without an oven. She told me the smell of steaming vanilla takes her back to childhood mornings at her grandmothers house, which is exactly the kind of memory food should create.
Making Them Extra Special
Fold citrus zest, almond extract, or coconut extract into the batter for different flavor profiles. Natural food colorings like matcha powder or beet juice work beautifully and taste better than artificial dyes.
Storage and Make Ahead
These keep well in an airtight container for up to two days at room temperature. You can also wrap them individually and freeze for up to a month, then thaw at room temperature when cravings strike.
Serving Suggestions
Try them warm with a dollop of whipped cream or a drizzle of chocolate sauce. They pair wonderfully with afternoon tea or as a lighter alternative to traditional birthday cake.
- Set up a topping bar and let guests customize their own
- Serve them still slightly warm for the best texture experience
- Make mini versions using a silicone mold for bite sized treats
 Save to Pinterest
 There is something deeply comforting about watching steam work its magic, transforming simple batter into fluffy clouds of sweetness. Happy steaming.
Recipe FAQ
- → Why do these cupcakes crack on top?
-
The blooming or cracking occurs naturally during steaming as the batter rises and expands from the steam heat. This creates the signature flower-like appearance and indicates proper cooking development.
- → Can I use an electric steamer instead of stovetop?
-
Yes, electric steamers work perfectly for these cupcakes. Follow the same timing and temperature guidelines, ensuring proper steam circulation between molds for even cooking.
- → How do I prevent condensation from dripping onto the cupcakes?
-
Simply cover your steamer lid with a clean kitchen cloth or towel. This absorbs moisture and prevents water droplets from falling onto the cupcake tops during steaming.
- → What's the best way to achieve the marbled blooming effect?
-
Divide your batter into separate bowls, add different food coloring gel to each, then layer or swirl the colored batters in the molds before steaming. The colors will create beautiful patterns as they bloom.
- → Can I make these gluten-free?
-
Absolutely. Substitute the all-purpose flour with a 1:1 gluten-free flour blend. The steaming method actually works exceptionally well with gluten-free batters, producing moist results that can sometimes be dry when baked.
- → How should I store steamed cupcakes?
-
Keep them in an airtight container at room temperature for up to 2 days, or refrigerate for up to 5 days. The steaming method creates very moist treats, so proper storage prevents them from becoming soggy.