 Save to Pinterest
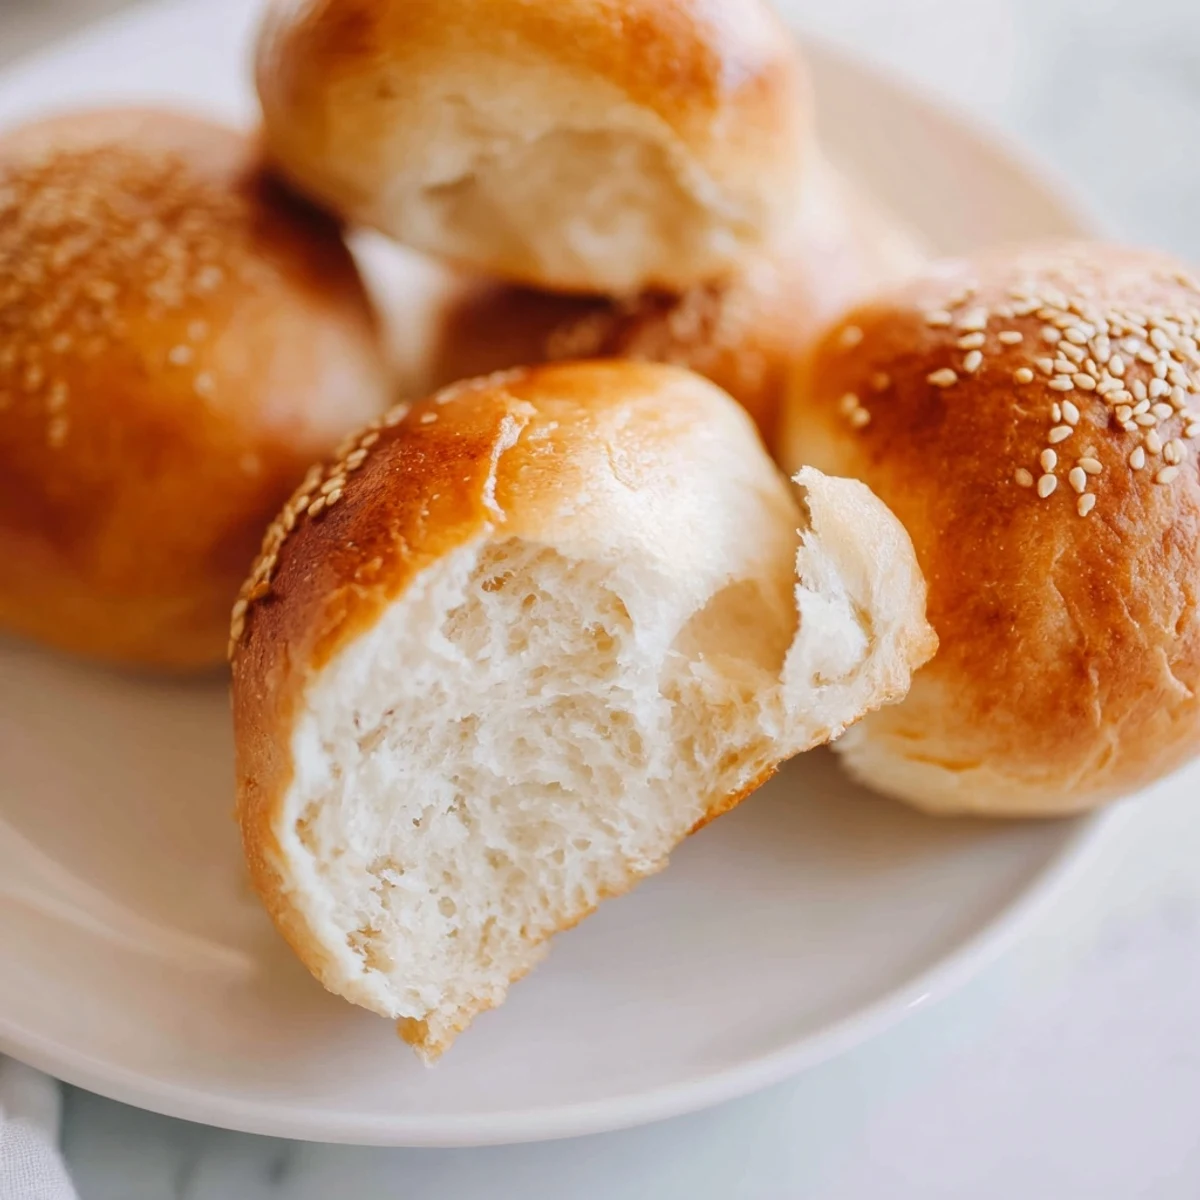
 These soft, pillowy buns repurpose your sourdough starter discard into something truly special. The unfed starter adds a subtle tang that complements the classic hot dog flavors perfectly. After just 20 minutes of prep time, let the dough rise for about 90 minutes before shaping into eight generous-sized buns.
The result is bakery-quality bread with a golden crust and tender interior that holds up beautifully to all your favorite toppings. Brush with butter immediately after baking for that irresistible soft finish. Great for batch cooking and freezing—just thaw and enjoy fresh-tasting buns anytime.
There was this one summer evening when my grill died mid-cookout, and I had eight hungry people staring at me expectantly. I'd been experimenting with sourdough discard for weeks anyway, so I threw together these buns in a panic. The way they emerged from the oven pillowy and warm, with that gentle sourdough tang cutting through rich toppings, saved the entire dinner. Now they are the only buns I bother making for burgers, brats, or even just slathering with butter.
My sister-in-law actually asked for the recipe before she even finished her first hot dog, which never happens. Watching my kids argue over who got the slightly burnt butter-brushed one made me realize how much better homemade bread tastes than anything from a package.
Ingredients
- Sourdough discard: Use unfed starter at 100 percent hydration for that subtle tang and reduced waste
- Warm milk: Activates the yeast and adds tenderness to the crumb
- Unsalted butter: Melted and mixed in creates a softer, richer bun
- Sugar: Feeds the yeast and helps with browning in the oven
- Large egg: Adds structure and gives the buns a lovely golden color
- Salt: Enhances flavor and controls yeast activity
- All-purpose flour: Start with 3 and 3/4 cups and adjust based on how the dough feels
- Instant yeast: One packet is plenty for a quick, reliable rise
Instructions
- Wake up the yeast:
- Combine warm milk with sugar and instant yeast, letting it bubble for 3 to 5 minutes until foamy and alive.
- Build the base:
- Mix in sourdough discard, melted butter, egg, and salt until everything is well combined.
- Bring in the flour:
- Add flour gradually, one cup at a time, until you have a soft, slightly tacky dough that holds together.
- Work it:
- Knead on a floured surface for 7 to 8 minutes until the dough feels smooth, elastic, and bounces back when poked.
- Let it rise:
- Place in a greased bowl, cover, and wait about 1 to 1.5 hours until the dough has doubled in size.
- Shape them up:
- Punch down gently, divide into 8 equal pieces, and roll each into a smooth log about 6 inches long.
- Proof again:
- Arrange on a parchment-lined baking sheet, cover, and let rise 30 to 45 minutes until puffy.
- Get the oven ready:
- Preheat to 375 degrees F while the buns finish their final rise.
- Add the finishing touches:
- Brush with milk, sprinkle with seeds if you like, and bake 18 to 20 minutes until deeply golden.
- Brush and cool:
- Immediately brush with melted butter for a softer crust, then let cool completely before slicing.
 Save to Pinterest
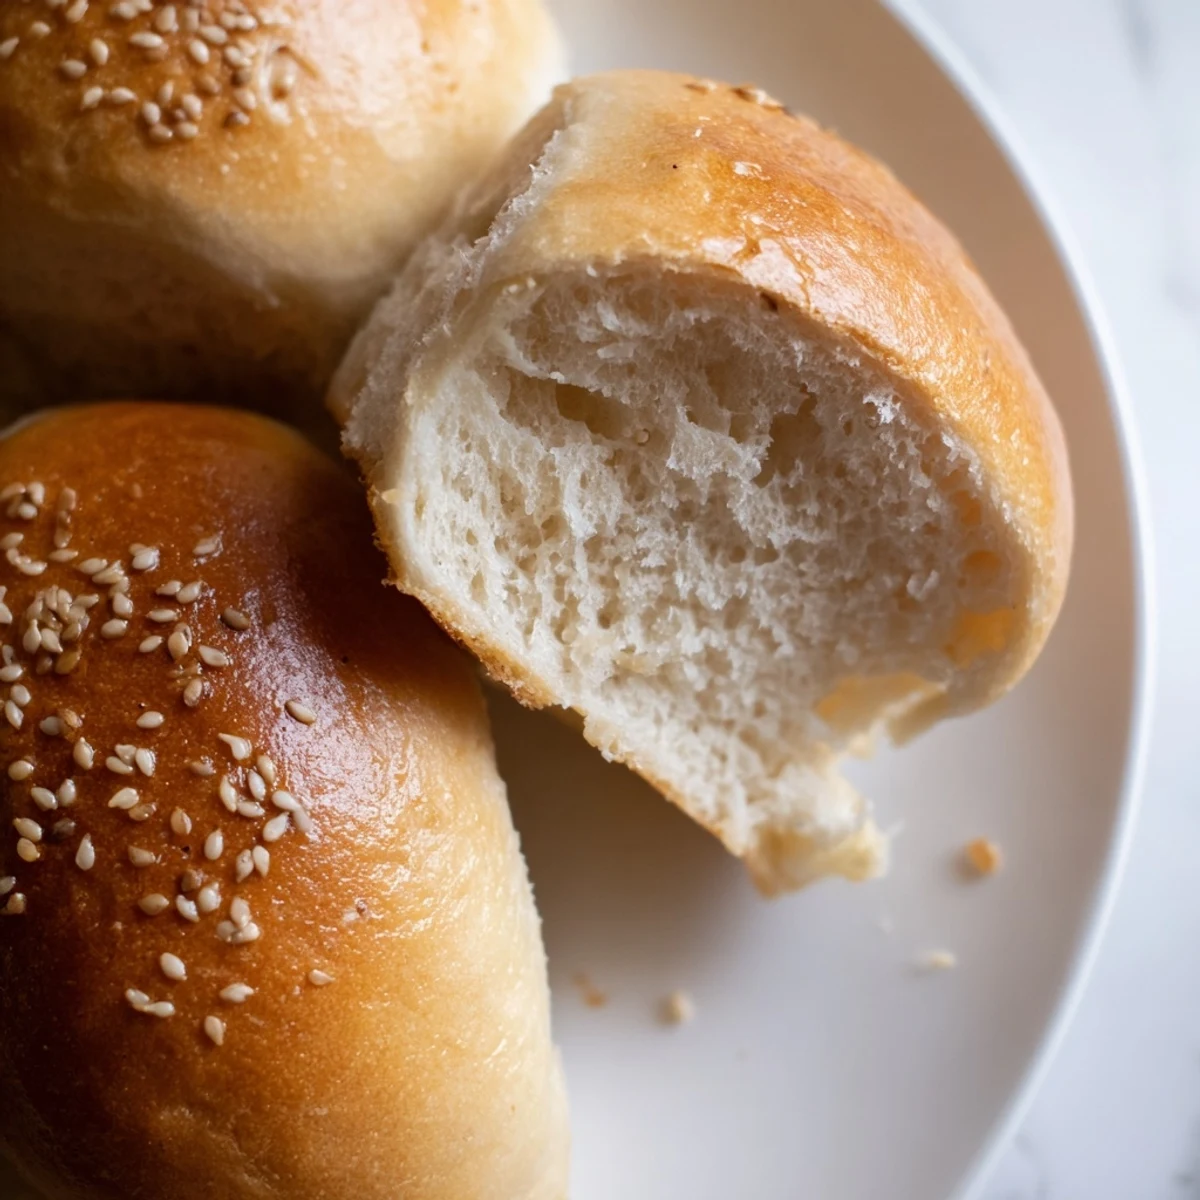
 My neighbor actually stopped by while these were baking once, and I ended up giving him three warm buns right off the sheet pan. He texted me later that night saying his family declared them better than any bakery bun they had ever tasted.
Make Them Dairy Free
Swap in oat milk or another unsweetened plant-based alternative and use vegan butter. The texture remains surprisingly close to the original, and no one will notice the difference once the toppings are piled on.
Get A Chewier Crumb
Bread flour has more protein than all-purpose, which creates more gluten development during kneading. The result is a bun with a satisfying bite and a slightly sturdier structure that holds up well to juicy toppings.
Customize The Sweetener
Honey or maple syrup work beautifully in place of granulated sugar, adding a subtle depth of flavor that pairs especially well with the sourdough tang. Just keep in mind that liquid sweeteners add moisture, so you may need a touch more flour.
- Measure flour by weight for consistent results every time
- Let the buns cool completely before slicing to prevent gummy interiors
- Freeze extras in a zip-top bag for up to a month
 Save to Pinterest
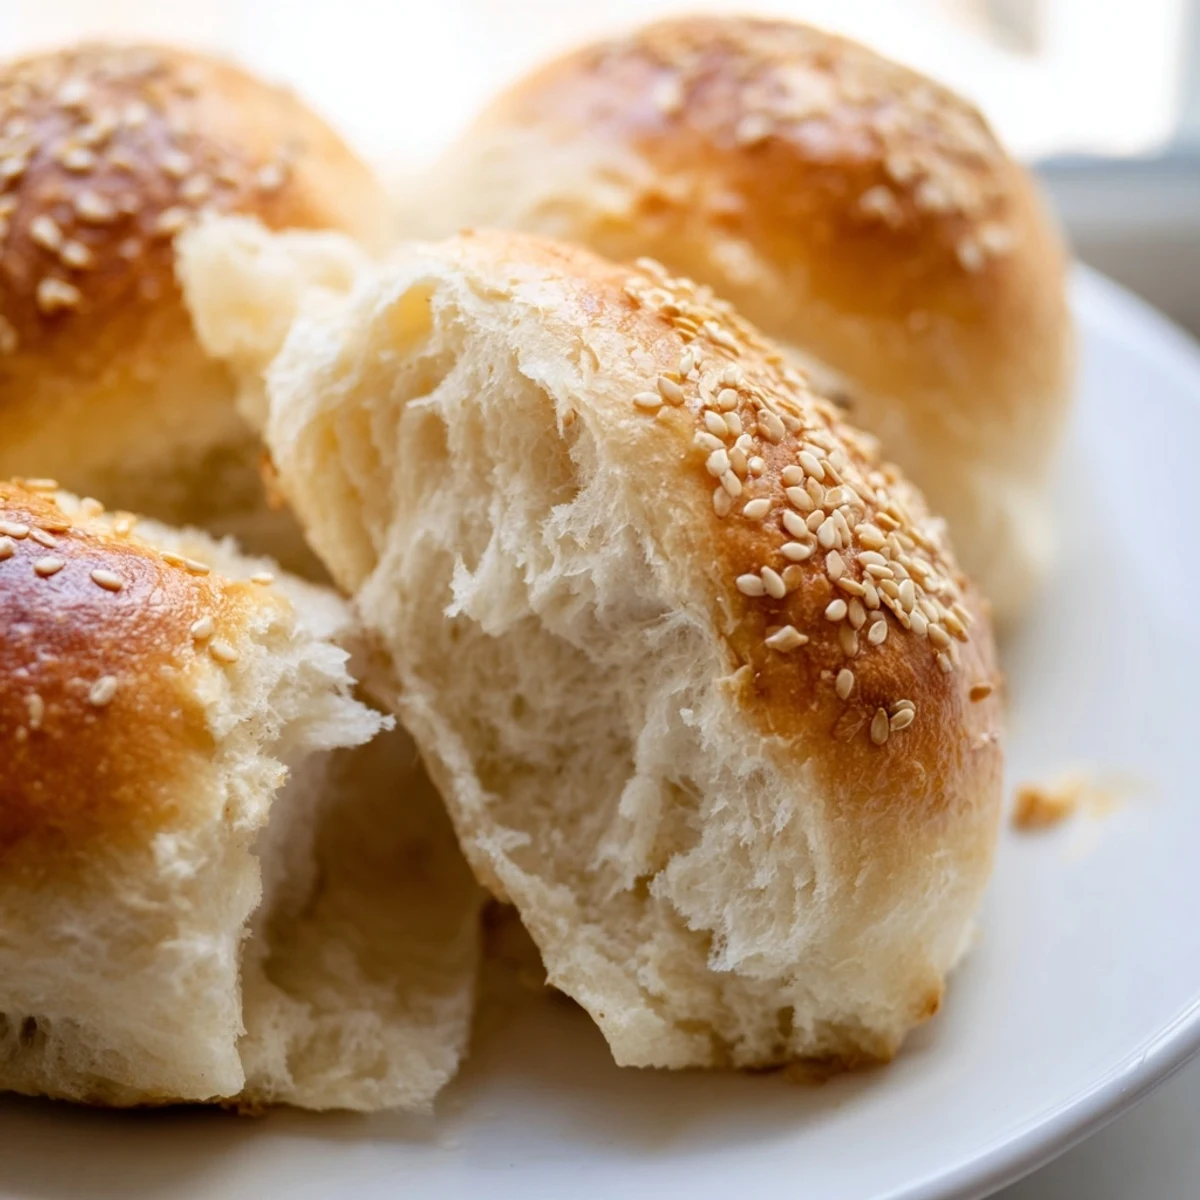
 There is something deeply satisfying about turning what would have been waste into the best part of the meal. These buns have become a staple in our house, and I hope they find their way into yours too.
Recipe FAQ
- → Can I use active sourdough starter instead of discard?
-
Yes, you can substitute active starter. Reduce the flour slightly since active starter has more fermentation activity. The buns may have a more pronounced tangy flavor and rise faster.
- → How should I store these buns?
-
Store in an airtight bag at room temperature for up to 3 days. For longer storage, freeze individually wrapped for up to 3 months. Thaw at room temperature or warm briefly in the oven.
- → Can I make these without a stand mixer?
-
Absolutely! Knead by hand on a floured surface for 8-10 minutes until smooth and elastic. The dough should feel tacky but not sticky—add flour gradually as needed.
- → What if I don't have instant yeast?
-
Active dry yeast works perfectly—just dissolve it in the warm milk with sugar and let sit 5-10 minutes until foamy before proceeding with the recipe.
- → Can I make these into hamburger buns instead?
-
Yes! Shape the dough into round discs about 4 inches wide instead of logs. The baking time remains the same. This yields 8 generously sized burger buns.
- → Why did my dough turn out too sticky?
-
Humidity and flour absorption can vary. Add flour gradually during mixing—you may not need the full amount. The dough should be soft and slightly tacky, but not stick to your hands.