 Save to Pinterest
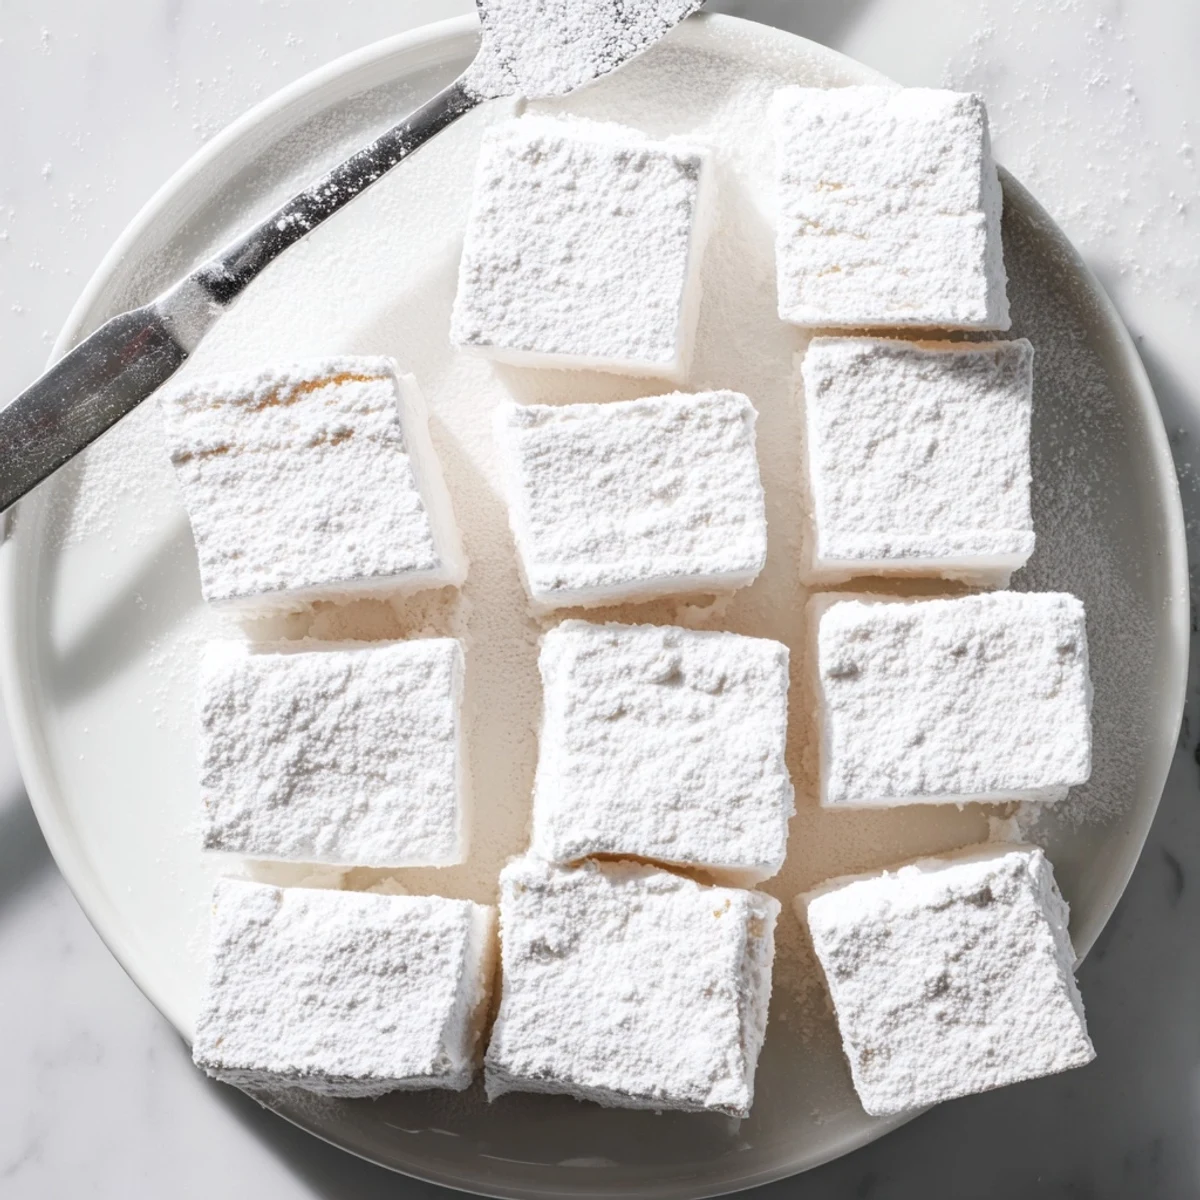
 These soft, pillowy marshmallows are surprisingly simple to make at home. The process involves creating a sugar syrup that's whipped with bloomed gelatin until tripled in volume, resulting in fluffy white clouds with delicate vanilla flavor. After setting for four hours or overnight, they're cut into squares and coated in a mixture of confectioners' sugar and cornstarch for that classic marshmallow texture.
The key is temperature precision—cooking the syrup to exactly 240°F ensures proper structure. A stand mixer makes the whipping process effortless, though hand mixers work with patience. The result yields twenty-four pillowy squares that transform hot chocolate into something special and elevate s'mores to a new level.
Customize flavors by swapping vanilla for peppermint, almond, or adding food coloring during the whipping stage. These keep well in airtight containers for up to a week, though they rarely last that long.
The first time I made homemade marshmallows, I stood there watching the mixer whip what looked like pure science into something impossibly fluffy. My kitchen filled with this warm sugar-vanilla perfume that made store-bought marshmallows seem like sad, stale Styrofoam in comparison. When I finally cut into that slab the next morning, I realized Id been missing out on one of life's simple pleasures for decades.
Last winter during a snowed-in weekend, I made three batches and my kids actually stopped asking for screens. We sat around the kitchen counter cutting squares and dusting them in powdered sugar, white fluff everywhere, eating more than we saved. Something about making candy from scratch makes everyone slow down and pay attention.
Ingredients
- Granulated sugar: The foundation of your syrup—use pure cane sugar for the clearest, cleanest sweetness
- Light corn syrup: Prevents crystallization and keeps your marshmallows tender, glucose syrup works too
- Unflavored gelatin: Three envelopes give you that perfect structure—bloom it properly or your texture will suffer
- Cold water: Essential for blooming the gelatin and dissolving the sugar
- Salt: Just a pinch to balance all that sweetness and make flavors pop
- Pure vanilla extract: Use the good stuff here—its the main flavor note youll taste
- Confectioners sugar: For coating, prevents sticking and adds that classic marshmallow dusting
- Cornstarch: Mixed with powdered sugar, keeps marshmallows from becoming one sticky blob
Instructions
- Prep your pan:
- Line a 9x9-inch pan with parchment paper, letting some overhang for easy removal later. Mix equal parts confectioners sugar and cornstarch, then dust your pan generously with half the mixture—every corner needs coverage.
- Bloom the gelatin:
- Pour gelatin into your stand mixer bowl with 1/2 cup cold water. Let it sit for at least 10 minutes while you work on the syrup—those granules need time to fully absorb and soften.
- Make the sugar syrup:
- Combine sugar, corn syrup, remaining water, and salt in a saucepan. Stir gently over medium heat until sugar dissolves completely, then stop stirring and bring to a rolling boil.
- Reach the right temperature:
- Cook until your thermometer hits exactly 240°F—that firm-ball stage is what gives marshmallows their perfect bounce. This usually takes 10–12 minutes of focused attention.
- Combine and whip:
- With mixer on low, carefully stream in that screaming-hot syrup. Gradually crank to high and whip for 8–10 minutes until the mixture triples in volume and turns bright white.
- Add flavor:
- Pour in vanilla and mix just 30 seconds more—you want it incorporated but not deflated. The mixture should look glossy and hold stiff peaks.
- Set the marshmallows:
- Working quickly before it stiffens, scrape into your prepared pan. Use a damp spatula to smooth the top, then dust with remaining sugar mixture.
- Wait patiently:
- Let sit uncovered at room temperature for at least 4 hours, preferably overnight. Rushing this step means sad, sticky marshmallows that refuse to hold their shape.
- Cut and coat:
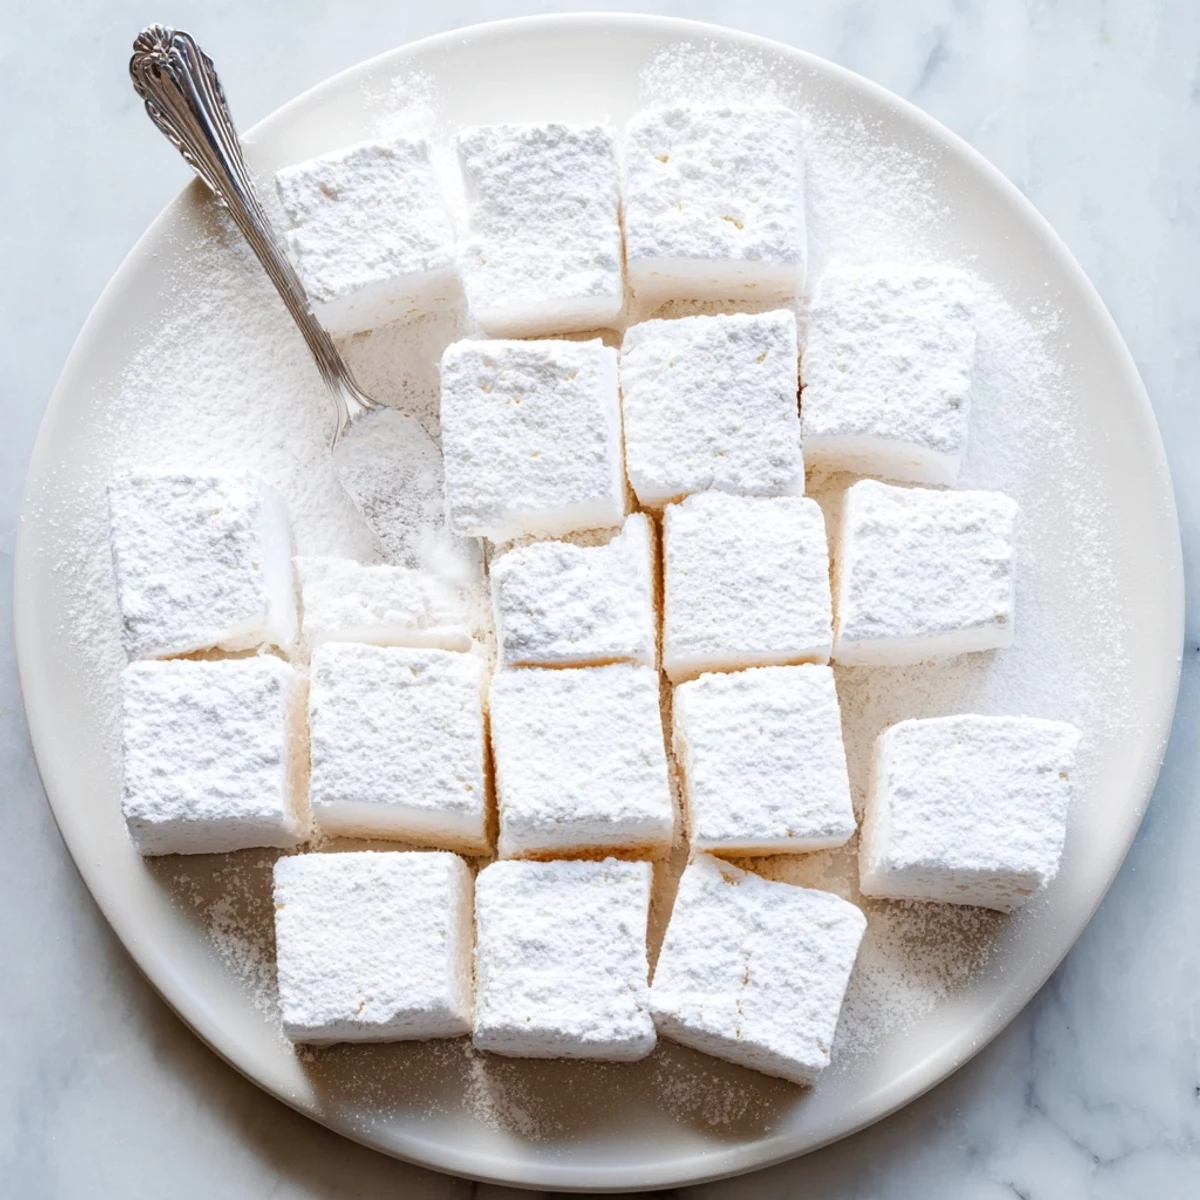
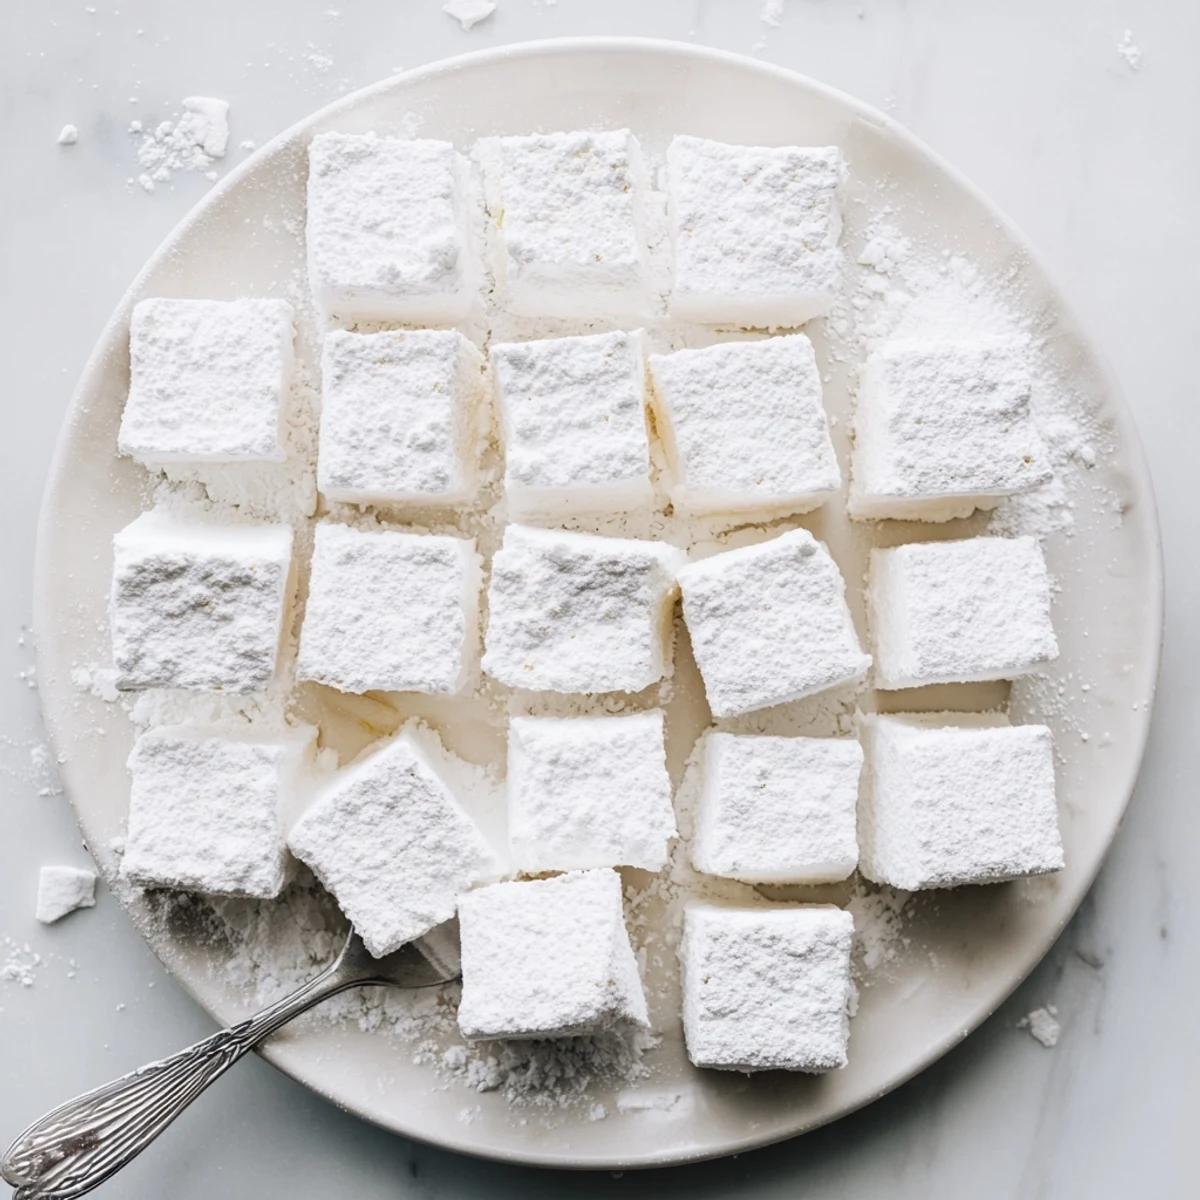
- Turn the slab onto a cutting board and cut into squares with a sharp knife dusted in powdered sugar. Toss each piece in the sugar-cornstarch mix until coated on all sides.
 Save to Pinterest
 My friend Sarah swears she cant make candy, but she nailed these on her first try. She texted me at midnight that night saying she was in trouble because she couldnt stop eating them straight from the pan. Thats the kind of problem I love creating.
Flavor Variations That Work
Beyond vanilla, the possibilities are pretty endless. Ive made peppermint versions that taste like holidays in square form, and almond marshmallows that pair beautifully with dark chocolate. Just swap the vanilla extract for your favorite flavoring—start with less than you think, you can always add more but you cant take it back.
Getting That Perfect Cut
A sharp knife is your friend here, and keep it dusted with powdered sugar between cuts. Some people rub a little oil on the blade too, which helps prevent sticking. Make long, decisive strokes rather than sawing back and forth—clean cuts give you those professional-looking squares.
Storage And Shelf Life
These keep beautifully in an airtight container for up to a week, though they rarely last that long in my house. If they start getting sticky, toss them in a little more powdered sugar. They also freeze well—layer them between parchment paper in a freezer bag and thaw at room temperature.
- Store in a cool, dry place away from moisture and humidity
- Never refrigerate marshmallows—they turn into tough, rubbery little discs
- Cut larger squares if you plan to toast them, they shrink slightly over heat
 Save to Pinterest
 Once youve had homemade marshmallows, the bagged ones just taste like disappointment. Make a batch, share them with someone you love, and watch their face light up at that first impossible bite.
Recipe FAQ
- → How long do marshmallows need to set?
-
Marshmallows need a minimum of 4 hours to set at room temperature, though overnight is preferable for the best texture. The gelatin structure needs time to fully firm up before cutting.
- → Can I make marshmallows without a stand mixer?
-
While a stand mixer makes the process easier, you can use a hand mixer. The whipping stage takes 8-10 minutes on high speed to achieve proper volume and structure. Keep in mind this requires holding the mixer continuously, which can be tiring.
- → What temperature should the sugar syrup reach?
-
The sugar syrup must reach exactly 240°F (115°C), known as the soft-ball stage in candy making. Use a candy thermometer for accuracy—this temperature ensures the marshmallows will hold their shape properly without being too hard or too soft.
- → How should I store homemade marshmallows?
-
Store marshmallows in an airtight container at room temperature for up to 1 week. The confectioners' sugar coating prevents them from sticking together. Avoid refrigeration as moisture can make them sticky or cause them to weep.
- → Can I use different flavors?
-
Absolutely. While vanilla is classic, try peppermint extract for holiday marshmallows, almond for a nutty note, or even fruit extracts. Add food coloring during the final whipping stage to match the flavor—pink for strawberry, green for peppermint, or keep white for vanilla.
- → Why do I need to coat the pan and marshmallows?
-
The confectioners' sugar and cornstarch mixture prevents sticking throughout the process. Coating the pan before pouring ensures easy removal, while coating cut marshmallows keeps them from fusing together. This coating also gives the classic slightly powdery exterior texture.