 Save to Pinterest
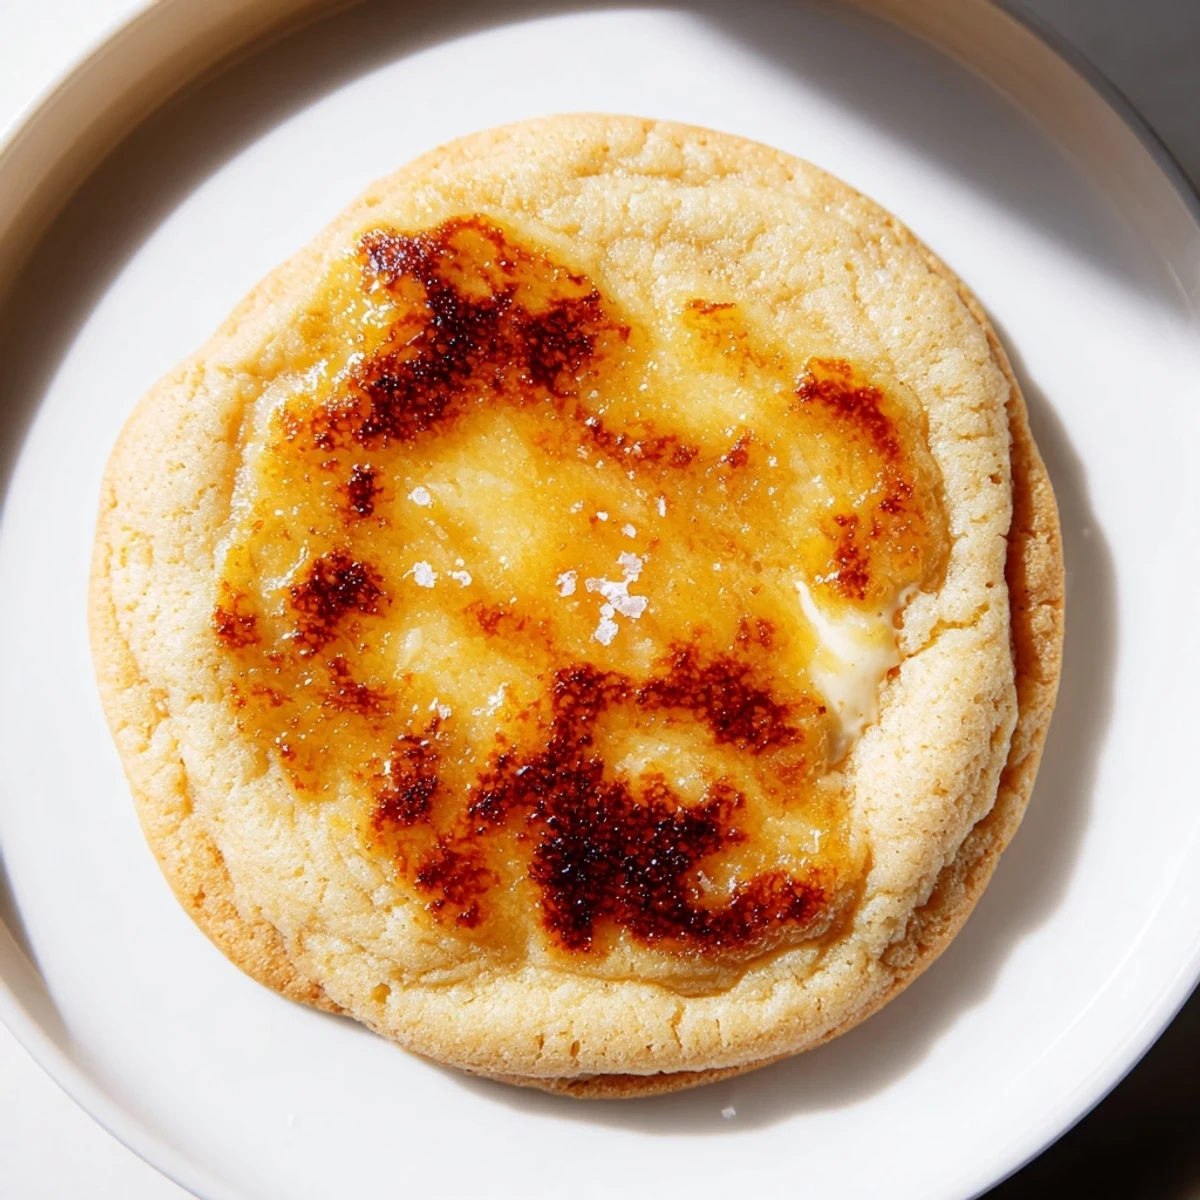
 These soft baked cookies capture the essence of classic French crème brûlée in a delightful handheld format. Each cookie features a tender, buttery vanilla dough wrapped around a smooth cream cheese filling, topped with a layer of caramelized sugar that creates that signature crackly crunch. The combination of textures—soft chewy cookie, creamy center, and crisp caramelized topping—makes these an irresistible dessert that balances sophistication with comfort. Ready in just 40 minutes, they're perfect for entertaining or treating yourself to something special.
The first time I made these, my kitchen smelled like a French bakery at midnight. I'd been experimenting with stuffed cookies for weeks, but something about torching sugar on top made the whole house feel magical. My roommate wandered in, rubbing sleep from her eyes, asking if I'd secretly ordered dessert from a restaurant.
I brought a batch to my friend's housewarming last fall, and within minutes, the platter was empty. People kept asking what made them so special—was it the filling? The burnt sugar topping? The truth is, it's the combination of everything happening at once that makes these unforgettable.
Ingredients
- 2 1/4 cups all-purpose flour: This creates the perfect tender structure that holds together while staying soft
- 1/2 teaspoon baking soda: Just enough lift to give the cookies a slight puff without spreading too thin
- 1/2 teaspoon salt: Essential for balancing all that sweetness and making the vanilla pop
- 3/4 cup unsalted butter, softened: Room temperature butter incorporates properly for that melt-in-your-mouth texture
- 1 cup granulated sugar: Sweetens the cookie base while creating that crisp edge we all love
- 2 large egg yolks: Using only yolks adds richness and helps create a softer, more tender crumb
- 2 teaspoons pure vanilla extract: Don't skimp here—this is the backbone flavor of the entire cookie
- 2 tablespoons sour cream: The secret ingredient that keeps cookies incredibly soft for days
- 3/4 cup cream cheese, softened: Must be truly softened to avoid lumps in your filling
- 1/4 cup granulated sugar: Sweetens the cream cheese filling just enough to complement the cookie
- 1 teaspoon vanilla bean paste: Bean paste gives those beautiful vanilla specks, but extract works perfectly too
- 1/4 cup granulated sugar: Extra sugar specifically for creating that signature brûlée crust on top
Instructions
- Prep your oven and pans:
- Preheat to 350°F (175°C) and line two baking sheets with parchment paper—this prevents sticking and makes cleanup effortless.
- Mix the dry ingredients:
- Whisk flour, baking soda, and salt in a medium bowl until well combined, then set it aside while you work on the wet ingredients.
- Cream the butter and sugar:
- Beat softened butter with sugar until the mixture turns pale and fluffy—this usually takes about 3 minutes and creates the cookie's texture.
- Add the wet ingredients:
- Mix in egg yolks, vanilla extract, and sour cream until everything is fully incorporated and the batter looks smooth.
- Combine everything:
- Gradually add the dry ingredients, mixing just until a soft dough forms—overmixing here makes tough cookies, so stop as soon as you no longer see dry flour.
- Make the filling:
- In a separate small bowl, beat cream cheese, sugar, and vanilla bean paste until completely smooth and creamy.
- Stuff the cookies:
- Scoop about 2 tablespoons of dough, flatten it into a disc, place 1 teaspoon of filling in the center, then fold and pinch the dough closed.
- Arrange for baking:
- Place cookies seam side down on prepared sheets, leaving at least 2 inches between them since they'll spread as they bake.
- Bake to perfection:
- Bake for 11–13 minutes until edges are set but centers still look slightly soft—overbaked cookies lose that stuffed cookie magic.
- Cool properly:
- Let cookies rest on the pan for 10 minutes before moving them to a wire rack—this finishing time is crucial for texture.
- Create the brûlée topping:
- Sprinkle an even, thin layer of sugar on each cooled cookie, then torch until golden and crisp.
- Final rest:
- Allow the caramelized sugar to harden for about 5 minutes before serving, giving it that signature crackle.
 Save to Pinterest
 Last Christmas, I made these for my family's cookie exchange and watched my dad torch each one in the garage like he was performing chemistry. The sound of that sugar cracking as everyone bit in became the soundtrack of our holiday gathering.
Getting That Perfect Brûlée Crack
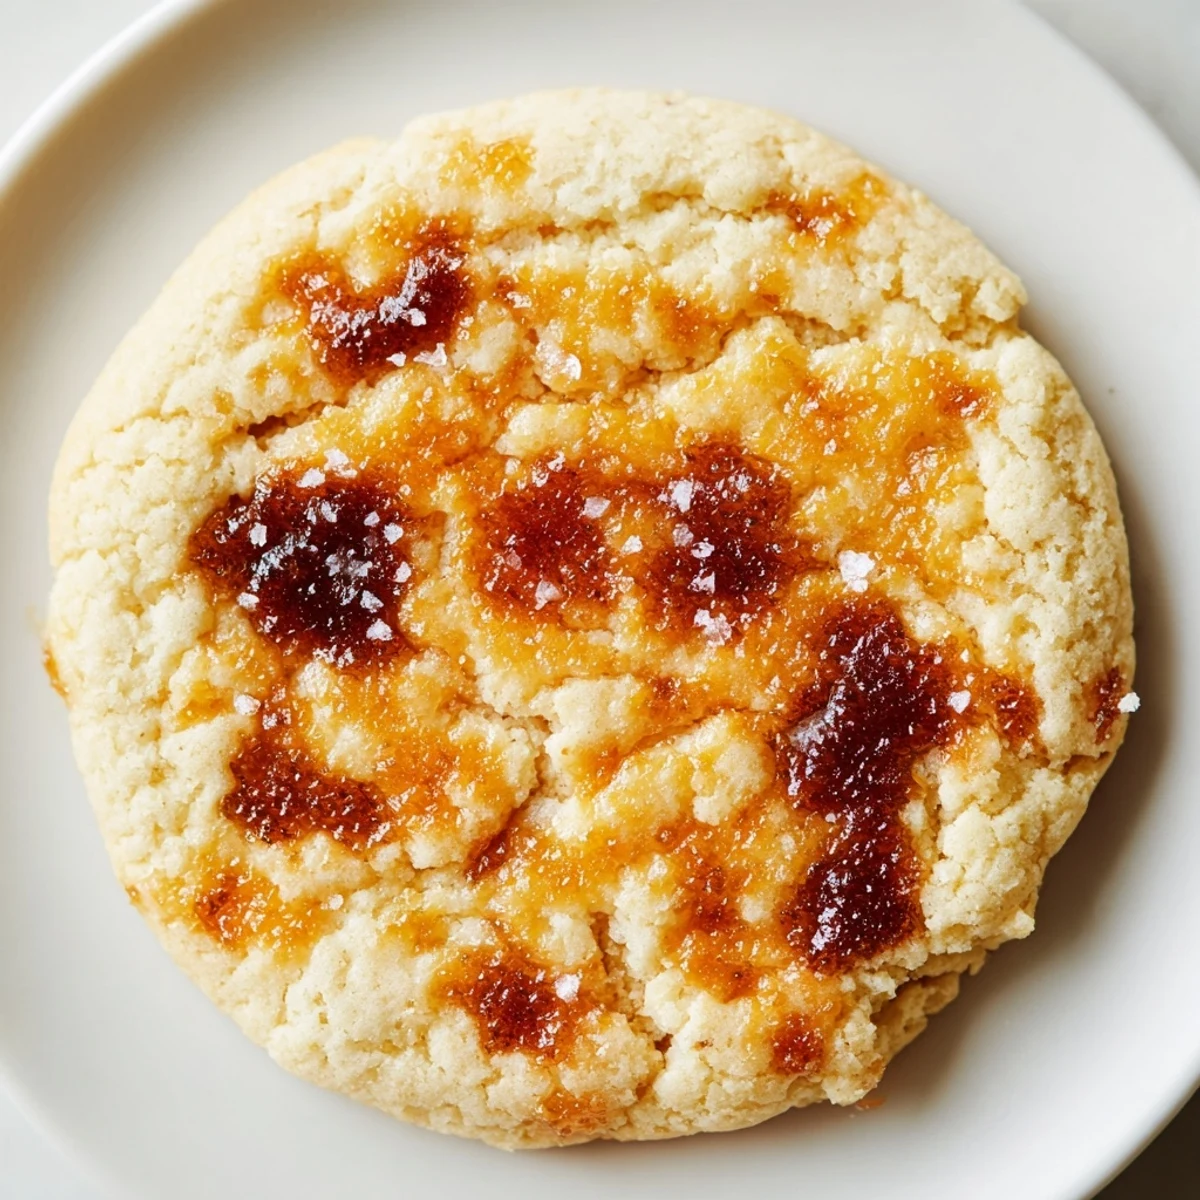
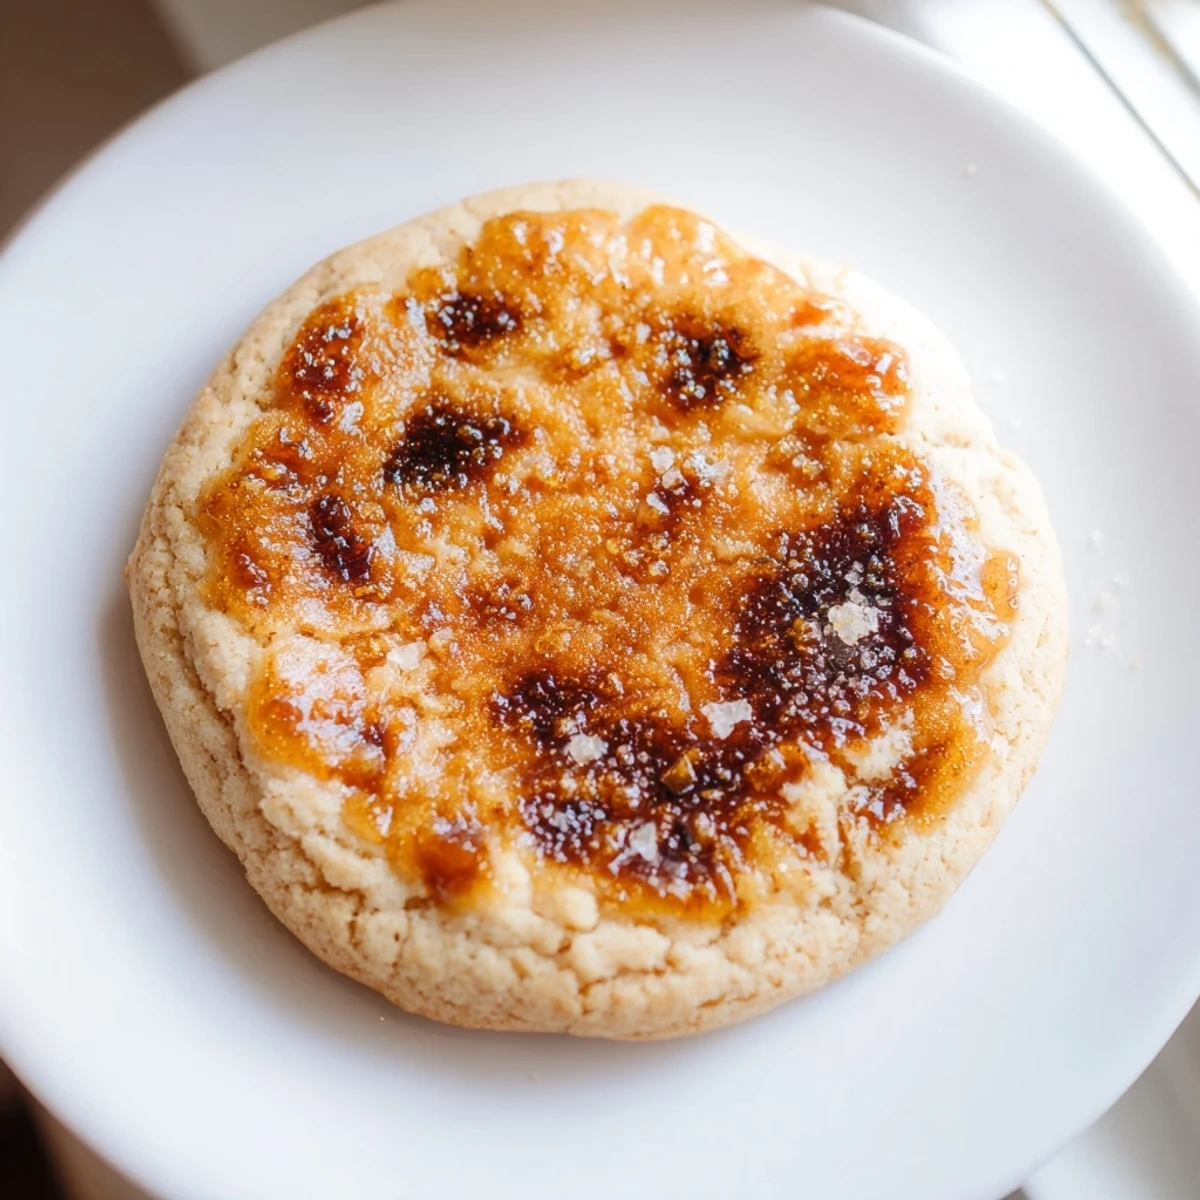
The sugar topping technique makes or breaks these cookies. I learned to keep the torch moving in small circles about two inches above the surface—holding it too long in one spot creates burnt patches that taste bitter. The sugar should melt into a deep golden brown, almost amber color, with darker spots here and there for that authentic crème brûlée flavor.
Making These Ahead
You can bake the cookies and fill them up to two days ahead, but wait to brûlée the tops until right before serving. I once torched them the night before and woke up to soft, sticky tops instead of that satisfying crackle. Store the baked, filled cookies in an airtight container with parchment paper between layers, then do the torching step last-minute for maximum drama.
Troubleshooting Your Cookies
If your cookies spread too much and lose their filling, your dough was probably too warm—pop the scooped cookies in the fridge for 15 minutes before baking. When the filling leaks during baking, it usually means you didn't pinch the dough sealed tightly enough, so take extra time closing each one. And if the centers seem underbaked but edges are getting dark, try reducing your oven temperature by 25 degrees and baking a few minutes longer.
- Let the cookie sheets cool completely between batches—warm dough spreads instantly on hot pans
- If you don't have a torch, broil the sugar-topped cookies for 1 to 2 minutes, but watch them like a hawk
- A pinch of sea salt on the freshly torched sugar takes these from delicious to absolutely unforgettable
 Save to Pinterest
 There's something almost meditative about torching each cookie one by one, watching the sugar transform into amber glass. These cookies have become my go-to for moments when I want to make something that feels like a tiny celebration.
Recipe FAQ
- → Do I need a kitchen torch to make these?
-
While a kitchen torch creates the best results for the caramelized sugar topping, you can also place the cookies under the broiler for 1–2 minutes. Watch closely to prevent burning, as the sugar caramelizes quickly under direct heat.
- → Can I make the dough ahead of time?
-
Yes, you can prepare the cookie dough and filling separately up to 24 hours in advance. Store the dough wrapped tightly in plastic wrap in the refrigerator, and keep the filling in an airtight container. Let the dough soften slightly before assembling and baking.
- → How should I store these cookies?
-
Store the cookies in an airtight container at room temperature for up to 3 days. For best texture, add the caramelized sugar topping just before serving, as humidity can make the sugar topping soften over time. You can also freeze the unbaked assembled cookies for up to 3 months.
- → What's the best way to fill the cookies without them leaking?
-
Ensure the dough disc is flattened evenly and place the filling in the center. Gently fold the edges over the filling and pinch firmly to seal. Place cookies seam side down on the baking sheet to help maintain the seal during baking. Chilling the assembled cookies for 15 minutes before baking can also help prevent leaking.
- → Can I substitute vanilla bean paste?
-
Yes, vanilla extract works perfectly as a substitute. Use the same amount called for in the recipe. If you have vanilla beans, you can scrape the seeds from half a pod to achieve similar visual specks and intense flavor that vanilla bean paste provides.
- → Why do the cookies need to cool before torching?
-
The cookies need to cool so the sugar topping adheres properly and caramelizes evenly. If the cookies are still warm, the sugar may melt into the soft surface rather than forming a crisp, crackly layer. Cooling also allows the filling to set slightly, making the cookies easier to handle.