 Save to Pinterest
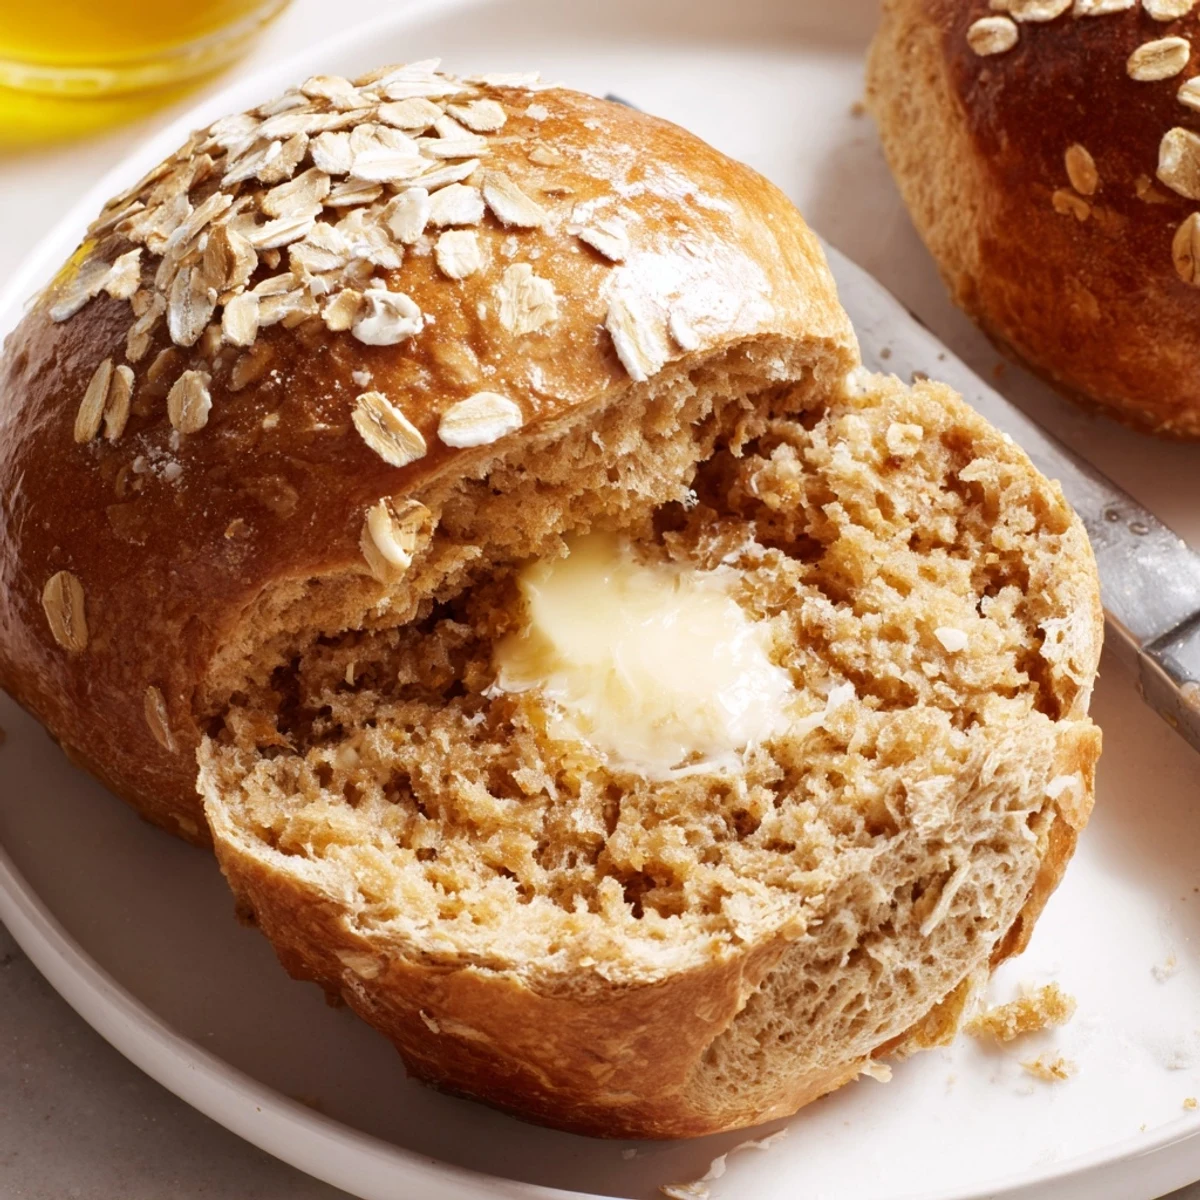
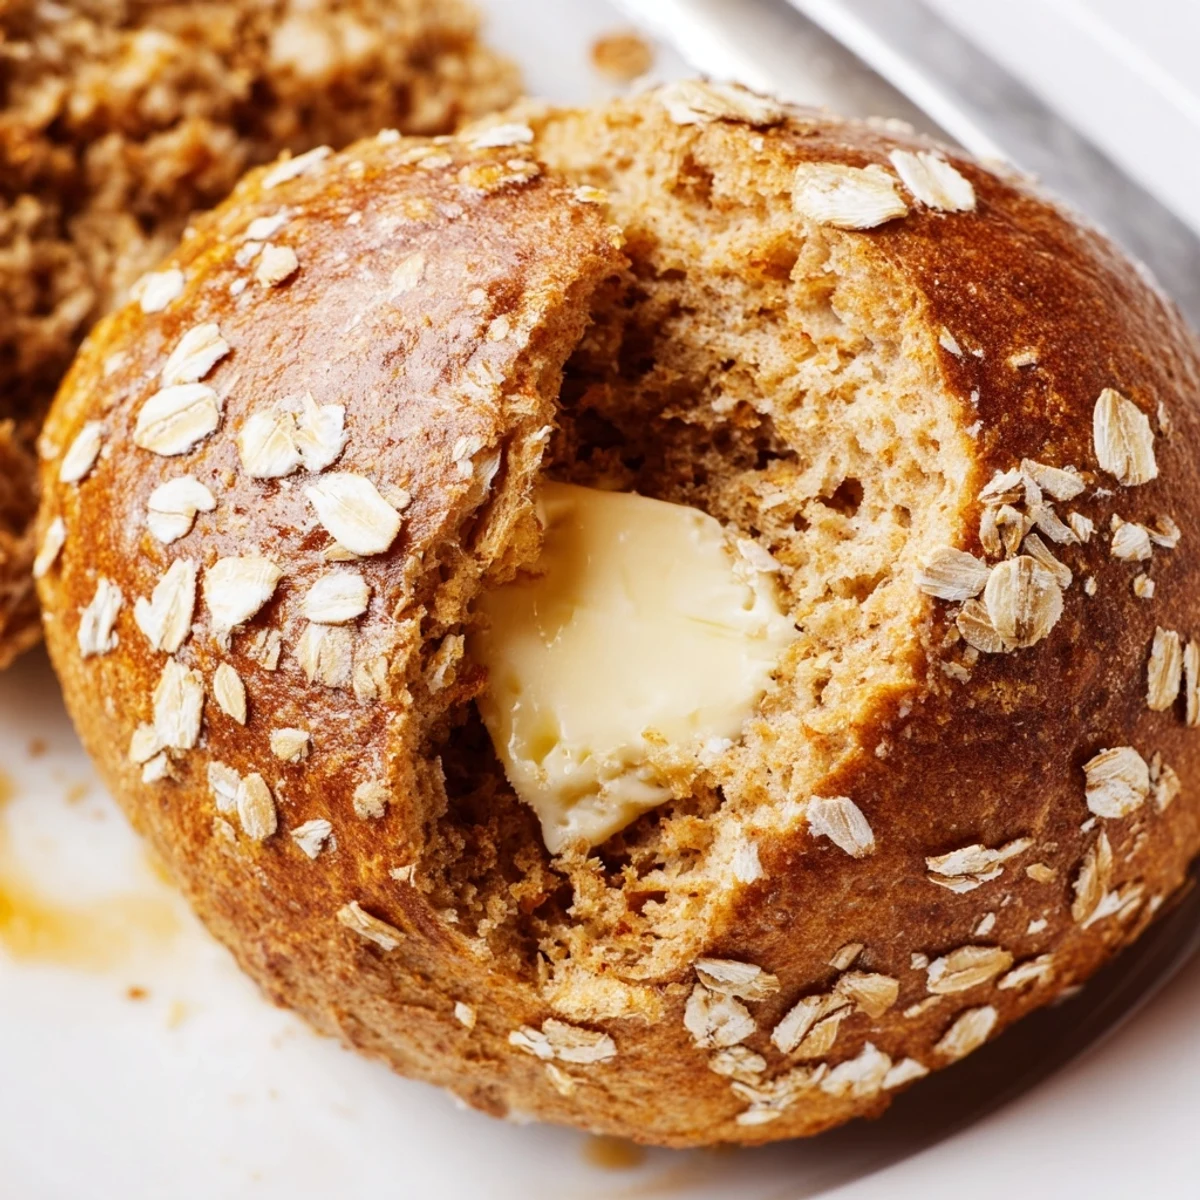
 These rustic molasses and oat dinner rolls begin by mixing rolled oats with flour, salt, and instant yeast. Warm milk is whisked with molasses, melted butter, and an egg, then combined into a sticky dough. Knead until smooth, allow a 1-hour first rise, shape into 12 rolls, then proof 30 minutes. Bake at 375°F for 22–25 minutes until golden. Optional swaps: half whole wheat for deeper flavor, brush tops with butter and sprinkle oats. Freeze baked rolls for long-term storage.
The sound of rain pattering on the kitchen window often puts me in the mood to bake, and it was during one such dreary afternoon that I first tried my hand at Rustic Oatmeal Molasses Dinner Rolls. The air warmed into a gentle cloud of oats and sweet earth as the molasses was stirred in. Not only did the kitchen feel cozier, but something about kneading that dough with music playing nearby made the time pass joyfully. There’s a satisfaction in watching the rolls rise, puffing up like little pillows full of promise.
A couple of years ago I brought a basket of these to a friend’s autumn gathering, and laughter echoed as everyone tried to decide if they tasted brown sugar or caramel in the crumb. By the end of the evening, not a single roll remained and someone asked for the recipe, which felt oddly gratifying. That night, the scent of freshly baked bread lingered on my sleeves all the way home. These rolls are now a regular request at our table whenever the forecast calls for chilly weather.
Ingredients
- Old-fashioned rolled oats: They give these rolls their hearty character and keep the texture toothsome—toast them beforehand for a richer flavor if you like.
- All-purpose flour: Backbone of the bread, providing softness and height; I’ve learned sifting the flour first creates a lighter roll.
- Kosher salt: Balances out the sweetness and brings everything together; don’t forget to sprinkle it evenly so every bite pops.
- Instant yeast: Speeds things along and ensures a consistent rise—no need to proof, just mix right in.
- Warm milk: Milk at 110°F feels just lukewarm to the touch and helps activate the yeast without scalding it.
- Molasses (unsulphured): The soul of this recipe; use a rubber spatula to coax every last bit from the measuring cup, nothing wasted.
- Unsalted butter, melted: Adds richness and encourages that golden crust—let it cool slightly before adding so the egg doesn’t scramble.
- Large egg: Lends tenderness and a lovely crumb; cracking it cold from the fridge is fine here, but bring it to room temperature if you can for easier mixing.
- Rolled oats for sprinkling (optional): For that irresistible bakery look and extra chew, though it’s just as delicious without.
Instructions
- Prepare your dry mix:
- Tumble the oats, flour, salt, and yeast together in your largest mixing bowl. The sound the oats make as they scatter is my quiet cue that baking is beginning.
- Whisk the wet ingredients:
- Combine milk, molasses, melted butter, and egg in a medium bowl—molasses ribbons look magical swirling through the milk, just keep whisking until integrated.
- Form the dough:
- Pour the wet mixture over the dry and stir until it’s all just combined and shaggy. It will look unruly—that’s exactly right.
- Knead until smooth:
- Scoop the dough onto a floured surface and knead for about 8–10 minutes (or let a stand mixer handle it for less time), feeling it transform under your hands from sticky to supple.
- Let it rise:
- Transfer to a lightly greased bowl, cover with a kitchen towel, and set in a warm place. Watching the dough puff and double is always a minor thrill.
- Shape the rolls:
- Punch down, divide into 12 even pieces, and shape into rounds, letting each rest on parchment with enough space to grow.
- Second rise and preheat:
- Cover again while the oven preheats to 375°F, and let them rise until soft and puffy—just about half an hour.
- Add the finishing touch:
- If you like, brush the tops with a little milk or melted butter and sprinkle with oats for rustic flair.
- Bake to golden:
- Slide the sheet into the oven for 22–25 minutes; the scent is a sure sign they’re nearly done. Once golden, cool briefly on a wire rack before serving so the rolls hold their shape and stay fluffy inside.
 Save to Pinterest
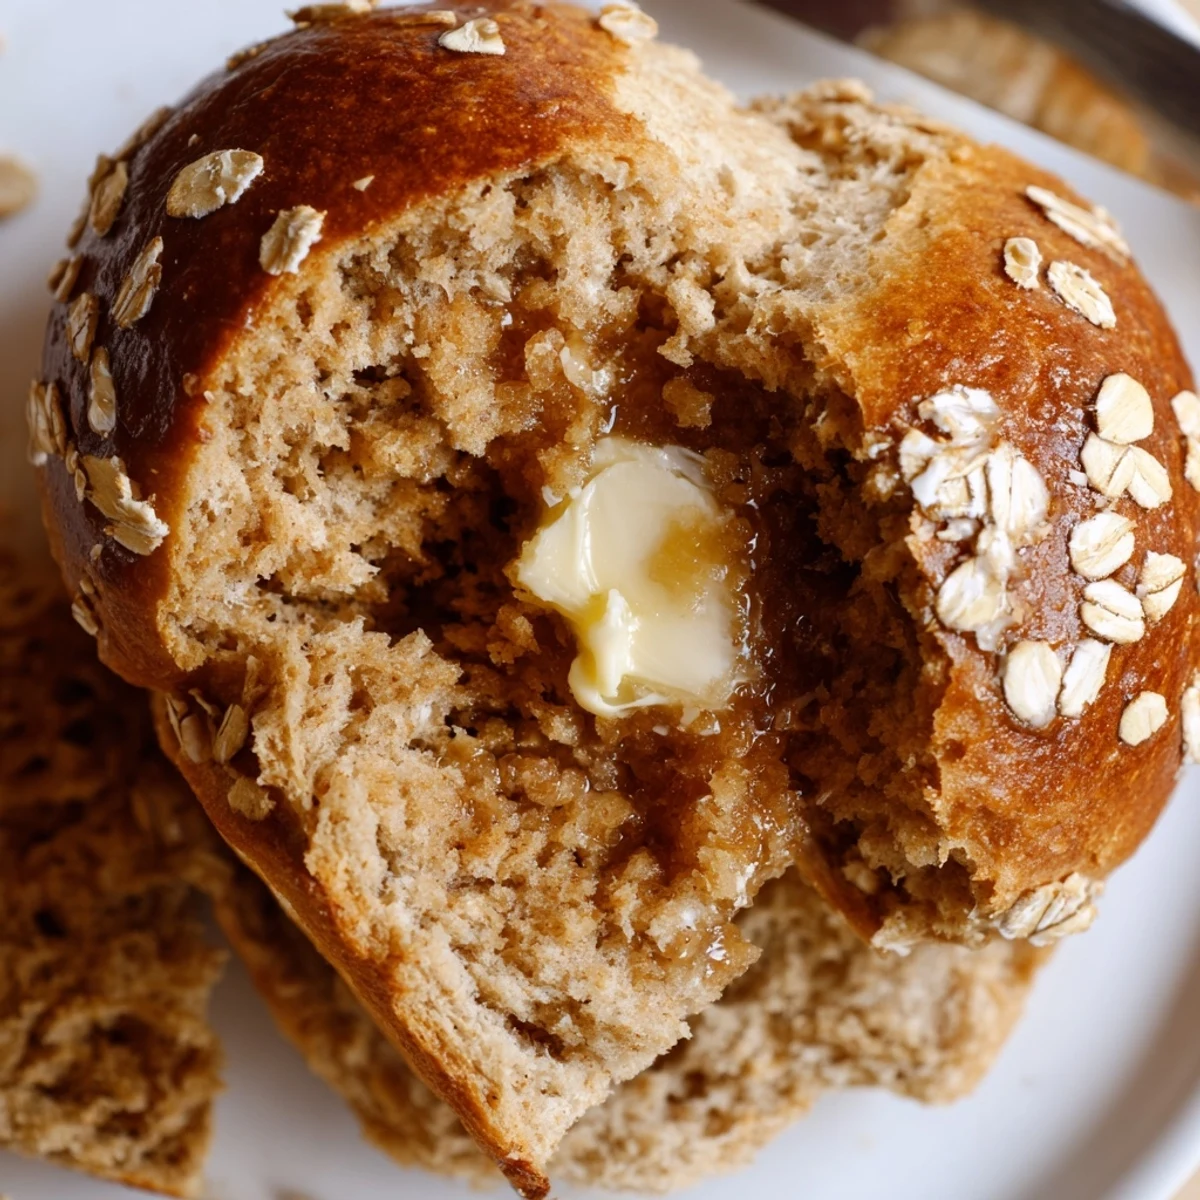
 The first chilly night I served these rolls out of the oven, a friend insisted on splitting one open, just to watch the steam curl out. It became an unspoken ritual: no matter how many were on the table, someone always had to break one apart before anyone started eating. It’s those little moments—smiles over a shared carb—that made these rolls feel like more than just bread.
How to Store Your Rolls
These rolls are best eaten fresh, but I learned they keep beautifully if you tuck them into a towel-lined basket or airtight container. They freeze surprisingly well too—just wrap tightly and thaw at room temperature, then warm in the oven for that just-baked feel.
Serving Ideas that Shine
I love how these rolls pair not just with hearty stews but also with a spread of cheeses or even a drizzle of honey for breakfast. Their subtle sweetness and nutty chewiness mean they play well at all hours, not just dinnertime. The crunch from oats sprinkled on top is a little surprise with every bite.
Make-Ahead and Troubleshooting
If you have a busy day, make the dough ahead and let it do its first rise in the fridge overnight; it will actually develop even better flavor this way. I once forgot to let the butter cool before adding it and ended up with streaks of cooked egg—so now I always let melted butter sit for a minute before mixing. A clean, lightly oiled bowl helps prevent sticking and makes cleanup easier.
- If the dough feels impossibly sticky, add a spoonful of flour at a time until manageable.
- Let the rolls cool at least 10 minutes before eating or they’ll squash when you tear them.
- Parchment paper is your friend—less mess, prettier bottoms.
 Save to Pinterest
 Share these with friends, or just treat yourself—they make any dinner cozier. A pan of warm rolls truly brightens even the grayest day.
Recipe FAQ
- → Can I substitute whole wheat flour?
-
Yes — substitute up to half the all-purpose flour with whole wheat for a nuttier flavor and firmer texture. You may need slightly more liquid and an extra minute or two of kneading to develop gluten fully.
- → How do I know the dough has risen enough?
-
Look for the dough to roughly double in size and hold a gentle indentation when pressed with a fingertip. A warm, draft-free spot speeds proofing; cooler kitchens will take longer.
- → What causes dense rolls and how can I fix it?
-
Density usually comes from under-kneading, too little rise time, or adding excessive flour. Knead until smooth and elastic, allow full rises, and keep the dough slightly sticky before shaping.
- → Can I use active dry yeast instead of instant?
-
Yes — if using active dry yeast, dissolve it in the warm milk (about 110°F/43°C) with a pinch of sugar and let it bloom for 5–10 minutes before mixing with the dry ingredients. Reduce overall water if the dough becomes too slack.
- → How should I store and reheat the rolls?
-
Cool completely, then store in an airtight container at room temperature for 2–3 days. Freeze cooled rolls in a sealed bag for up to 3 months. Reheat from frozen in a 350°F oven until warmed through, or gently steam/cover with foil to retain moisture.
- → Tips for a shiny, browned top and oat topping?
-
Brush rolls with milk or melted butter before and/or after baking for a soft, golden finish. For extra sheen, use an egg wash. Press a few rolled oats onto each top before the second rise so they adhere while baking.