 Save to Pinterest
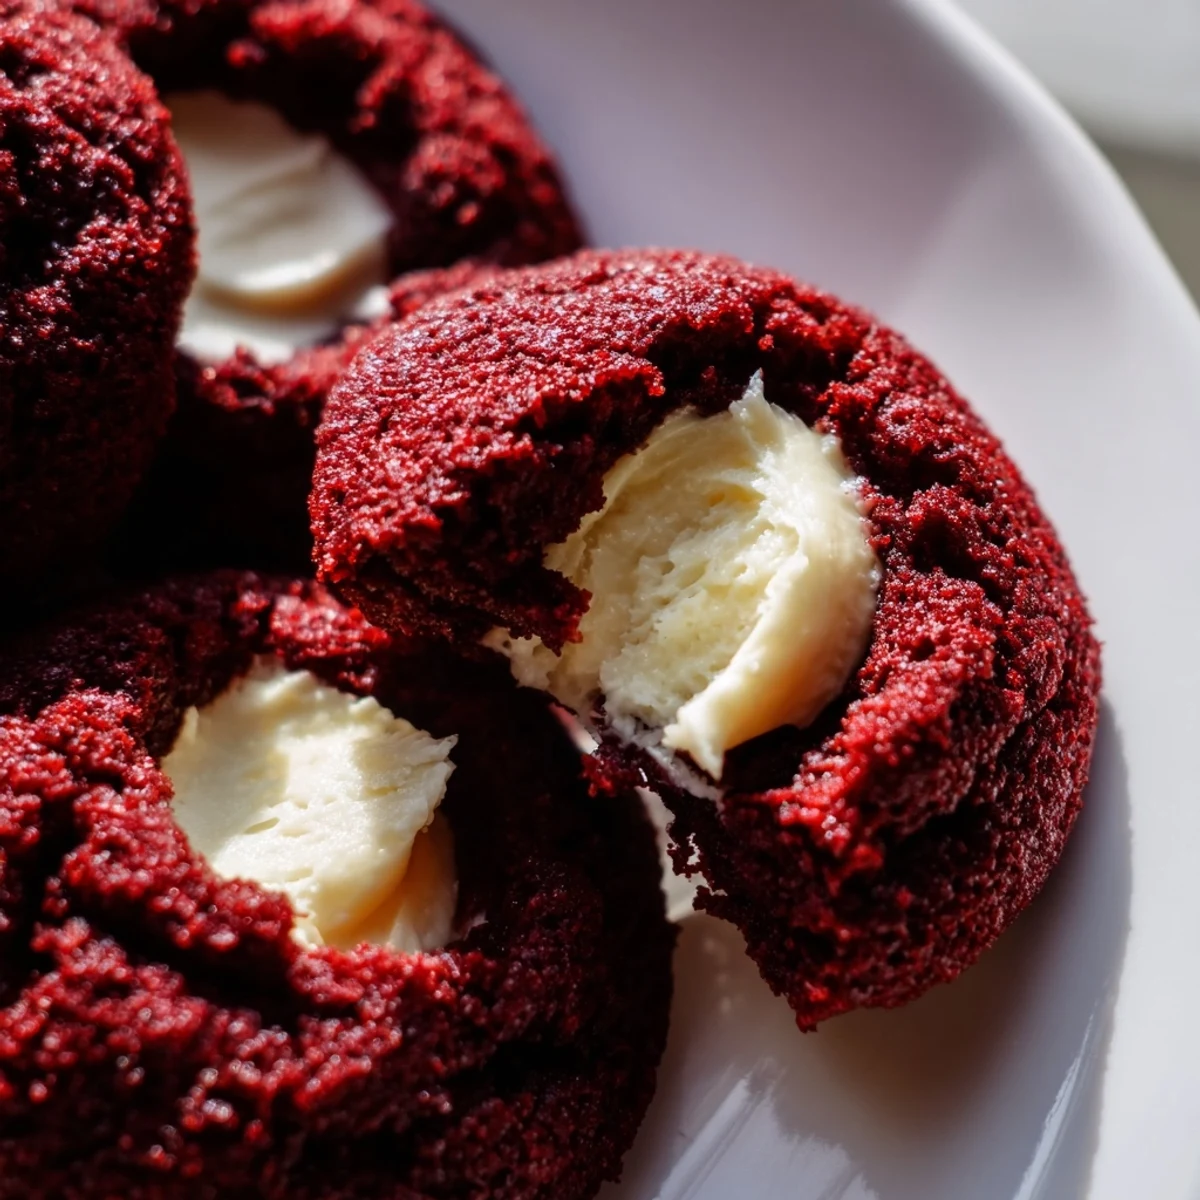
 These indulgent red velvet thumbprint cookies combine the classic cocoa-infused velvet texture with a luscious cream cheese center. The dough comes together quickly with basic pantry staples, while the cheesecake filling adds a tangy sweetness that perfectly complements the chocolate notes.
Baking at 350°F for just 12 minutes produces cookies with set edges and irresistibly soft centers. The vibrant red color makes them showstoppers for holiday platters, Valentine's Day treats, or anytime you want to impress with minimal effort.
Swap the cream cheese filling for white chocolate ganache when craving extra richness, or top with festive sprinkles for celebrations. Store refrigerated in an airtight container for up to four days.
The first time I made red velvet anything, I accidentally dyed my kitchen counters pink. My roommate walked in, took one look at the crime scene, and asked if I'd started a bakery in our apartment. Those cookies disappeared in twenty minutes flat, pink counters and all.
My neighbor's daughter spotted these cooling on my counter last December and declared them Christmas in cookie form. Now she asks about them in July, and I've learned that red velvet knows no season when something tastes this good.
Ingredients
- All-purpose flour: The structure builder here, don't pack it down or your cookies will turn into little red bricks
- Unsweetened cocoa powder: This isn't a chocolate cookie, but that subtle cocoa depth is what makes red velvet sing
- Baking soda: Just enough lift to keep the centers tender without spreading too thin
- Salt: Unsweetened cocoa needs a little wake-up call to reveal its chocolate personality
- Unsalted butter: Softened to room temperature, this creates that melt-in-your-mouth texture we're after
- Granulated sugar: Creamed properly with the butter, this is what gives the cookies their tender crumb
- Egg yolk: The extra richness from skipping the white makes these cookies luxuriously soft
- Whole milk: Just enough moisture to bring everything together without making the dough sticky
- Vanilla extract: Don't use the imitation stuff, the real deal carries that classic bakery flavor
- Red food coloring: Gel coloring gives you that vibrant red without adding excess liquid
- Cream cheese: Cold straight from the fridge makes for a mess, let it soften for that silky filling
- Powdered sugar: Sift it first or risk tiny sweet lumps in your otherwise smooth filling
Instructions
- Get your oven ready:
- Preheat to 350°F and line those baking sheets with parchment, your future self will thank you during cleanup
- Whisk the dry team:
- Flour, cocoa, baking soda, and salt in one bowl, give it a quick whisk to aerate
- Cream the butter and sugar:
- Beat them together for about 2 minutes until pale and fluffy, this step is worth every second
- Add the wet ingredients:
- Egg yolk, milk, vanilla, and that red coloring go in, beat until you've got a uniform coral dough
- Bring it together:
- Fold in the dry ingredients gently, stop as soon as you no longer see white streaks
- Make the filling:
- Whisk cream cheese, powdered sugar, and vanilla until smooth, pop it in the fridge to firm up slightly
- Shape your cookies:
- Roll into 1-inch balls, spacing them 2 inches apart because they'll spread a bit
- Create the thumbprint:
- Press gently into the center with your thumb, the dough might crack slightly but that's part of the charm
- Fill the centers:
- Scoop about half a teaspoon of filling into each well, don't overfill or it will spill during baking
- Bake to perfection:
- 11 to 13 minutes until the edges look set, the centers will still be soft
- The waiting game:
- Cool on the sheet for 5 minutes, they're too fragile to move immediately
 Save to Pinterest
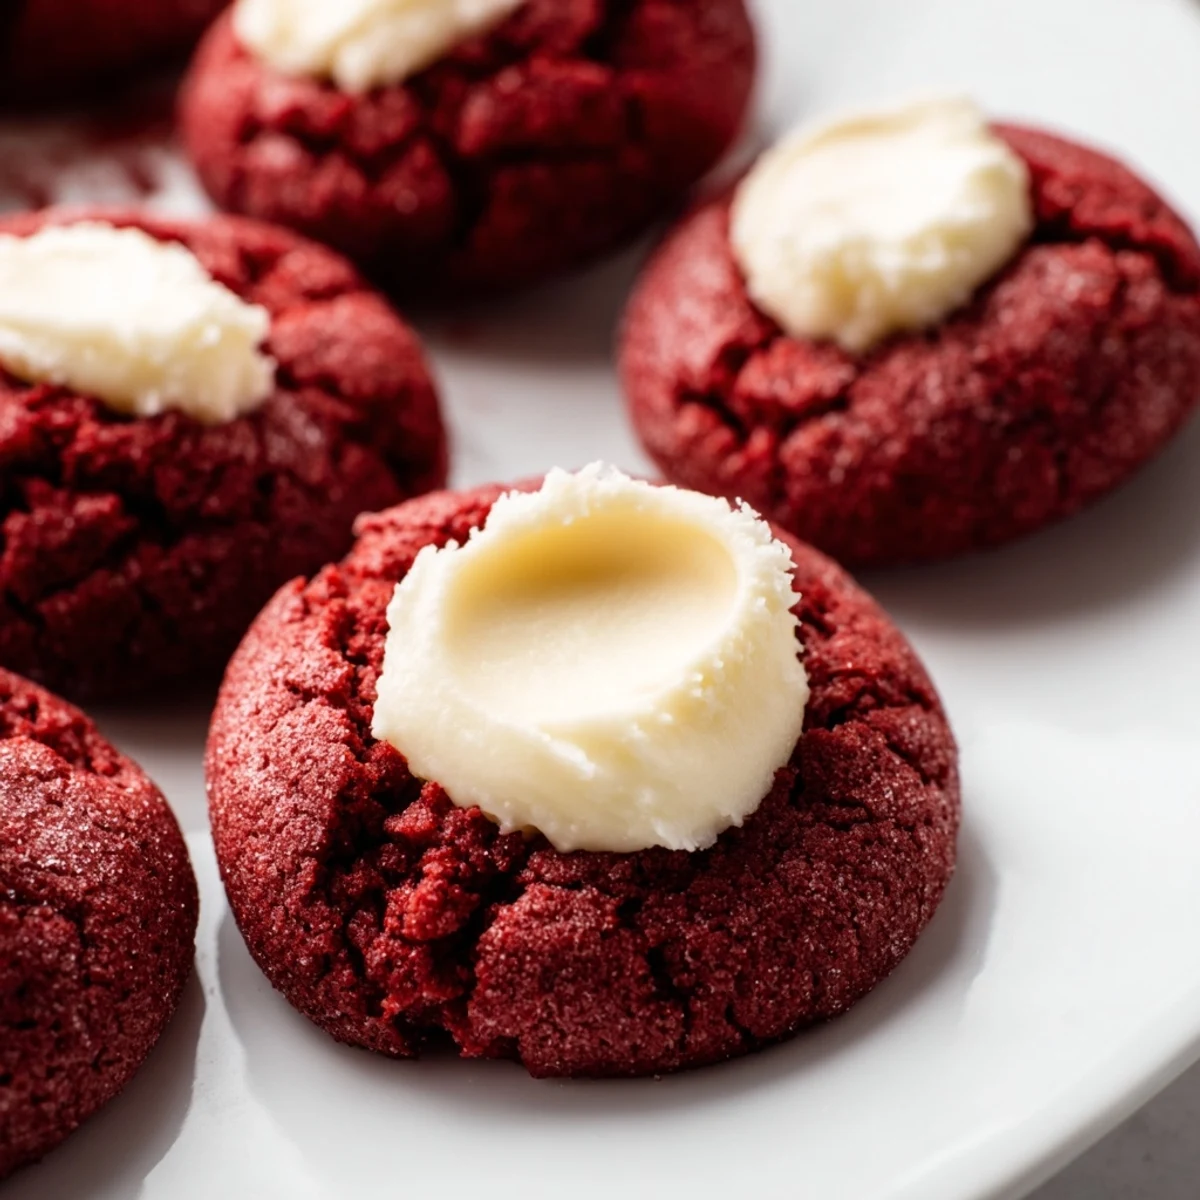
 These became my go-to for new neighbors, coworkers' birthdays, and that one Tuesday when nothing went right and I needed something beautiful to come out of my kitchen. There's something about that red and white contrast that makes people feel special.
Making Them Ahead
The dough balls freeze beautifully for up to three months, just thaw them on the counter while your oven preheats. The filling needs to stay fresh though, so prep that the same day you're planning to bake.
Getting That Perfect Thumbprint
Chill the dough for 15 minutes before shaping if your kitchen runs warm, this prevents the indentation from puffing back up. Some bakers use the rounded back of a measuring spoon for more uniform wells.
Filling Variations That Work
White chocolate ganache is divine here, just melt white chocolate with a splash of cream. During peppermint season, crush candy canes over the filling right after baking for that festive crunch.
- Sprinkle a little sea salt over the filling before baking for a sweet and salty moment
- Mini chocolate chips pressed into the dough before thumbprinting adds texture
- A tiny drop of almond extract in the filling makes it taste like cherry chocolate
 Save to Pinterest
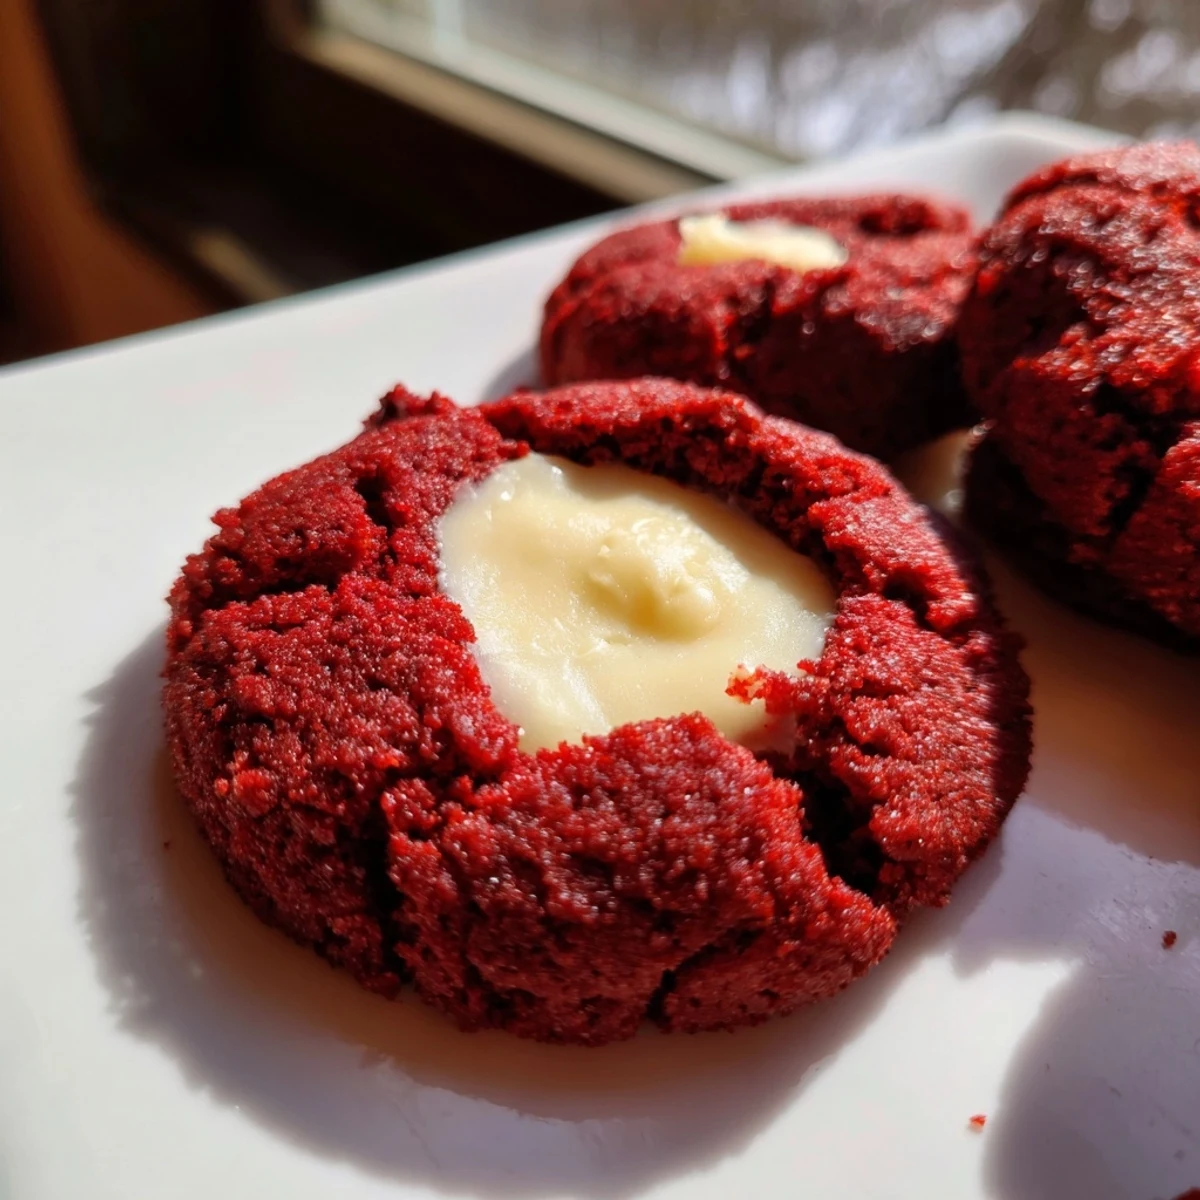
 These are the cookies that turn an ordinary Tuesday into something worth celebrating, no special occasion required.
Recipe FAQ
- → What makes these cookies red?
-
The vibrant red color comes from adding one teaspoon of red food coloring to the dough. This classic ingredient gives the cookies their signature velvet appearance that makes them perfect for holidays and special celebrations.
- → Can I use white chocolate instead of cream cheese filling?
-
Absolutely. White chocolate ganache makes an excellent alternative filling. Simply melt white chocolate with a touch of cream and let it cool slightly before filling the thumbprint centers.
- → How do I prevent the cookies from spreading too much?
-
Chilling the dough for 15-20 minutes before rolling into balls helps reduce spreading. Also, ensure your butter is softened but not melted, and measure flour accurately by spooning it into measuring cups rather than scooping directly.
- → Why did my thumbprints close during baking?
-
If the indentations puff back up, try pressing them deeper before baking or using the round handle of a wooden spoon to create wider wells. You can also gently press centers again immediately after removing from the oven while they're still warm.
- → Can I freeze these red velvet cookies?
-
Yes, freeze baked cookies without filling for up to three months. Thaw completely before adding cream cheese filling. Alternatively, freeze the dough balls and bake fresh, adding 1-2 minutes to the baking time.
- → What's the best way to store these cookies?
-
Keep them refrigerated in an airtight container for up to four days since the cream cheese filling requires cool storage. Bring to room temperature 15 minutes before serving for the best texture and flavor.