
 Save to Pinterest
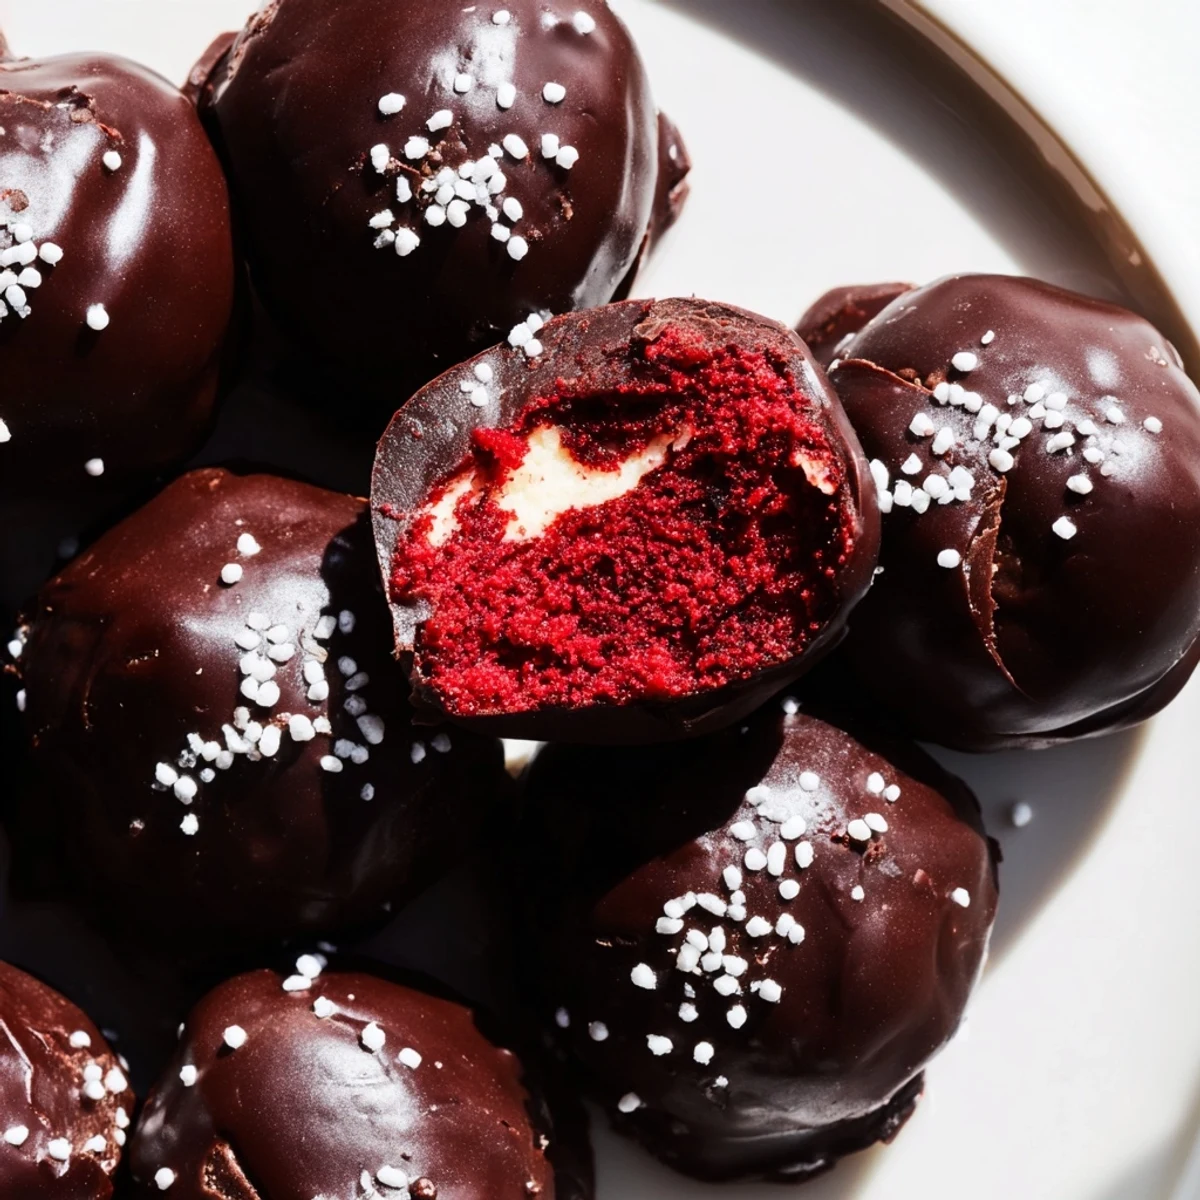
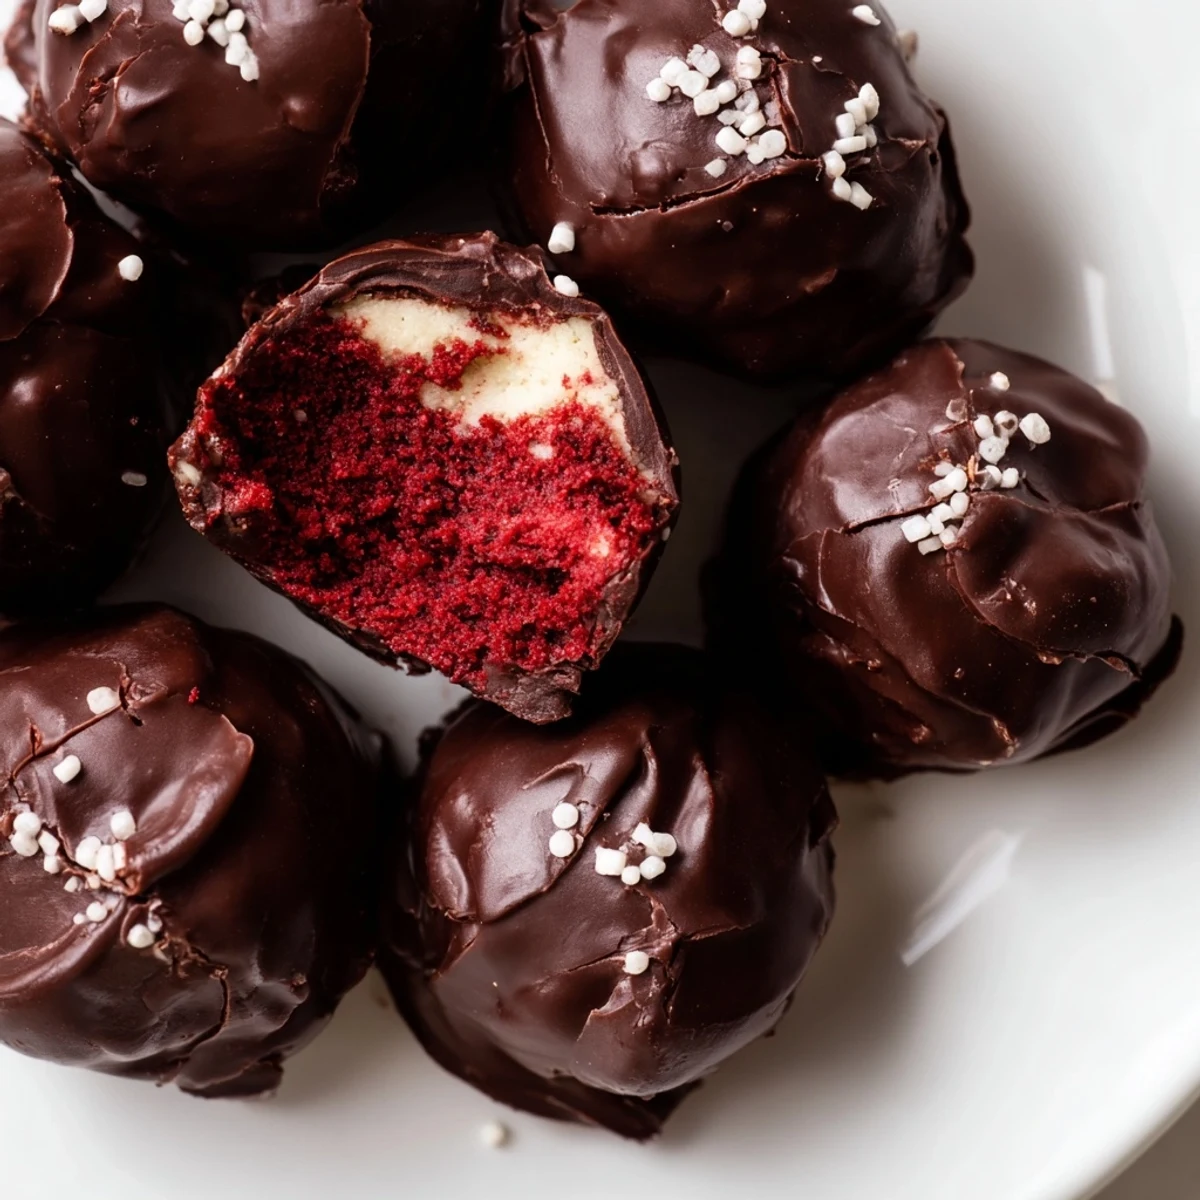
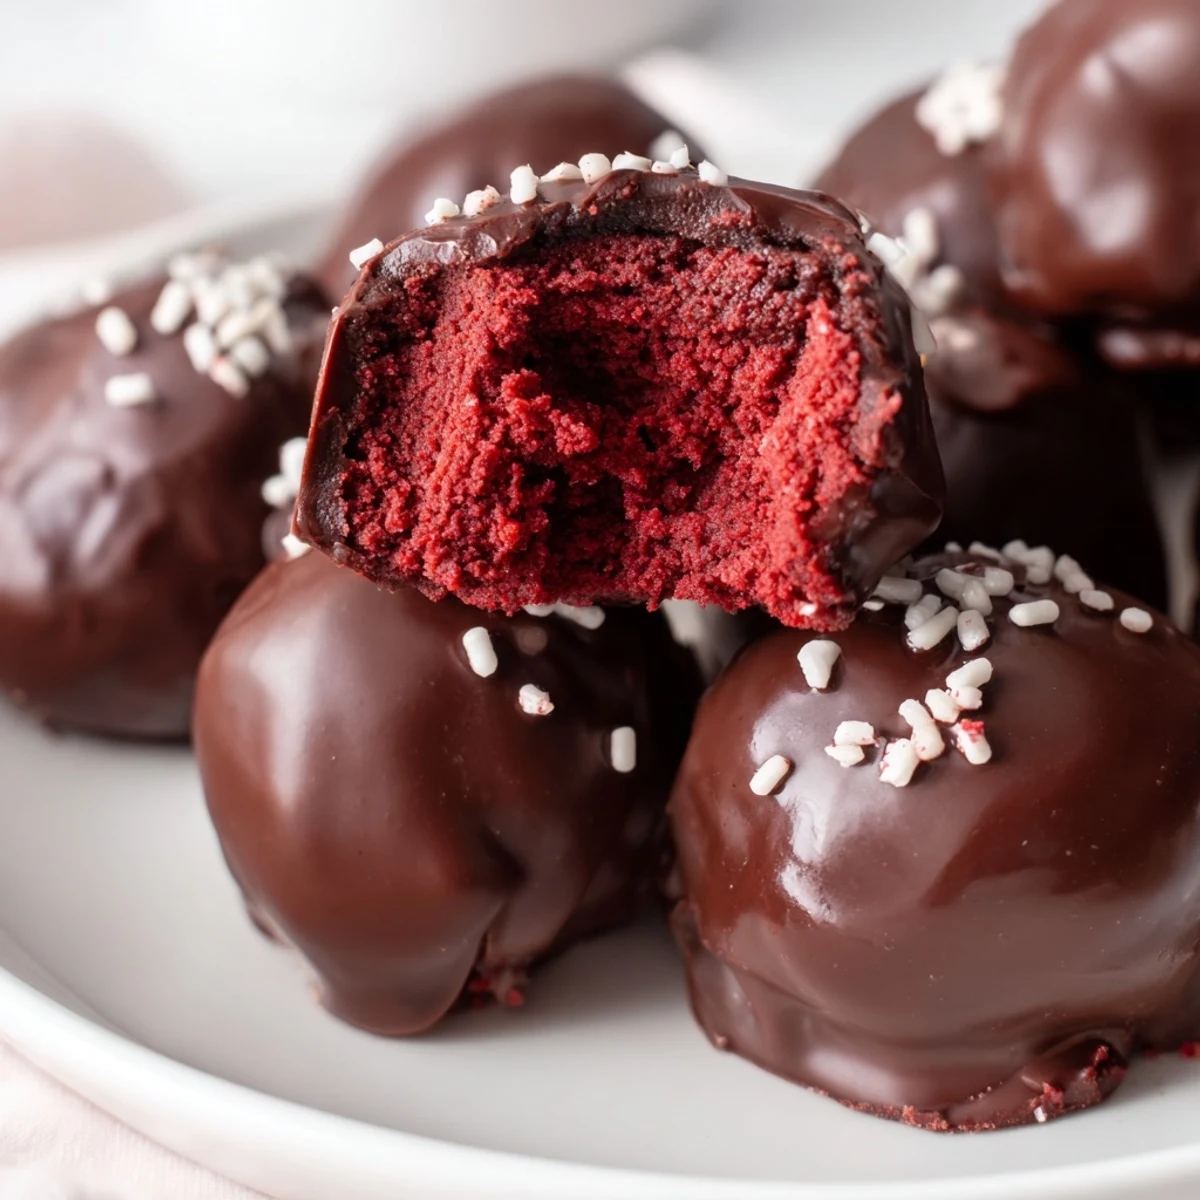
 These irresistible red velvet cheesecake balls combine the best of both worlds—rich, moist red velvet cake and creamy cheesecake filling—all encased in a decadent chocolate shell. Each bite delivers the perfect balance of sweet, tangy, and chocolatey flavors that make them ideal for entertaining or gifting. The mixture comes together quickly, and after a brief chill in the freezer, they're ready for their chocolate coating. Choose white chocolate for a striking contrast or dark chocolate for intense flavor.
The process is straightforward: bake a simple red velvet cake, combine the crumbs with a sweetened cream cheese mixture, roll into uniform spheres, then dip in melted chocolate. The result is a stunning dessert that looks impressive but requires minimal effort. Plus, they freeze beautifully, so you can make them weeks ahead of parties or holidays.
The kitchen smelled like a carnival the afternoon I burned my first batch of red velvet cake trying to make these little cheesecake-stuffed bites. Smoke curled from the oven, the smoke alarm screamed, and my dog howled along from under the table. I threw open every window in the apartment and stood there laughing at myself, flour dusted across my forehead like a badge of poor judgment.
I brought a tray of these to my neighbors holiday party two years ago and watched a woman eat four of them standing right next to the cheese board, ignoring the brie completely. She found me before the night was over and made me promise to text her the instructions. I still send her a batch every December.
Ingredients
- All-purpose flour (1 1/4 cups, 160 g): Provides the tender structure for the red velvet cake without making it dense.
- Granulated sugar (3/4 cup, 150 g): Sweetens the cake base while keeping the crumb soft and moist.
- Unsweetened cocoa powder (2 tbsp, 16 g): Just enough to give that subtle chocolate undertone without overpowering the red velvet character.
- Baking soda (1/2 tsp): Gives the cake a gentle lift in the absence of much acidity from the buttermilk.
- Salt (1/4 tsp): Enhances every flavor in the cake and balances the sweetness.
- Buttermilk, room temperature (1/2 cup, 120 ml): The secret to that velvety texture, and always let it come to room temperature for even mixing.
- Unsalted butter, softened (1/2 cup, 110 g): Adds richness and moisture to the cake crumb.
- Large eggs, room temperature (2): Bind everything together and contribute to the soft texture.
- Vanilla extract (1 tsp for cake, 1/2 tsp for cheesecake): Use the real stuff here, imitation vanilla will announce itself loudly.
- Red food coloring (1 tbsp): Gel or liquid both work, but gel gives you that vivid color without thinning the batter.
- Cream cheese, softened (8 oz, 225 g): The heart of the filling, and it must be fully softened or you will fight lumps the entire time.
- Powdered sugar (1/4 cup, 30 g): Sweetens the cheesecake center without making it grainy.
- White or dark chocolate (10 oz, 285 g): The coating that seals everything in, and melting wafers tend to give a smoother finish than chopped bars.
- Red or white sprinkles (optional): A cheerful finishing touch that makes them look party-ready.
Instructions
- Bake the red velvet cake:
- Preheat your oven to 350F (175C) and grease an 8x8-inch pan with parchment paper. Whisk the flour, sugar, cocoa, baking soda, and salt in one bowl, then combine the buttermilk, butter, eggs, vanilla, and red food coloring in another. Fold the wet into the dry until just smooth, pour it into the pan, and bake for 18 to 20 minutes until a toothpick comes out clean. Let it cool completely, which takes patience but is non-negotiable.
- Whip up the cheesecake filling:
- Beat the cream cheese with powdered sugar and vanilla until silky and lump-free. If the mixture feels too soft to hold its shape, pop it in the fridge for 15 minutes and it will firm up nicely.
- Build the balls:
- Crumble the cooled cake into a large bowl with your fingers until no large pieces remain. Add the cheesecake mixture and work it together until a pliable dough forms. Roll into 1-inch balls and set them on a parchment-lined sheet, then freeze for a full hour until they are rock solid.
- Dip and finish:
- Melt the chocolate in 20-second bursts in the microwave, stirring between each interval until completely smooth. Drop each frozen ball in and roll it around with a fork until every surface is coated, then lift it out and place it back on the parchment. Add sprinkles immediately before the shell sets, then let them harden at room temperature or in the fridge.
 Save to Pinterest
 The moment I knew these were special was when my brother in law, a man who claims he does not eat sweets, secretly packed six of them in a napkin before heading home.
Storing and Making Ahead
These keep beautifully in an airtight container in the refrigerator for up to a week, and the chocolate shell actually gets a satisfying snap when they are chilled. You can also freeze them for up to a month, which makes them a brilliant make-ahead option for busy weeks when you want something impressive with zero last-minute effort.
Flavor Variations Worth Trying
Ruby chocolate creates a gorgeous pink shell that makes the balls look like something from a Parisian bakery window. A tablespoon of Chambord or Baileys beaten into the cheesecake filling transforms them into an entirely adult dessert that pairs beautifully with coffee after dinner.
Serving Suggestions and Final Thoughts
Arrange them on a white platter with fresh strawberries scattered around for a presentation that looks far more elaborate than the effort involved. They are best served slightly chilled but not cold, so pull them from the fridge about 10 minutes before guests arrive.
- A light dusting of cocoa powder over the plate adds a professional touch.
- Keep them away from direct sunlight or the chocolate will bloom and look cloudy.
- Always make a few extra because someone will inevitably eat them before the party starts.
 Save to Pinterest
 Every time I make these I think about that smoky kitchen and my howling dog, and I am grateful I tried again. Some recipes are worth a little disaster before they become a tradition.
Recipe FAQ
- → Can I use store-bought cake instead of baking from scratch?
-
Absolutely! A store-bought red velvet cake or cake mix works perfectly. You'll need about one 8x8-inch cake or half of a standard 9x13-inch cake. Just ensure it's completely cooled before crumbling and mixing with the cheesecake filling.
- → How long do these keep in the refrigerator?
-
Store your red velvet cheesecake balls in an airtight container in the refrigerator for up to one week. Place parchment paper between layers to prevent sticking. They actually develop deeper flavor after a day or two as the ingredients meld together.
- → Can I freeze these for later?
-
Yes, these freeze exceptionally well! Freeze the uncoated balls on a baking sheet first, then transfer to a freezer bag for up to one month. If already coated in chocolate, freeze them in a single layer on a parchment-lined sheet, then store in a container with parchment between layers. Thaw in the refrigerator overnight before serving.
- → What's the best way to melt chocolate for coating?
-
Melt chocolate in a microwave-safe bowl in 20-second intervals, stirring between each burst. This prevents scorching. Alternatively, use a double boiler with simmering water beneath the bowl—just ensure no water touches the chocolate. For smoothest results, add 1 teaspoon of coconut oil or vegetable shortening per cup of chocolate.
- → My mixture is too soft to roll into balls. What should I do?
-
If the dough feels sticky or soft, refrigerate it for 30-60 minutes before rolling. You can also add additional crushed cake crumbs, a tablespoon at a time, until you reach a workable consistency. For easier handling, lightly grease your hands with butter or oil, or keep a bowl of warm water nearby to dip your fingers in while rolling.
- → Can I make these smaller for appetizers?
-
Certainly! Roll them into 3/4-inch balls instead of 1-inch to create bite-sized appetizers. This will yield approximately 36-40 smaller pieces. Adjust the chilling time slightly—smaller balls freeze faster, so check them after 45 minutes. The smaller size is perfect for dessert platters where guests want to sample multiple treats.