
 Save to Pinterest
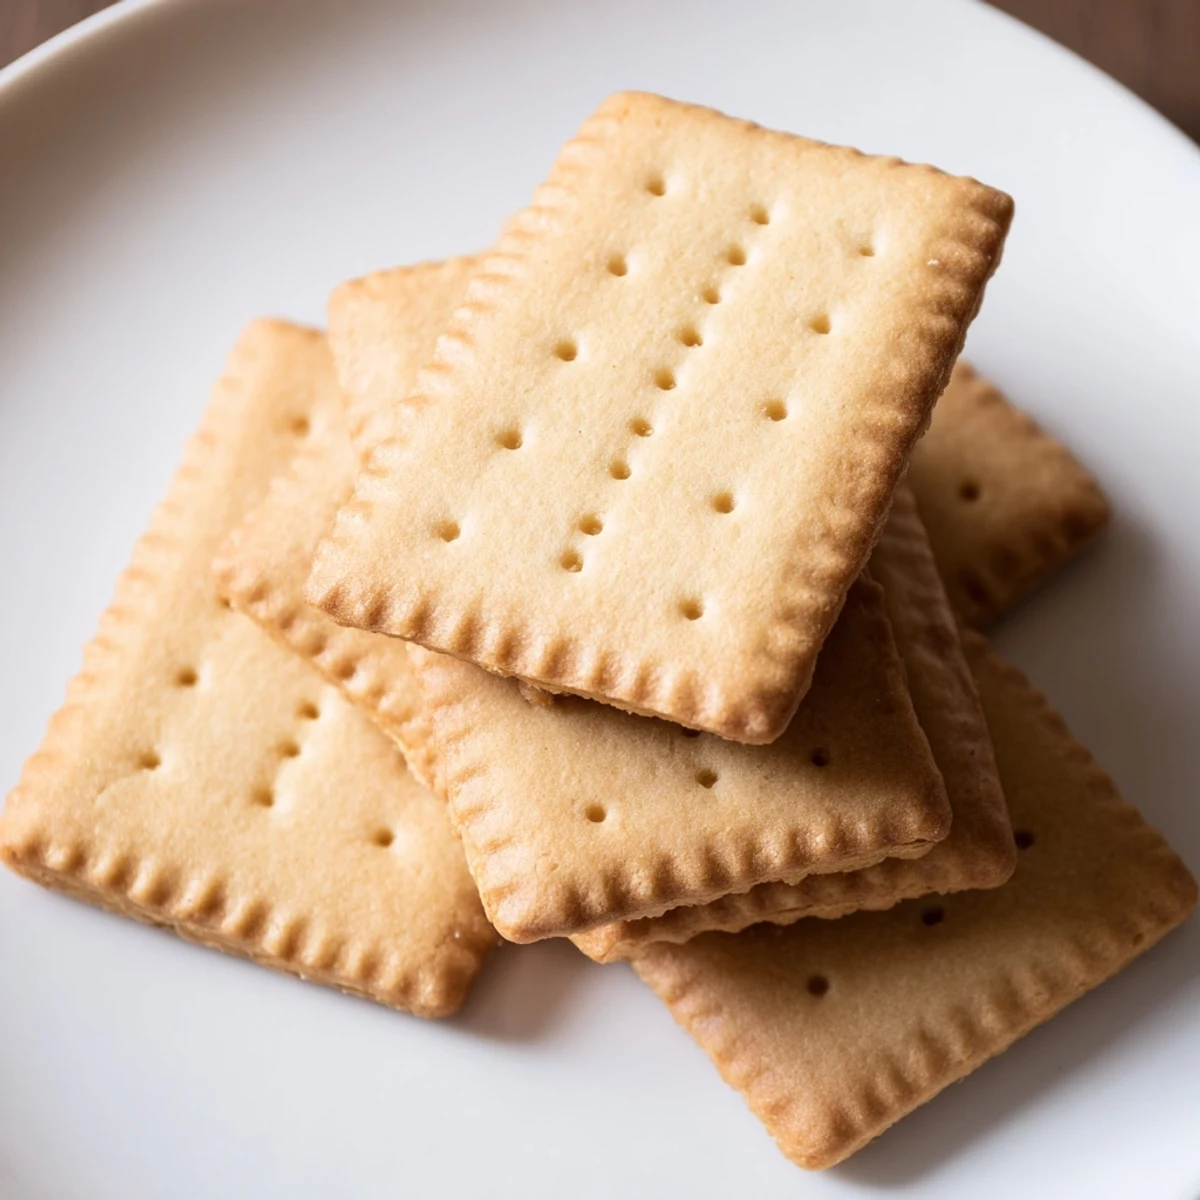
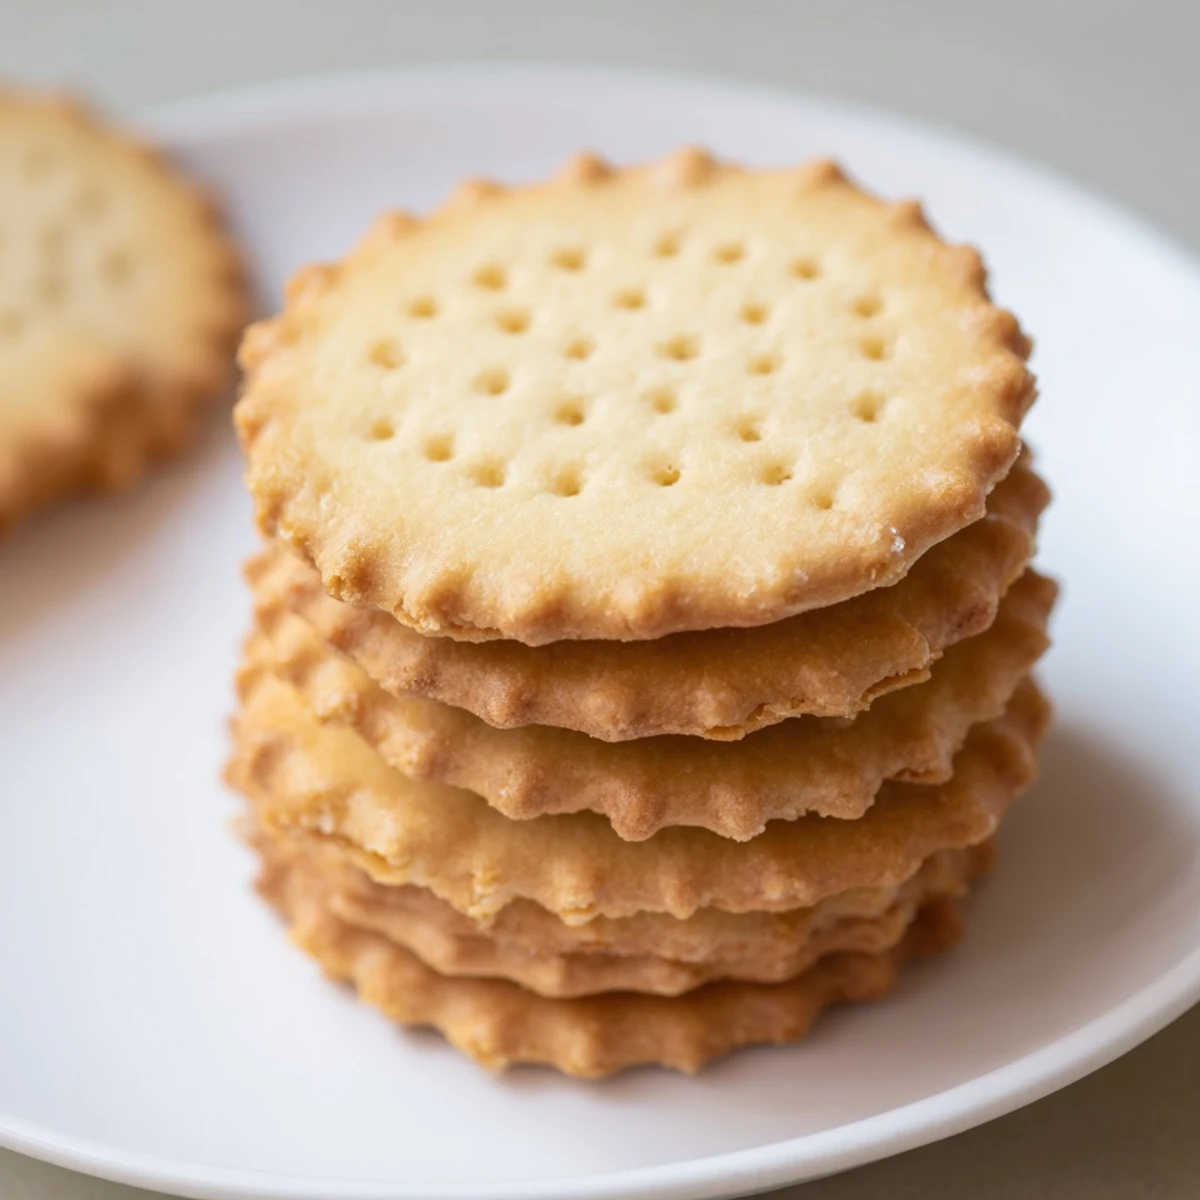
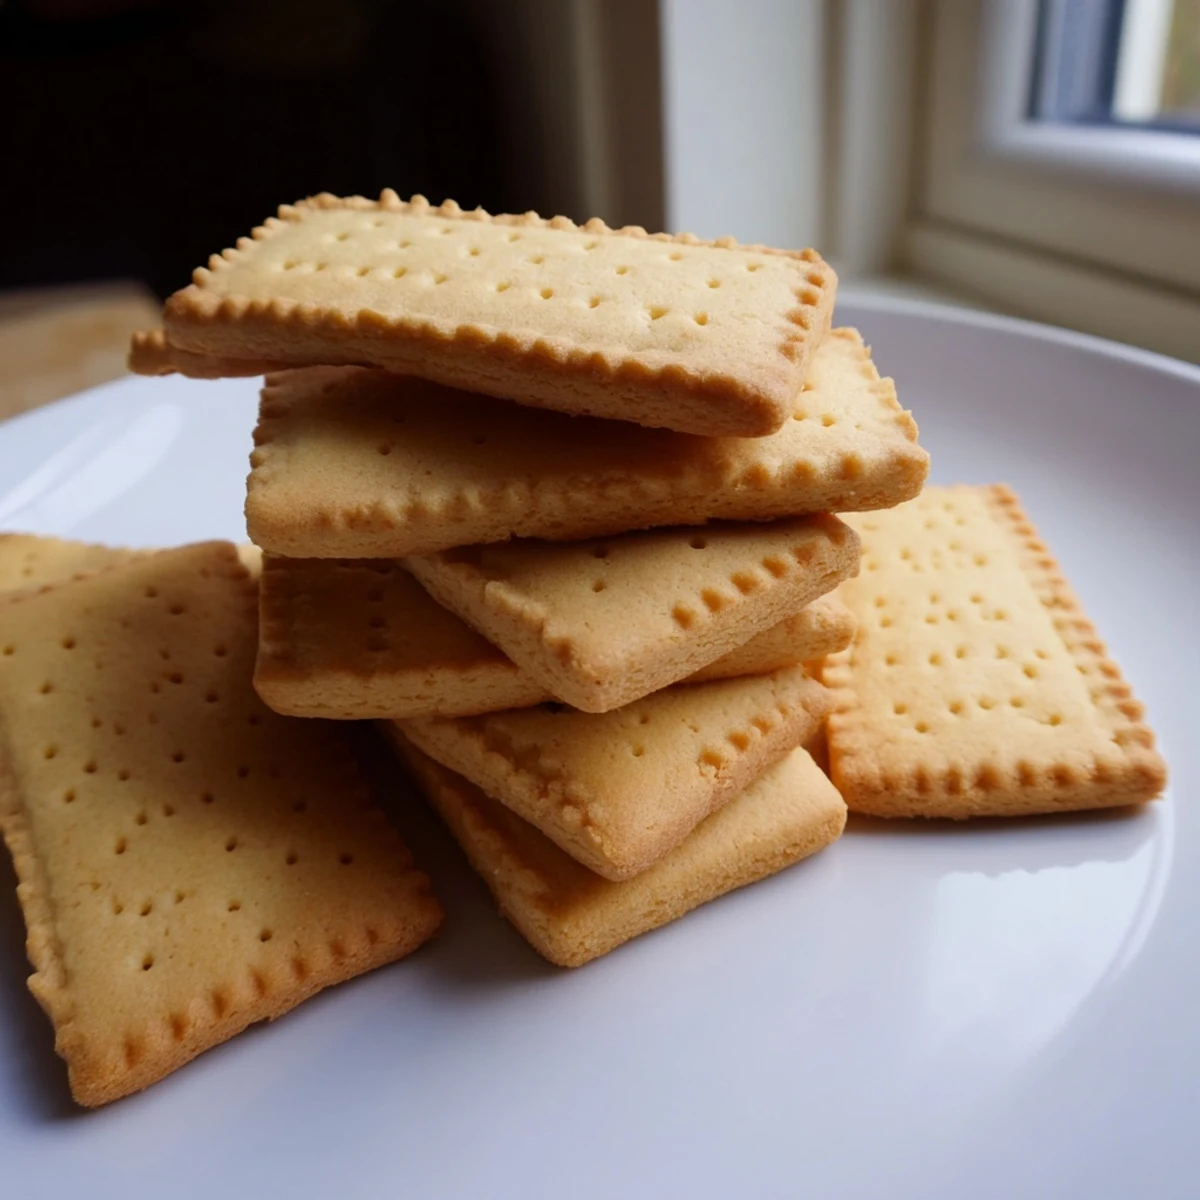
 Les petits beurres sont des biscuits emblématiques de la pâtisserie française, reconnus pour leur texture craquante et leur couleur dorée. préparés à partir d'une pâte simple au beurre, ils se dégustent à tout moment de la journée.
Avec seulement quelques ingrédients de base — beurre doux, sucre, farine et lait — ces biscuits se réalisent en moins d'une heure, temps de repos inclus. Parfaits pour un goûter maison ou à offrir.
There is something quietly magical about a French biscuit that has survived generations without needing a single upgrade. My neighbor Madame Chevalier used to slip petits beurres into her grandson's coat pocket every morning before school, and once she caught me staring through the fence, she handed me one still warm from her tiny kitchen oven. That golden, buttery square with its fork pricked dots and jagged edges became my personal benchmark for what a cookie should be. I spent years convinced some professional secret was required until I finally tried making them myself on a rainy Tuesday with nothing but a saucepan and stubborn optimism.
I brought a tin of these to a friend's dinner party last winter, fully intending them as an after dinner nibble alongside coffee. They never made it past the kitchen counter because three guests discovered them while helping unload coats, and within ten minutes the tin was empty and someone was asking if I sold them. That was the evening I learned petits beurres are less a dessert and more a conversation piece that disappears when you blink.
Ingredients
- 100 g unsalted butter: The soul of this biscuit, so use good quality European style butter if you can find it because the higher fat content gives that authentic snap.
- 100 g granulated sugar: Just enough sweetness without tipping into cookie territory, keeping the profile honest and French.
- 60 ml whole milk: Whole milk matters here because the fat helps bind the dough and contributes to the tender crumb.
- 1 pinch of salt: A tiny gesture that wakes up every gram of butter and makes the sweetness feel balanced rather than flat.
- 250 g all purpose flour: Standard flour works perfectly, but measure by weight rather than cups to avoid a crumbly or sticky disaster.
- 5 g baking powder (about half a packet): A gentle lift that keeps the biscuits from turning into tooth breaking tiles while preserving that characteristic density.
Instructions
- Melt and blend the base:
- In a saucepan over low heat, melt the butter with the milk, sugar, and salt, stirring gently until the butter disappears completely and the mixture looks like warm caramel colored silk. Let it cool until it no longer steams, because scalding liquid will cook the flour on contact and leave you with lumps.
- Combine the dry ingredients:
- In a large bowl, whisk the flour and baking powder together so the leavening is evenly distributed before any liquid joins the party. This takes about fifteen seconds and saves you from finding bitter pockets of baking powder later.
- Form the dough:
- Pour the warm butter mixture into the flour and stir with a wooden spoon until a shaggy mass forms, then switch to your hands and knead gently until the dough becomes smooth and cohesive. It should feel soft but not sticky, like a well rested pie dough that knows exactly what it wants to be.
- Rest in the refrigerator:
- Shape the dough into a ball, wrap it tightly in plastic film, and let it sleep in the refrigerator for thirty minutes while the butter firms up and the gluten relaxes. Skipping this step means your biscuits will spread and lose their sharp edges in the oven.
- Preheat the oven:
- Set your oven to 180 degrees Celsius using conventional heat, because fan forced baking can brown the edges too quickly before the centers set. Give it a full fifteen minutes to reach temperature.
- Roll and cut:
- On a lightly floured surface, roll the chilled dough to an even 5 millimeter thickness and cut out your biscuits using a traditional petit beurre cutter or a simple knife into neat rectangles. The dough scraps can be gently re rolled once, but after that the biscuits toughen up.
- Decorate and arrange:
- Place each biscuit on a baking sheet lined with parchment paper and prick the surface with a fork in neat rows, which is not merely decorative but helps steam escape and keeps them flat. Leave a small gap between each one because they spread just slightly.
- Bake until golden:
- Slide the tray into the oven and bake for twelve minutes, watching for the edges to turn a warm amber while the centers remain pale and matte. Your kitchen will smell like a French bakery and that is your reward for patience.
- Cool completely:
- Transfer the biscuits to a wire rack and let them cool entirely before tasting, because the crisp texture only develops as they cool and a warm petit beurre will misleadingly seem soft.
 Save to Pinterest
 Last spring I packed a stack of these in a tin and mailed them to my mother three provinces away, wrapped in wax paper and crossed fingers. She called the day the package arrived and said the house smelled like her grandmother's kitchen, a woman she had never once mentioned baking with.
Flavor Variations Worth Trying
A scraped vanilla bean added to the warm butter mixture turns these from lovely into something people will ask about by name. Lemon zest rubbed into the sugar before melting gives a bright edge that works beautifully with afternoon tea, and a friend swears by orange zest with a pinch of cardamom, though that may be straying from tradition.
Dipping in Chocolate
Melted dark chocolate transforms half dipped petits beurres into something elegant enough for a gift box or a holiday dessert spread. Let the chocolate set on parchment paper at room temperature rather than refrigerating them, because condensation makes the biscuit soggy and defeats the whole point of that satisfying snap.
Storage and Freshness
An airtight tin kept at room temperature is all these biscuits need to stay crisp for up to a week, though in my experience they rarely last that long. Layer them between sheets of wax paper if you are stacking them, so the fork pricked tops do not scratch each other.
- Freeze the unbaked dough wrapped tightly for up to a month and slice biscuits directly from frozen, adding two extra minutes to the bake time.
- A tin of these tucked into a care package tells someone you thought about them longer than a store bought box ever could.
- Always let them cool completely before storing, because trapped warmth creates steam and steam is the enemy of crisp.
 Save to Pinterest
 Some recipes are projects and some are rituals, and petits beurres are firmly in the second category. Make them once and you will find yourself reaching for that saucepan again sooner than you expect.
Recipe FAQ
- → Pourquoi faut-il laisser reposer la pâte au réfrigérateur ?
-
Le temps de repos au froid permet au beurre de se solidifier, ce qui rend la pâte plus facile à étaler et à découper. Il aide également la pâte à développer une meilleure texture lors de la cuisson.
- → Comment obtenir la forme traditionnelle du petit beurre ?
-
Utilisez un emporte-pièce spécialement conçu pour les petits beurres, qui donne les bords dentelés caractéristiques. À défaut, un simple couteau ou un emporte-pièce rond fera l'affaire.
- → Pourquoi piquer les biscuits avec une fourchette ?
-
Le piquage à la fourchette est une tradition décorative qui permet également aux biscuits de cuire uniformément en laissant la vapeur s'échapper pendant la cuisson.
- → Combien de temps peut-on conserver ces biscuits ?
-
Conservez vos petits beurres dans une boîte hermétique à température ambiante. Ils se gardent parfaitement jusqu'à une semaine tout en restant craquants.
- → Peut-on aromatiser la pâte ?
-
Absolument. Vous pouvez ajouter une pincée de vanille en poudre, du zeste de citron ou même un peu d'extrait d'amande pour personnaliser vos biscuits selon vos goûts.
- → Comment rendre les petits beurres plus gourmands ?
-
Vous pouvez tremper la moitié de chaque biscuit dans du chocolat fondu (noir, au lait ou blanc), puis les laisser figer sur une grille. Cela ajoute une touche irrésistible.