
 Save to Pinterest
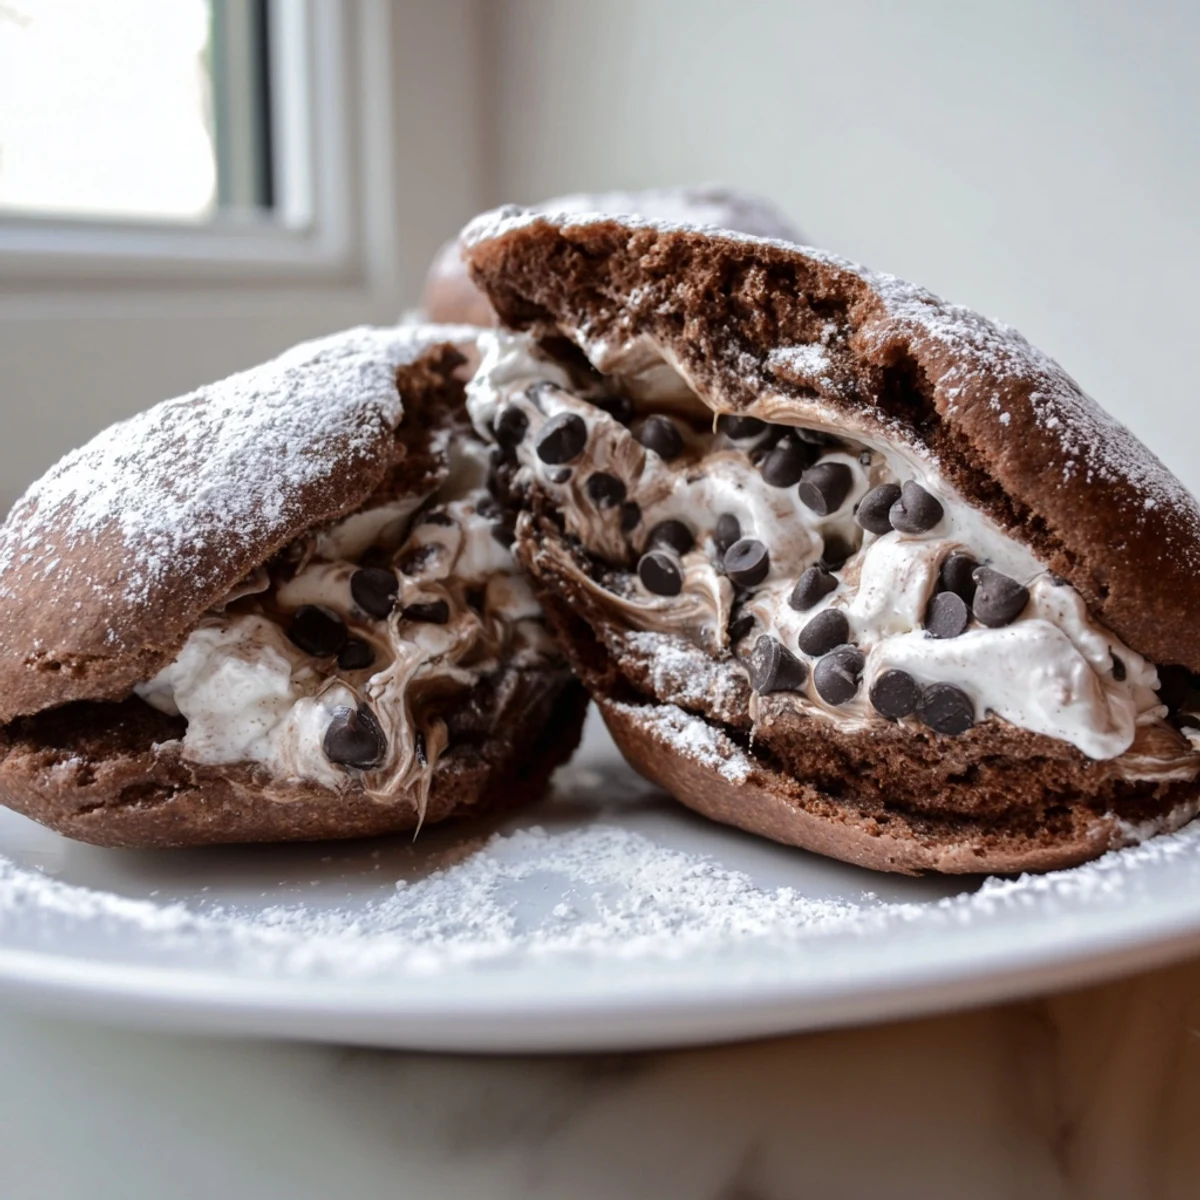
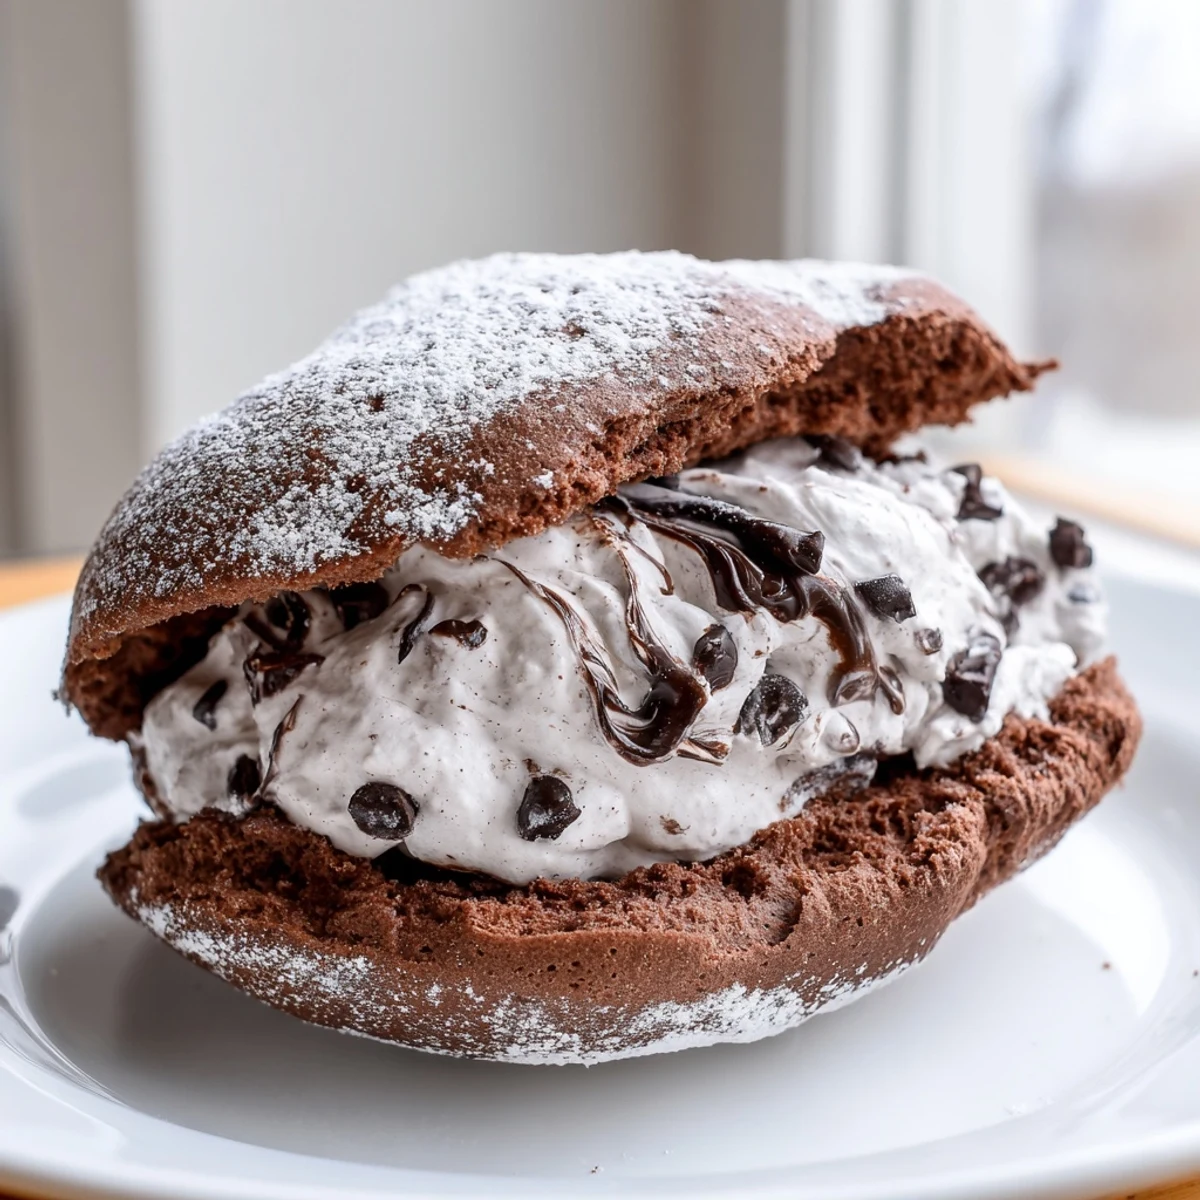
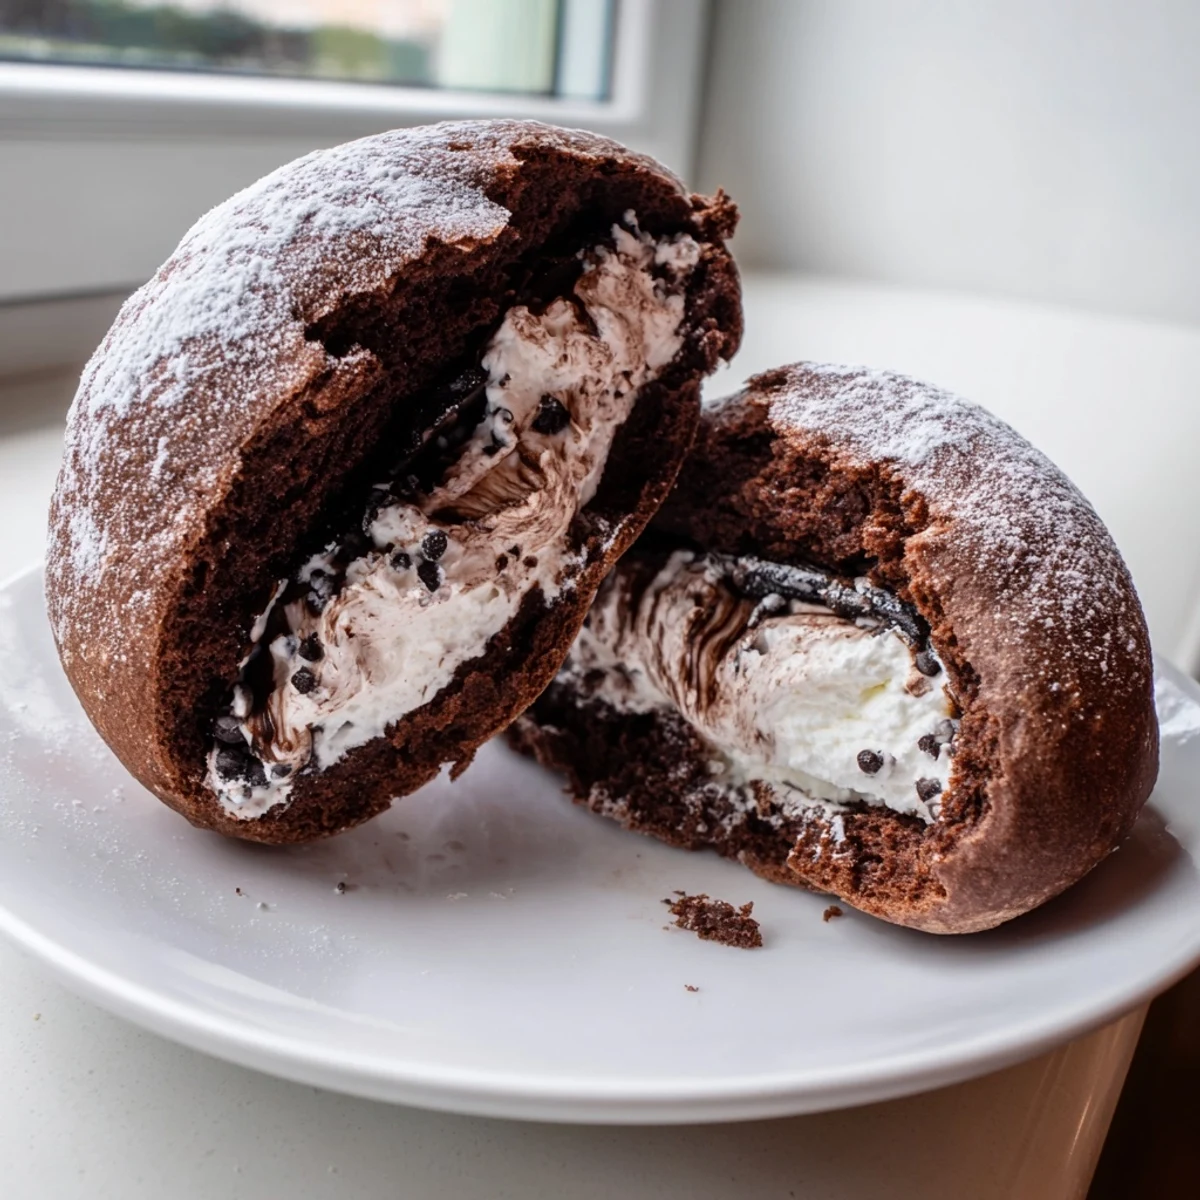
 These Italian chocolate maritozzi are soft, pillowy sweet buns enriched with cocoa powder and studded with dark chocolate chunks. After a gentle rise, each bun is baked until golden, then sliced and filled with a luscious chocolate whipped cream.
The dough comes together with basic pantry staples — flour, cocoa, milk, butter, and yeast — and requires just 25 minutes of hands-on prep. The filling is a simple blend of heavy cream, melted dark chocolate, and powdered sugar whipped to firm peaks.
Serve them fresh with a dusting of powdered sugar alongside an espresso or cappuccino for an authentic Roman breakfast experience.
The smell of cocoa and yeast rising together in a kitchen is the kind of thing that makes you stop whatever you are doing and just breathe. My first encounter with maritozzi happened in a tiny Roman bakery where the owner handed me one wrapped in wax paper, still faintly warm, and the cream oozed out before I even took a bite. I spent months trying to recreate that moment at home, and this chocolate version is the one that finally stuck.
One rainy Saturday my niece wandered into the kitchen while I was kneading, pressed her thumb into the dough, and declared it felt like a puppy belly. We both stood there watching it rise through the oven window like it was something magical.
Ingredients
- All-purpose flour (350 g): Gives the buns their soft, pillowy structure without making them tough.
- Unsweetened cocoa powder (40 g): Use a good quality one because it carries the entire flavor of the dough.
- Whole milk (120 ml, lukewarm): It should feel like warm bath water, not hot, or you will kill the yeast.
- Granulated sugar (60 g): Just enough sweetness to balance the cocoa without overpowering it.
- Active dry yeast (7 g): Always check the expiry date because dead yeast means flat buns and a sad afternoon.
- Large egg (1): Adds richness and helps bind everything together beautifully.
- Unsalted butter (40 g, softened): Leave it out for an hour before starting so it blends in smoothly.
- Vanilla extract (1/2 tsp for dough, 1 tsp for filling): Real vanilla makes a quiet but noticeable difference here.
- Salt (1/2 tsp): Do not skip this because salt wakes up every other flavor in the dough.
- Dark chocolate (60 g for dough, chopped): Little pockets of melted chocolate inside the bun are everything.
- Heavy whipping cream (300 ml): Cold cream whips faster and holds its shape better for the filling.
- Dark chocolate (70 g for filling, melted and cooled): Let it cool completely before folding in or it will deflate your cream.
- Powdered sugar (30 g for filling): Sweetens the cream gently without making it grainy.
- Egg yolk (1) and milk (2 tbsp for brushing): This wash gives the buns that gorgeous deep shine in the oven.
Instructions
- Wake up the yeast:
- Stir the yeast and a pinch of sugar into the lukewarm milk and let it sit for about 10 minutes until it bubbles and froths on top. If nothing happens, start over with fresher yeast.
- Build the dry base:
- In a large bowl, whisk together the flour, cocoa powder, remaining sugar, and salt until evenly blended and no cocoa lumps remain.
- Bring the dough together:
- Create a well in the center and drop in the egg, vanilla, softened butter, and the foamy yeast mixture. Stir with a wooden spoon until a shaggy dough starts to form.
- Knead with patience:
- Work the dough by hand or with a mixer for 8 to 10 minutes until it becomes smooth, elastic, and slightly tacky. Toss in the chopped chocolate during the last minute and knead just until the pieces are scattered throughout.
- Let it rise:
- Transfer the dough to a clean bowl, cover it with a damp towel or plastic wrap, and leave it somewhere warm for 1 to 2 hours until it has puffed to roughly double its size.
- Shape the buns:
- Gently punch down the dough and divide it into 8 even pieces. Roll each into a plump oval and set them on a parchment lined baking tray with space between them.
- The second rise:
- Cover the tray loosely and let the shaped buns rest for about 40 minutes until they look puffy and have noticeably grown.
- Preheat and glaze:
- Heat your oven to 180 degrees C (355 degrees F). Whisk the egg yolk with the milk and brush it lightly over each bun for a deep golden finish.
- Bake:
- Slide the tray into the oven and bake for 15 to 18 minutes until the tops are set and a gentle press springs back. Cool them completely on a wire rack before filling.
- Make the chocolate cream:
- Whip the cold heavy cream with powdered sugar and vanilla until you reach firm, luscious peaks. Gently fold in the melted and cooled chocolate with a spatula until the color is uniform.
- Fill and finish:
- Slice each bun lengthwise leaving a hinge at the back, pry it open gently, and pipe or spoon a generous mound of cream inside. Dust with powdered sugar if you like and serve right away.
 Save to Pinterest
 The morning I brought a plate of these to my neighbors after they helped me fix a leaky faucet, we ended up sitting on the front steps for an hour, espresso in hand, barely saying a word, just eating.
What I Learned From Burning a Batch
Oven temperatures vary wildly, and those extra two minutes can take your buns from perfect to dry. I set a timer for 14 minutes, check, and give them one or two more only if they still feel too soft when pressed gently.
The Filling Is Where You Can Play
Swapping dark chocolate for milk chocolate in the cream makes everything sweeter and softer, which kids especially love. You can also tuck a few extra chocolate chips inside each bun before piping the cream for a genuinely indulgent surprise.
Serving Them Like They Do in Rome
These are at their absolute best within a couple of hours of filling, paired with a strong espresso or cappuccino while the cream is still cold and the bun has not had time to soften too much.
- Warm the buns gently for ten seconds in the microwave before filling if you made them a day ahead.
- Keep the whipped cream in the fridge until the very moment you are ready to pipe.
- Do not assemble them more than a few hours in advance or the texture will suffer.
 Save to Pinterest
 Every time I make these, the kitchen smells like a Roman pastry shop and for a few minutes nothing else matters. That is the real gift of baking something with your hands.
Recipe FAQ
- → Can I make the dough ahead of time?
-
Yes, you can prepare the dough through the first rise, then cover and refrigerate overnight. Let it come to room temperature for about 30 minutes before shaping and proceeding with the second rise.
- → What type of dark chocolate works best?
-
Use a good-quality dark chocolate with 60-70% cocoa content for both the dough and filling. It provides rich flavor without being overly bitter.
- → Why did my buns not rise properly?
-
Ensure your yeast is fresh and the milk is lukewarm (about 38°C/100°F), not hot. Hot liquid kills yeast. Also make sure your rising environment is warm and free from drafts.
- → Can I use milk chocolate instead of dark chocolate?
-
Absolutely. Milk chocolate will give the filling a sweeter, creamier flavor. You may want to reduce the powdered sugar slightly to balance the sweetness.
- → How should I store leftover maritozzi?
-
Store filled maritozzi in the refrigerator for up to 2 days. The buns are best enjoyed fresh, as the whipped cream filling softens the pastry over time.
- → Can I freeze the baked buns without filling?
-
Yes, unfilled baked buns freeze well for up to 1 month. Thaw at room temperature, then fill with freshly made chocolate whipped cream before serving.