 Save to Pinterest
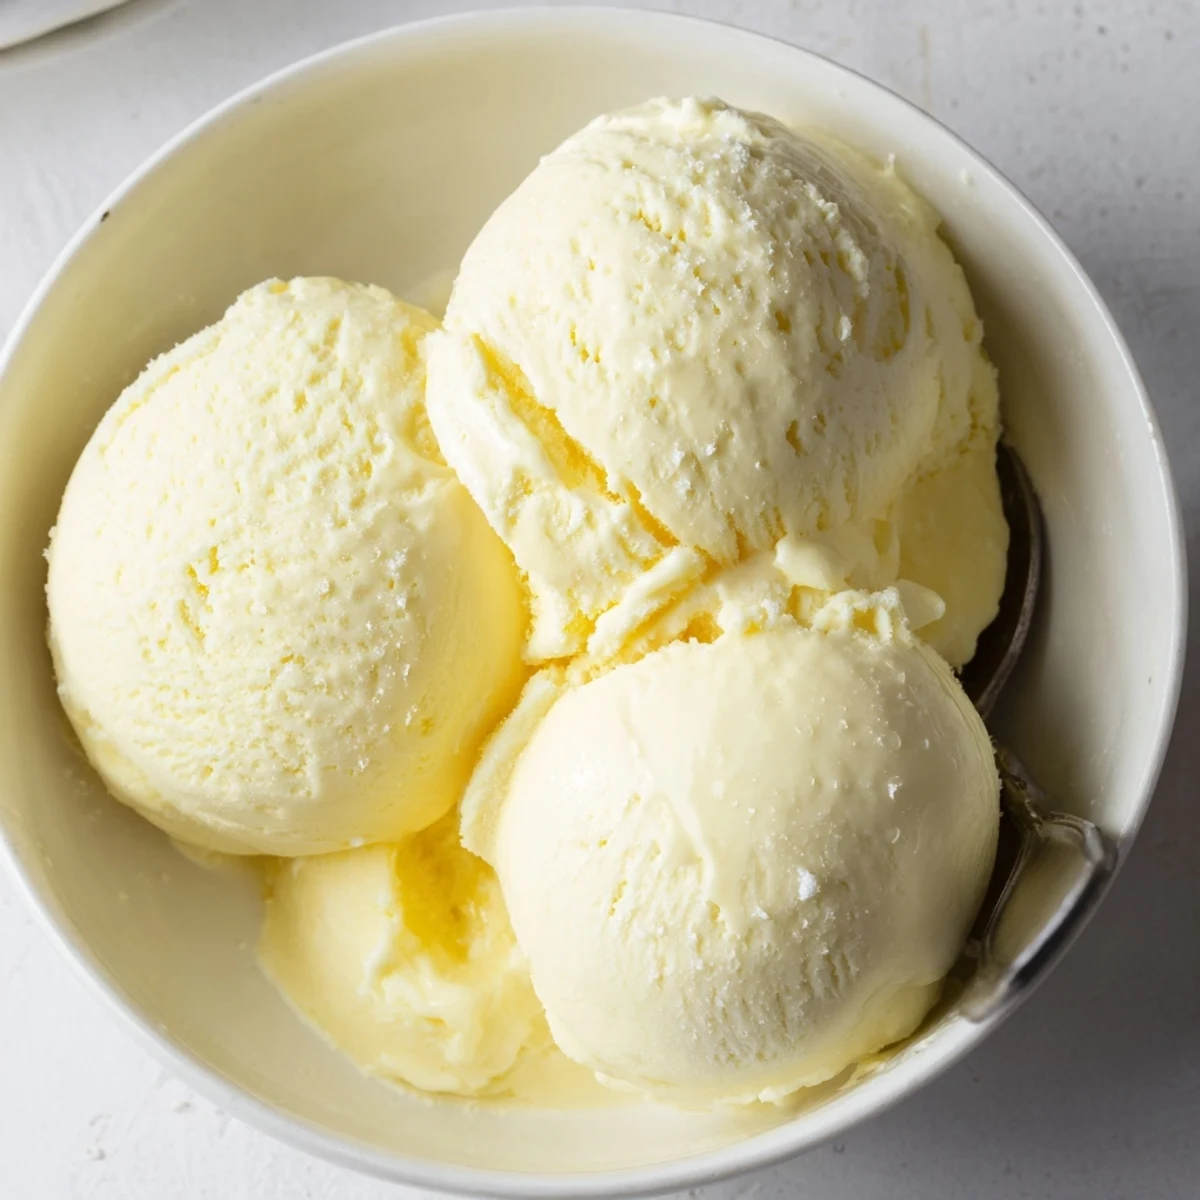
 Create restaurant-quality vanilla ice cream at home using a traditional French custard method. This technique yields an incredibly smooth, creamy texture that surpasses store-bought versions. The process involves heating cream and milk, tempering egg yolks, and slow-cooking to achieve the perfect consistency. After chilling the custard base, churning in an ice cream maker incorporates air for that signature light yet rich mouthfeel. The result is a luscious, professional-grade dessert ready for customizing with chocolate chunks, fresh berries, crushed nuts, or enjoyed plain for pure vanilla bliss.
My grandmother never measured anything when she made ice cream, and somehow it was perfect every single time. The hand cranked machine sat on her back porch every July, and we kids fought over who got to turn the handle until our arms ached. That sound of thickening custard struggling against the dasher is permanently lodged somewhere deep in my brain, right next to the smell of vanilla hitting warm cream.
I burned my first batch of custard badly enough that the kitchen smelled like caramel gone wrong for two days. A patient friend talked me through tempering eggs over the phone, and I have never scrambled a yolk since, though I still hold my breath every time I pour hot cream into those delicate yellow bowls.
Ingredients
- Heavy cream (2 cups): This is your body and richness, so do not skimp or substitute with anything lower in fat if you want that real scoop shop consistency.
- Whole milk (1 cup): Balances the cream so the result is silky rather than greasy, and whole milk specifically adds just enough dairy sweetness.
- Granulated sugar (3/4 cup): Sugar lowers the freezing point, which means your ice cream stays spoonable straight from the freezer instead of turning into a brick.
- Egg yolks (5 large): These give the custard its structure and that unmistakable velvet mouthfeel that separates proper ice cream from dressed up whipped cream.
- Pure vanilla extract (1 tablespoon): Use the real stuff here, not imitation, because vanilla is the entire personality of this recipe and shortcuts will show.
- Salt (1/4 teaspoon): Just a pinch wakes up every other flavor and keeps the sweetness from tasting flat or one dimensional.
Instructions
- Warm the dairy:
- Pour the cream, milk, and half the sugar into a medium saucepan and set it over medium heat. Watch it carefully and pull it off the burner the moment you see steam curling up from the surface, because boiling will scramble your eggs later.
- Prep the yolks:
- In a bowl big enough to hold everything later, whisk the egg yolks with the remaining sugar and salt until the mixture looks pale yellow and falls in thick ribbons from the whisk. This takes about two minutes of vigorous whisking and your arm will notice.
- Temper the eggs:
- Slowly ladle the hot cream into the yolks while whisking constantly, adding just a splash at first to gently raise the temperature of the eggs without cooking them. Once about half the cream is incorporated, pour the yolk mixture back into the saucepan with confidence.
- Cook the custard:
- Stir constantly over low heat with a wooden spoon, scraping the bottom in figure eights so nothing sticks or scorches. The custard is ready when it thickly coats the back of your spoon and a clean finger drawn through it leaves a lasting trail.
- Add the vanilla:
- Remove the pan from heat immediately and stir in the vanilla extract, letting the warmth release its fragrance through the entire pot.
- Chill the base:
- Strain the custard through a fine mesh sieve into a clean bowl to catch any stray bits of cooked egg, then let it cool to room temperature before covering and refrigerating for at least four hours or preferably overnight.
- Churn it:
- Pour the thoroughly chilled custard into your ice cream maker and churn following the manufacturers directions until it looks like soft serve and holds its shape when you scoop it.
- Freeze to finish:
- Transfer the churned ice cream into a freezer safe container, press a piece of parchment against the surface to prevent ice crystals, and freeze for at least two hours until it firms up properly.
 Save to Pinterest
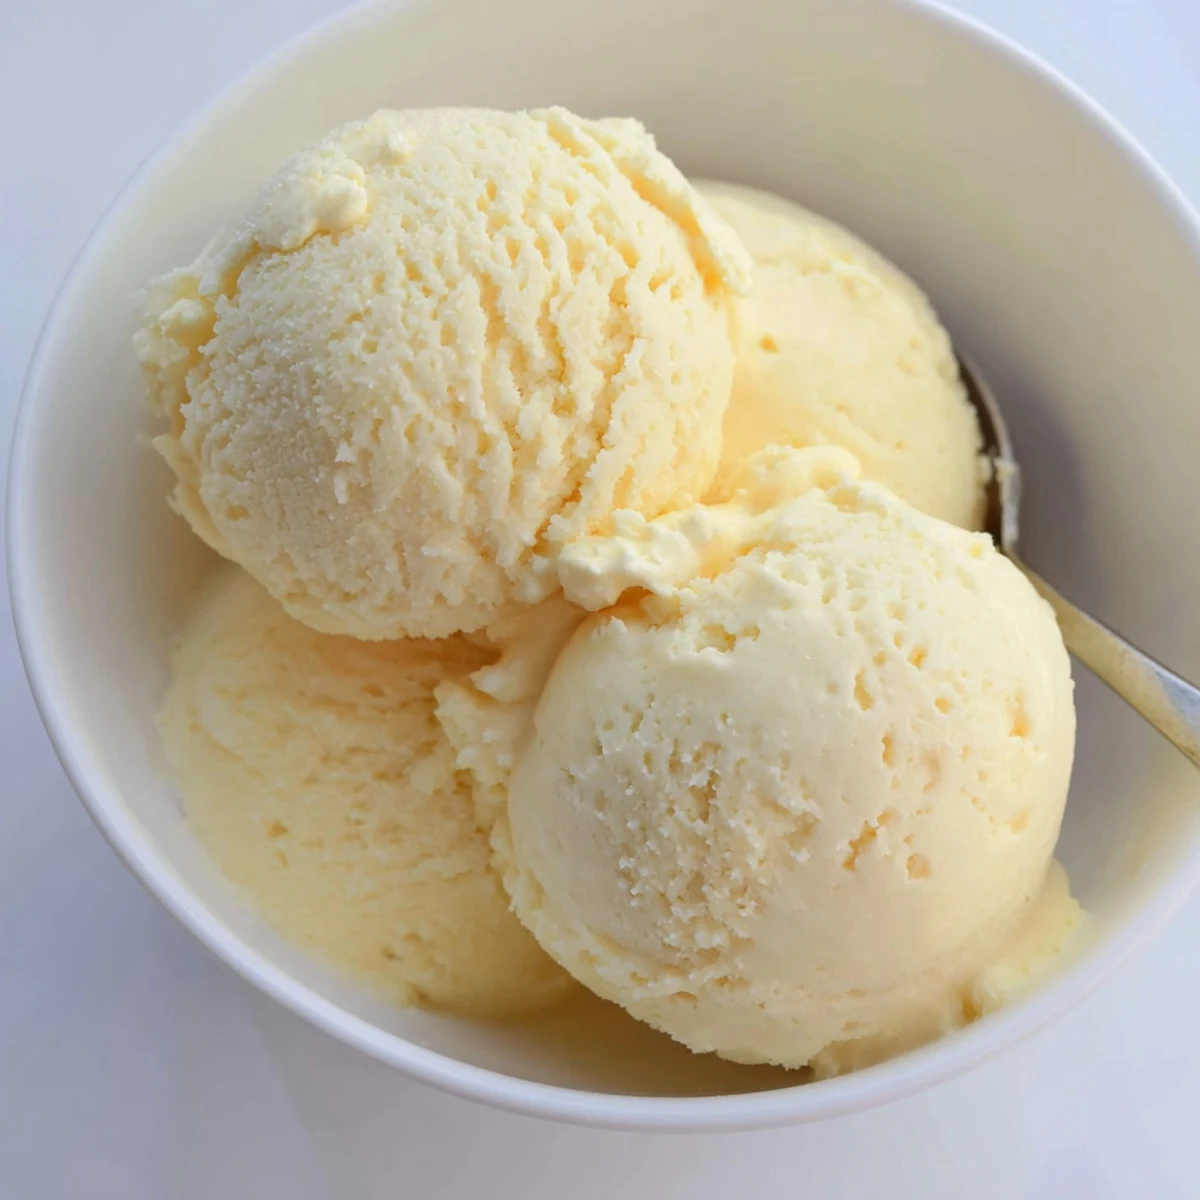
 Serving homemade ice cream to friends who have only ever eaten store bought is a small kind of magic. Watching their faces change on that first bite makes the tempering anxiety and the arm soreness and the waiting all feel completely worthwhile.
Getting Creative With Mix-ins
Fold in chopped chocolate, toasted nuts, or caramelized fruit during the last two minutes of churning so the pieces distribute evenly without sinking to the bottom. For chocolate ice cream, whisk half a cup of cocoa powder into the milk before heating and add an extra tablespoon of sugar to balance the bitterness.
Serving Ideas Worth Trying
A scoop alongside warm berry compote or drizzled with olive oil and flaky salt sounds odd until you taste it. This vanilla base also makes an excellent foundation for sundaes, splits, or simply sandwiched between two chewy cookies while it is still slightly soft.
Storage And Make Ahead Notes
Homemade ice cream is best within the first week but will keep for up to a month if sealed tightly. Pressing parchment directly against the surface before lidding is the single best thing you can do to prevent that unpleasant icy layer from forming on top.
- Let the container sit on the counter for five minutes before scooping so it softens naturally.
- If it becomes too hard after extended freezing, pulse it briefly in a food processor to restore smoothness.
- Always label your container with the date you made it so nothing gets lost in the back of the freezer.
 Save to Pinterest
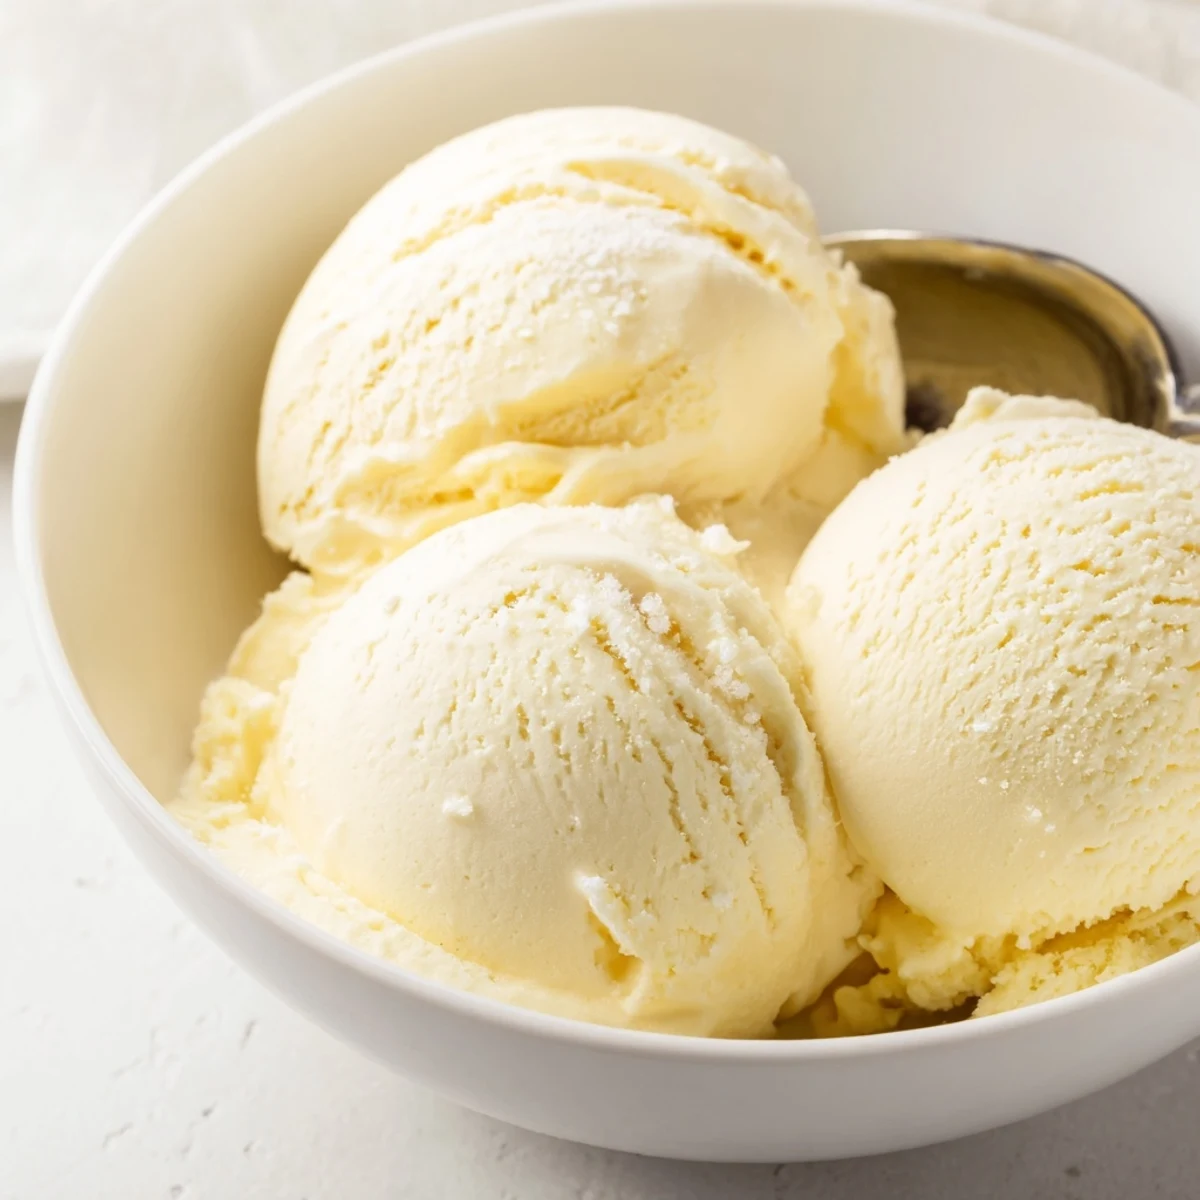
 Every batch teaches you something new, and that is what keeps me coming back to this recipe year after year. Share it freely, adapt it boldly, and always make enough for seconds.
Recipe FAQ
- → Why does my ice cream turn icy instead of creamy?
-
Icy texture usually results from insufficient fat content or improper freezing. Using heavy cream ensures enough fat for smoothness. Also, chilling the custard thoroughly before churning and not over-freezing helps maintain creaminess.
- → Can I make this without an ice cream maker?
-
Yes, though the texture will be denser. Pour the chilled custard into a shallow dish, freeze for 2 hours, stir vigorously with a fork to break up crystals, then freeze again. Repeat this process 3-4 times for best results.
- → How long does homemade ice cream keep in the freezer?
-
Properly stored in an airtight container, homemade ice cream maintains best quality for 1-2 weeks. After that, ice crystals may form and affect texture. For longest freshness, press parchment paper directly on the surface before sealing.
- → What's the purpose of tempering the egg yolks?
-
Tempering gradually raises the yolk temperature to prevent curdling or scrambling when combined with hot liquid. Whisking a small amount of warm cream into yolks first creates a smooth transition, allowing safe incorporation into the full mixture.
- → Why strain the custard through a sieve?
-
Straining removes any cooked egg bits that may have formed during heating, ensuring perfectly smooth texture. It also catches any vanilla bean seeds if using whole beans, distributing them evenly throughout the final product.