 Save to Pinterest
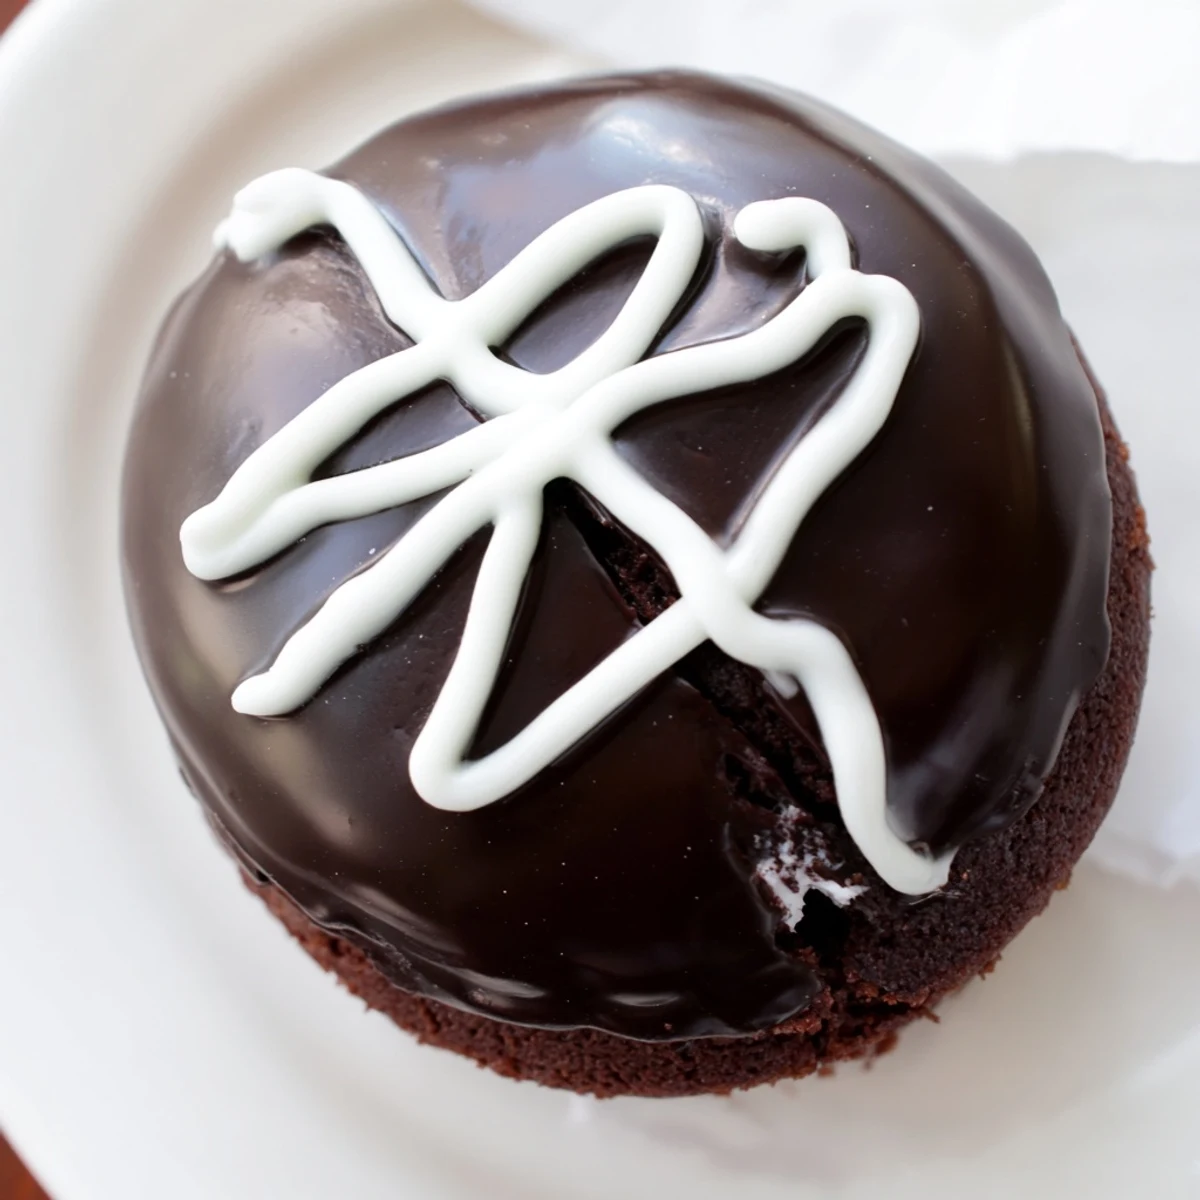
 These homemade Hostess cupcakes bring the beloved snack cake right to your kitchen. Rich chocolate cupcakes are baked until tender, then filled with a fluffy marshmallow buttercream that pipes right into the center.
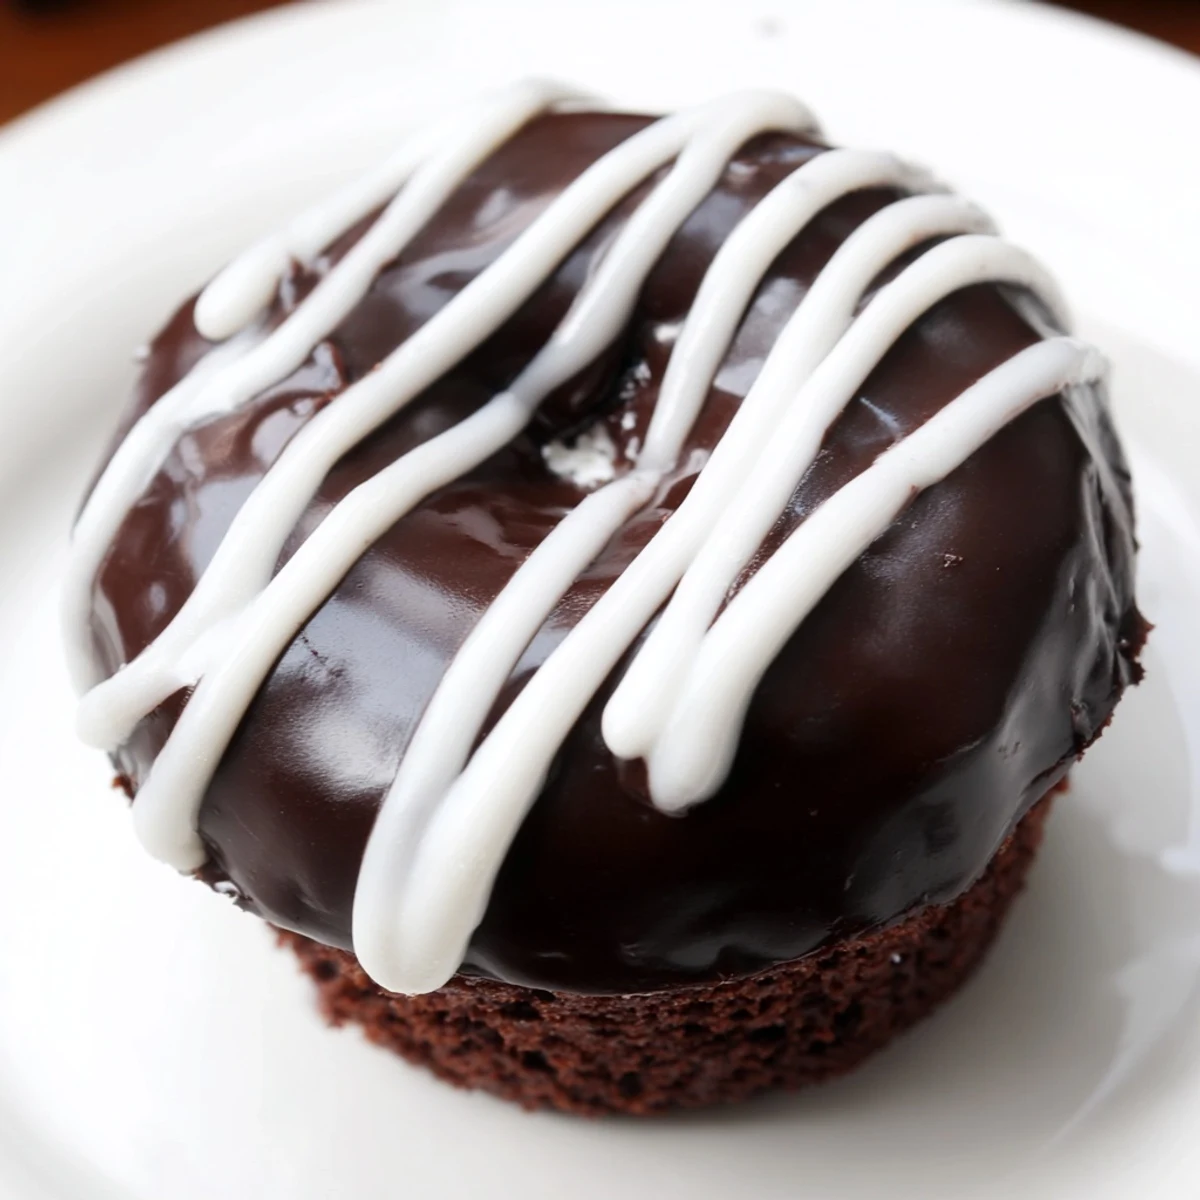
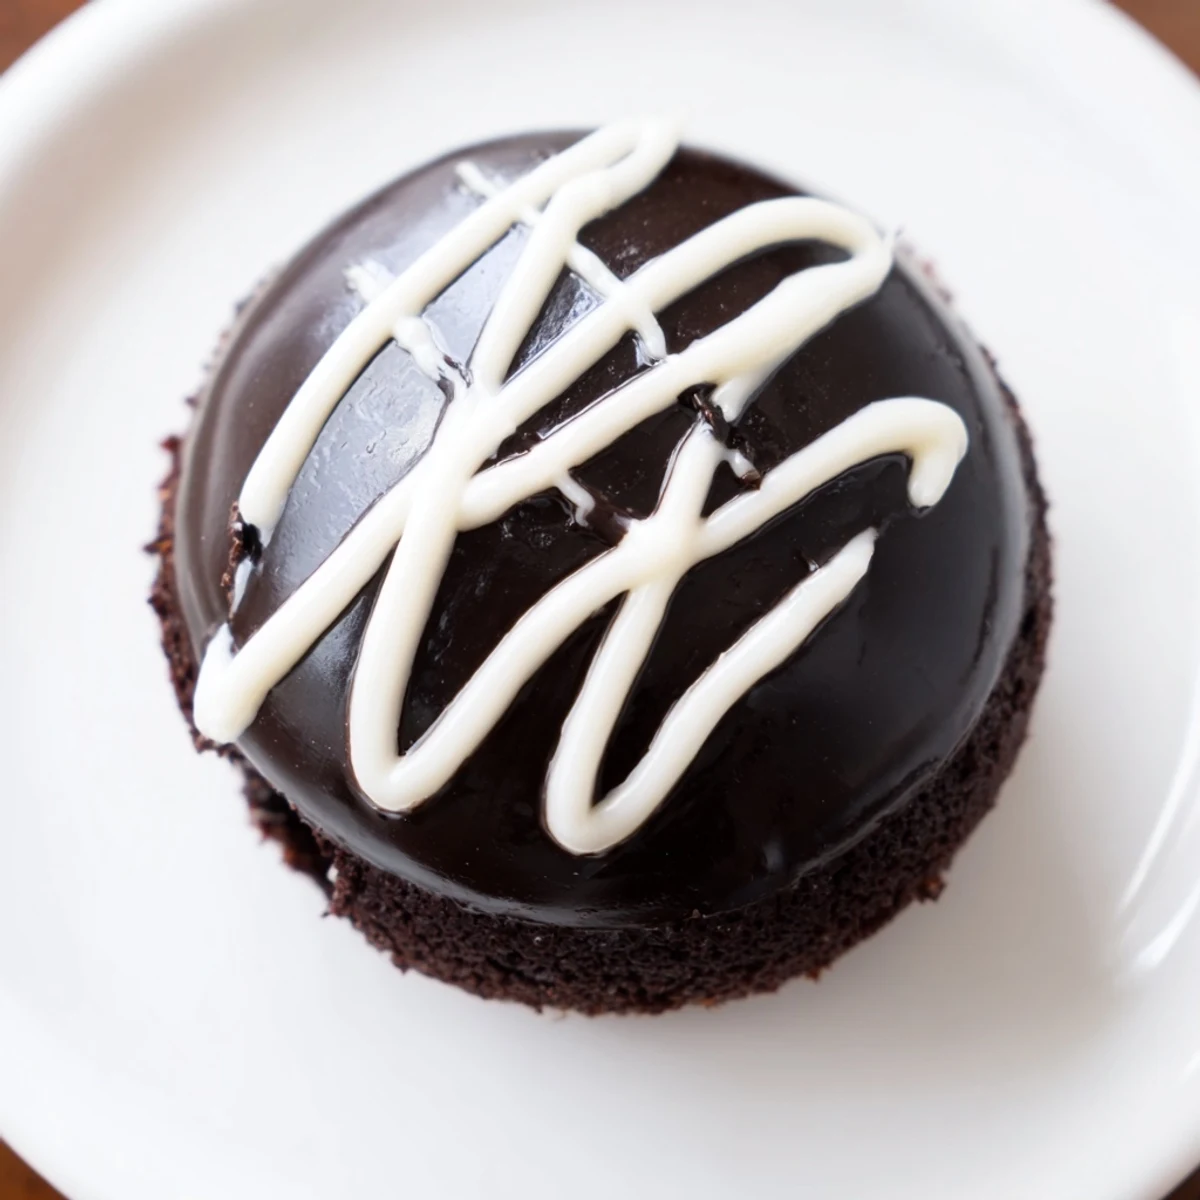
A glossy chocolate ganache coats each top, setting into a smooth shell. The finishing touch is the classic white icing swirl piped across the surface. Plan for about 90 minutes total, including cooling and assembly time. They stay fresh for up to three days covered at room temperature.
The crackle of a Hostess cupcake wrapper is a sound hardwired into my brain from childhood lunchboxes, and one rainy Saturday I got it into my head that I could recreate that magic from scratch. Three failed batches later, I finally pulled off the glossy dome and that ridiculous little white squiggle, and my kitchen looked like a chocolate bomb had gone off. Worth every speck of cocoa on the ceiling.
I brought a plate of these to my neighbors potluck last summer and they vanished before the burgers even came off the grill. Someone actually asked me which bakery I ordered them from, which might be the greatest compliment I have ever received.
Ingredients
- All-purpose flour (1 cup, 120 g): Provides the sturdy but tender crumb that holds up to being hollowed and filled without crumbling apart.
- Unsweetened cocoa powder (1/2 cup, 45 g): Use a quality brand here because this is the backbone of your chocolate flavor.
- Baking powder (1 tsp): Gives the cupcakes their gentle lift so they dome beautifully.
- Baking soda (1/2 tsp): Works with the hot water to create a silky, well rounded batter.
- Salt (1/4 tsp): A pinch of salt makes the chocolate taste deeper and less flat.
- Unsalted butter, softened (1/2 cup, 115 g): Room temperature butter creams properly with sugar to build air into the batter.
- Granulated sugar (1 cup, 200 g): Sweetens the cake and helps form that slightly crisp top edge.
- Large eggs (2): Bind everything together and add richness to the crumb.
- Vanilla extract (1 tsp for cake, 1 tsp for filling): Use the real stuff because it rounds out both the chocolate and the marshmallow beautifully.
- Whole milk (1/2 cup, 120 ml for cake, 1 tsp for icing): Adds fat and moisture that makes the cake tender rather than dry.
- Hot water (1/2 cup, 120 ml): Blooms the cocoa powder and thins the batter just enough for a velvety texture.
- Unsalted butter for filling (1/2 cup, 115 g): Creates a buttery base that stabilizes the marshmallow fluff so it does not ooze out.
- Powdered sugar (1 cup, 120 g for filling, 1/4 cup, 30 g for icing): Sweetens the filling without graininess and thickens the white swirl.
- Marshmallow creme (1 cup, 100 g): The secret to that gooey, stretchy center that tastes like pure childhood joy.
- Heavy cream (1/2 cup, 120 ml): Makes the ganache pourable yet rich enough to set into a glossy coating.
- Semi-sweet chocolate, chopped (4 oz, 115 g): Chop it small so it melts evenly when the hot cream hits it.
Instructions
- Prep your oven and pan:
- Heat the oven to 350°F (175°C) and line a standard 12-cup muffin tin with paper liners. Take a moment to make sure the rack is in the center position so the tops bake evenly.
- Sift the dry ingredients:
- Sift the flour, cocoa powder, baking powder, baking soda, and salt into a medium bowl. This aerates everything and prevents cocoa lumps from hiding in your batter.
- Cream butter and sugar:
- Beat the softened butter and granulated sugar in a large bowl until the mixture looks pale, fluffy, and almost cloudlike. Add the eggs one at a time, mixing well after each, then stir in the vanilla until it is fully incorporated.
- Build the batter:
- Add the sifted dry ingredients in three additions, alternating with the milk, mixing gently after each until just combined. Stir in the hot water last and watch the batter transform into something glossy and pourable.
- Bake and cool:
- Divide the batter evenly among the liners, filling each about two thirds full. Bake for 18 to 20 minutes until a toothpick inserted in the center comes out clean, then let them cool completely before even thinking about filling them.
- Whip up the filling:
- Beat the butter and powdered sugar together until light and fluffy, then fold in the marshmallow creme and vanilla until the mixture is smooth and pillowy. Try not to eat it straight from the bowl.
- Fill the centers:
- Transfer the filling to a piping bag fitted with a small round tip, insert the tip into the center of each cooled cupcake, and give a gentle squeeze until you feel the cupcake slightly expand. Save a little filling if you want to use it for the swirl instead of the sugar icing.
- Make the ganache:
- Heat the heavy cream in a small saucepan until it is steaming but not boiling, then pour it over the chopped chocolate in a heatproof bowl. Let it sit undisturbed for two minutes, then stir gently from the center outward until you have a silky, glossy ganache.
- Dip and set:
- Let the ganache cool for about five minutes so it thickens slightly, then dip the top of each filled cupcake straight in and pull straight up. Let them sit for ten minutes so the shell can set.
- Pipe the iconic swirl:
- Stir together the powdered sugar and milk until smooth, spoon it into a tiny piping bag or zip top bag with a corner snipped, and pipe squiggly loops across each cupcake top. Stand back and admire your handiwork.
 Save to Pinterest
 My daughter walked into the kitchen just as I finished piping the last white squiggle, gasped like she was seeing a celebrity, and immediately asked if we could eat them for dinner. That tiny moment of wide eyed wonder is why I keep making these.
Tools That Make This Easier
An electric mixer is non negotiable for getting the butter and sugar truly fluffy, and a piping bag with a narrow round tip makes filling the cupcakes clean and precise. A fine mesh sieve catches every cocoa lump, and a small offset spatula helps smooth the ganache if your dip was not perfect.
Making These Ahead
The cupcakes themselves freeze beautifully for up to a month if you wrap them well, and you can make the marshmallow filling a day ahead and keep it chilled. Fill and dip them on the day you plan to serve for the freshest looking ganache and the snappiest shell.
Storing and Serving
Keep finished cupcakes in an airtight container at room temperature for up to three days, though they rarely last that long in my house. Refrigerating them dulls the ganache shine, so I avoid it unless your kitchen is genuinely hot.
- Let them sit uncovered for the first twenty minutes after dipping so the ganache sets without sticking to anything.
- If the white icing thickens too much, add drops of milk one at a time until it flows easily through the bag.
- Always pipe the swirl after the ganache has fully set or the lines will melt together and look messy.
 Save to Pinterest
 There is something deeply satisfying about recreating a packaged treat with your own hands and realizing yours tastes better. Share them generously because they spark joy in exactly the way dessert should.
Recipe FAQ
- → How do I get the marshmallow filling inside the cupcakes?
-
Use a piping bag fitted with a small round tip. Insert the tip directly into the center of each cooled cupcake and gently squeeze a small amount of filling inside. You will feel the cupcake slightly expand when filled.
- → Can I make these cupcakes ahead of time?
-
Yes, you can bake the cupcakes a day in advance and store them in an airtight container. Fill and dip them in ganache the day you plan to serve for the freshest result and best texture.
- → Why add hot water to the cupcake batter?
-
Hot water helps bloom the cocoa powder, deepening the chocolate flavor and creating a smoother, more tender crumb. It also thins the batter slightly for an even rise during baking.
- → What type of cocoa powder works best?
-
Either natural or Dutch-processed cocoa works here. Dutch-processed cocoa will give a deeper, richer chocolate flavor and a darker color, which pairs beautifully with the marshmallow filling.
- → How should I store finished cupcakes?
-
Keep them in an airtight container at room temperature for up to three days. Avoid refrigerating, as the ganache can dull and the cupcakes may dry out. If your kitchen is very warm, a cool spot away from direct sunlight is ideal.
- → Can I freeze these cupcakes?
-
You can freeze the unfilled, unfrosted cupcakes for up to two months. Thaw them completely before filling and dipping in ganache. Fully assembled cupcakes do not freeze well due to the marshmallow filling texture.