
 Save to Pinterest
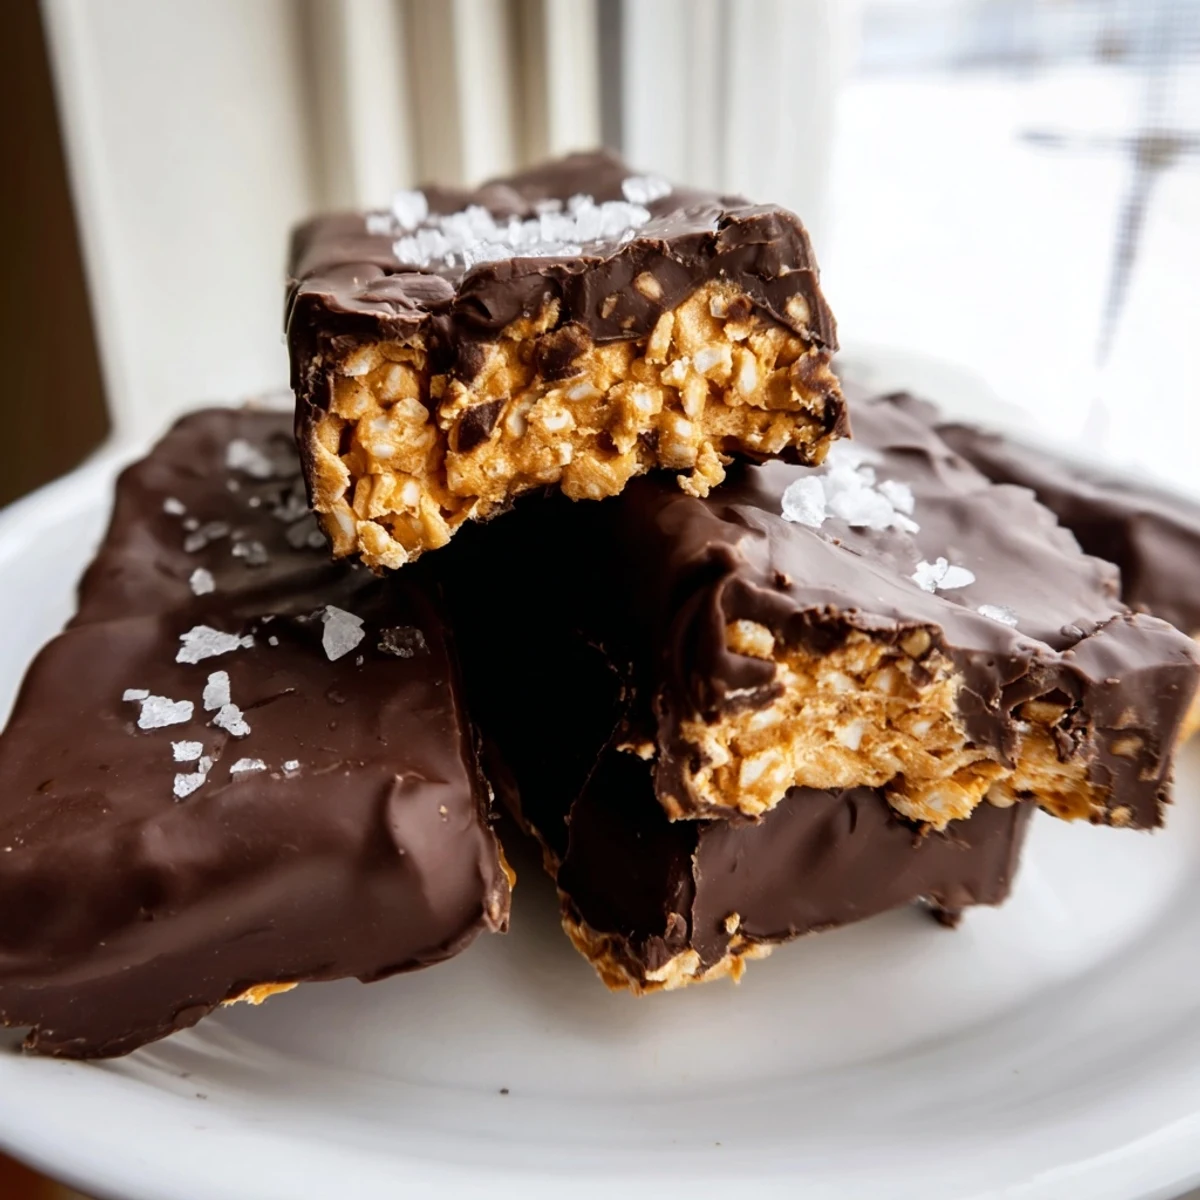
 These homemade Butterfinger bars deliver all the crunchy, peanut-buttery goodness of the classic candy with cleaner ingredients. A simple mixture of natural peanut butter, maple syrup, and crushed cornflakes creates that signature crisp texture, while a dark chocolate coating adds richness.
Ready in about an hour with minimal cooking involved, they're an easy no-bake option for meal prep or gifting. They're naturally vegetarian and can easily be made vegan and gluten-free with simple ingredient swaps.
Store them in the fridge for up to a week or freeze for up to three months.
The candy aisle at the grocery store always gets me, especially those orange and yellow Butterfinger packages winking from the shelf. One rainy Tuesday afternoon, instead of grabbing my usual bar, I wandered home and started melting peanut butter with maple syrup, wondering if I could pull off something close from scratch. The result was messy, imperfect, and completely addictive. My kitchen smelled like a candy factory for the rest of the evening.
I brought a batch of these to a movie night with friends, fully expecting them to sit untouched next to the popcorn. Within twenty minutes the plate was empty and someone was already asking if I could make them again for the next gathering.
Ingredients
- Natural creamy peanut butter (1 cup): Use the kind with just peanuts and salt, because the stabilizers in conventional peanut butter change the texture and make it greasy when melted.
- Pure maple syrup or honey (1/2 cup): Maple syrup keeps this vegan friendly, while honey adds a subtle floral sweetness that pairs beautifully with the peanut butter.
- Vanilla extract (1 teaspoon): A small amount rounds out the flavors and makes the whole thing taste more like a treat than a health snack.
- Cornflakes (2 cups, lightly crushed): Crush them gently with your hands, not a rolling pin, because you want irregular crunchy pieces, not dust.
- Sea salt (pinch): Just a pinch in the mixture balances the sweetness and deepens the peanut flavor.
- Dark chocolate chips (1 1/2 cups): Good quality dark chocolate makes a huge difference here since it is the first thing you taste.
- Coconut oil (1 tablespoon): This thins the chocolate slightly so it coats evenly and sets with a nice snap.
Instructions
- Prep your pan:
- Line an 8x8 inch baking dish with parchment paper, letting the edges hang over like handles so you can lift the whole slab out later.
- Melt the base:
- In a saucepan over medium low heat, stir the peanut butter and maple syrup together until the mixture is smooth, glossy, and just warmed through, about two to three minutes. Take it off the heat before it starts bubbling.
- Add flavor and crunch:
- Stir in the vanilla and salt, then gently fold in the crushed cornflakes until every flake is coated in that golden peanut butter mixture.
- Press and freeze:
- Spread the mixture into your prepared pan, pressing it down firmly and evenly with a spatula. Pop it into the freezer for twenty to thirty minutes until it holds its shape when you press it with a finger.
- Cut into bars:
- Lift the slab out using the parchment edges and set it on a cutting board. Cut into sixteen bars with a sharp knife, wiping the blade between cuts for cleaner edges.
- Coat in chocolate:
- Melt the chocolate chips and coconut oil together in the microwave in short bursts or over a double boiler, stirring until silky smooth. Dip each bar, turning it with a fork to coat all sides, then tap off the excess and place on a parchment lined tray.
- Set and store:
- Refrigerate the coated bars for fifteen to twenty minutes until the chocolate shell is firm to the touch, then transfer them to an airtight container kept in the fridge.
 Save to Pinterest
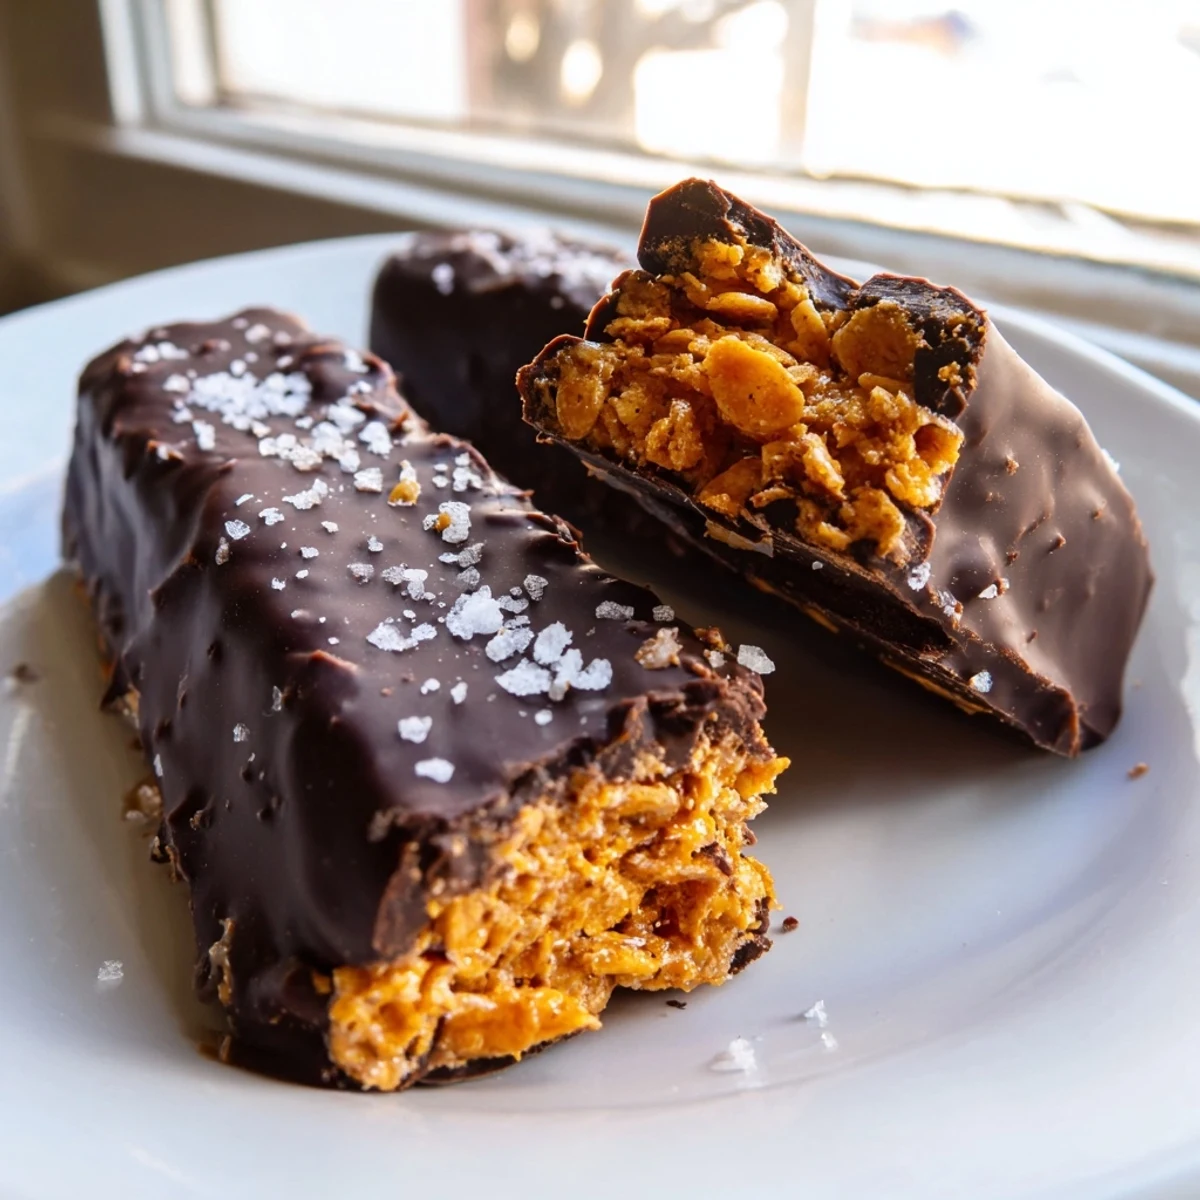
 There is something deeply satisfying about making your own candy, hearing that first snap of chocolate when you bite in, and knowing exactly what went into it.
Storing and Freezing
Keep these bars in an airtight container in the refrigerator for up to two weeks, though they rarely last that long. If you want to stash some for later, they freeze beautifully for up to three months. Just layer parchment paper between them so they do not stick together.
Allergen Swaps
If peanut allergies are a concern, sunflower seed butter works as a one to one substitute, though the flavor will be slightly earthier. Always check your chocolate chips and cornflakes for hidden soy or gluten if cooking for someone with sensitivities.
Serving Ideas
These bars are perfect on their own, but they also crumble beautifully over vanilla ice cream or get tucked into lunchboxes as a surprise treat.
- Chop leftover bars and scatter the pieces over a bowl of Greek yogurt with a drizzle of honey.
- Let a bar sit at room temperature for five minutes before eating so the chocolate softens slightly and the peanut butter center becomes creamier.
- Always store them chilled, because warmth is the enemy of that satisfying chocolate snap.
 Save to Pinterest
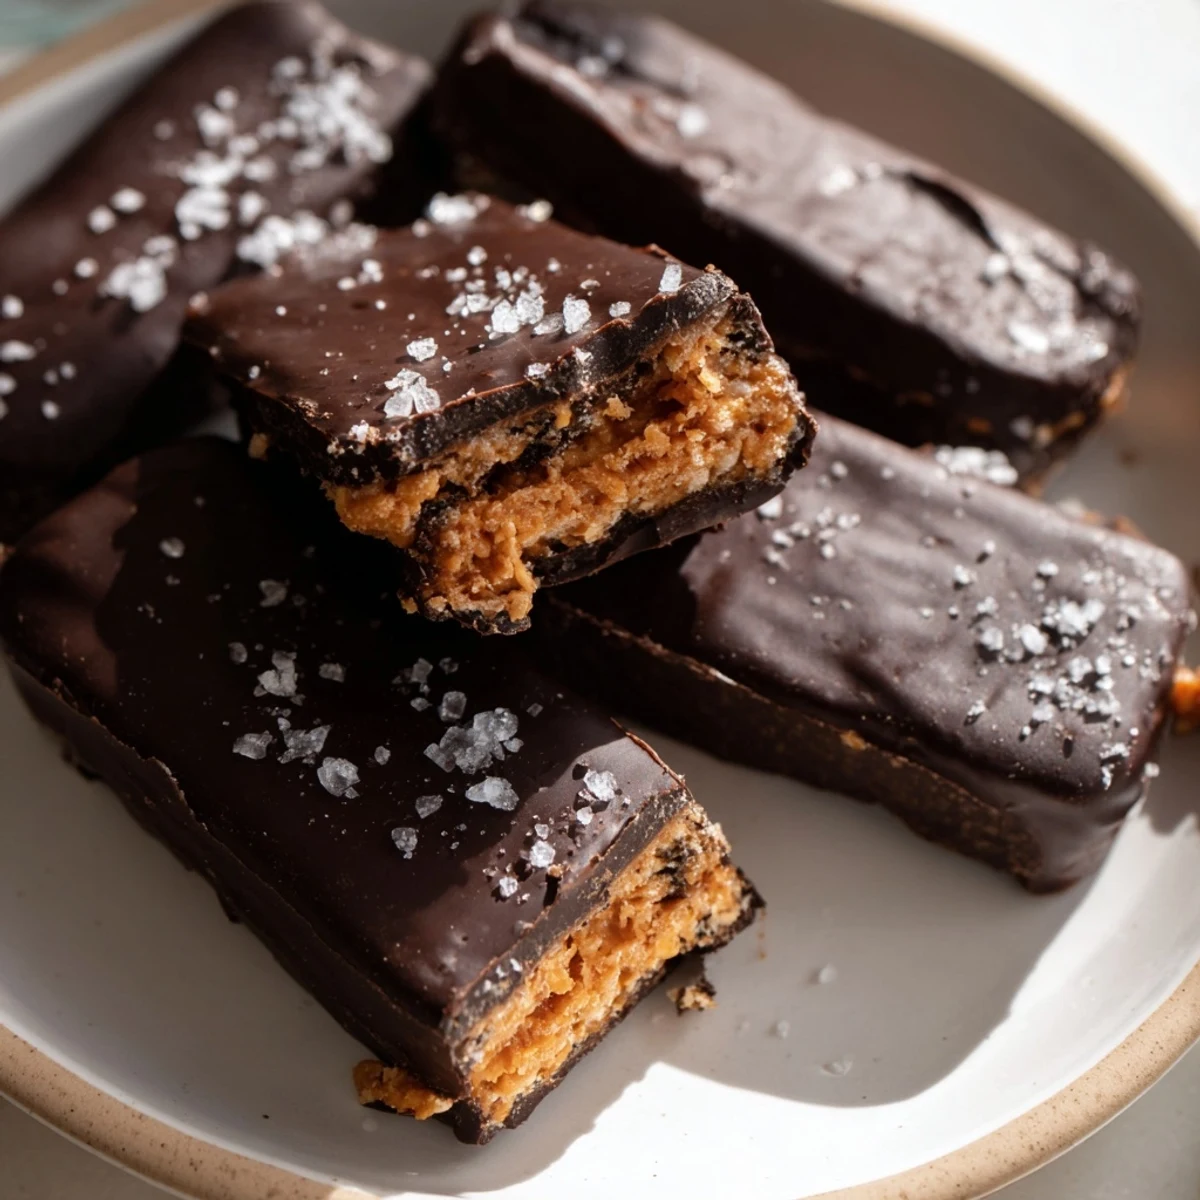
 Homemade candy is really just an excuse to eat something sweet and feel good about it, and these bars deliver every single time.
Recipe FAQ
- → Can I make these Butterfinger bars vegan?
-
Yes. Use maple syrup instead of honey, and choose dairy-free dark chocolate chips. The rest of the ingredients are already plant-based.
- → What can I substitute for cornflakes?
-
Crisped rice cereal works as a direct swap. For a gluten-free option, make sure to use certified gluten-free cornflakes or rice cereal.
- → How should I store the finished bars?
-
Keep them in an airtight container in the refrigerator for up to one week. For longer storage, freeze them for up to three months. Let frozen bars sit at room temperature for a few minutes before eating.
- → Can I use milk chocolate instead of dark chocolate?
-
Absolutely. Milk chocolate will give a sweeter, creamier coating. You can also try semi-sweet chocolate chips for a middle ground between the two.
- → Why do my bars need to be refrigerated?
-
The peanut butter and maple syrup base softens at room temperature. Refrigerating helps the bars hold their shape and keeps the chocolate coating firm and snappy.
- → How do I get a clean cut when slicing the bars?
-
Make sure the peanut butter layer is fully chilled and firm before cutting. Use a sharp knife and wipe it clean between cuts for the neatest edges.