 Save to Pinterest
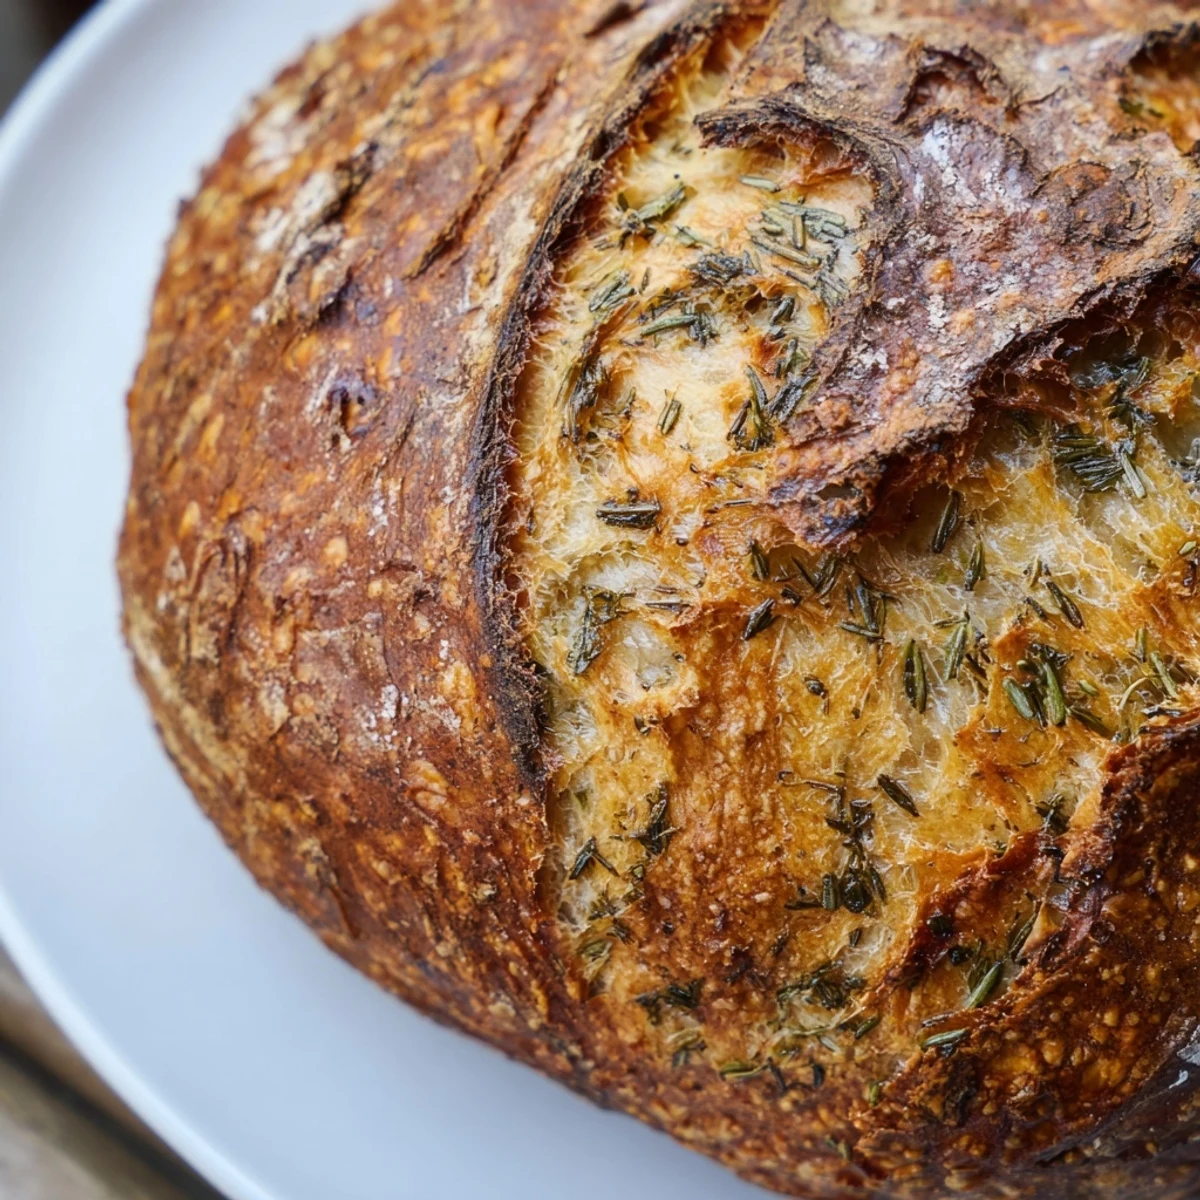
 This artisan-style loaf combines the earthy aroma of fresh garlic with rosemary, thyme, and parsley, creating a fragrant bread that elevates any meal. The Dutch oven method generates steam that creates an irresistibly crispy, golden crust while keeping the inside soft and tender.
With just 20 minutes of active preparation and a hands-off rising period, you'll have bakery-quality bread without the kneading. The finishing touch of melted butter brushed over the hot crust adds richness and helps the fresh herbs cling to every slice.
Perfect alongside soups, salads, or simply dipped in olive oil, this loaf delivers restaurant-quality results at home. The medium difficulty level makes it accessible for home bakers ready to advance beyond basic breads.
The first time I made this bread, my tiny apartment smelled so incredible that my neighbor knocked on my door to ask what was baking. That crisp, golden crust shattering when you tear into it still feels like magic every single time. There's something deeply satisfying about turning simple flour and water into something so extraordinary.
Last winter I served this bread straight from the oven at a dinner party, and my friend Sarah actually gasped when she took her first bite. We all sat around tearing off chunks, slathering them with butter, and talking for hours. That night convinced me that good bread has this incredible power to bring people together in the most unexpected ways.
Ingredients
- Bread flour: The higher protein content creates better structure and chew, so dont substitute with all purpose
- Active dry yeast: Make sure your water is warm to the touch but not hot, or youll kill the yeast
- Garlic: Fresh minced garlic disperses throughout the dough better than powder, creating pockets of flavor
- Fresh herbs: Rosemary, thyme and parsley work beautifully together, but use whatever you love
- Olive oil: This keeps the crumb tender and adds a subtle fruitiness
Instructions
- Mix the dough base:
- Combine bread flour, salt, sugar, and yeast in a large bowl. Pour in warm water and olive oil, stirring with a wooden spoon until you have a shaggy, sticky dough that holds together.
- Add the aromatics:
- Fold in the minced garlic, rosemary, thyme, and parsley until theyre evenly distributed throughout the dough. The mixture will still feel tacky and loose, which is exactly what you want.
- Let it rise:
- Cover the bowl with plastic wrap or a damp towel and set it somewhere warm for about 2 hours. The dough should double in size and look beautifully puffy with bubbles on the surface.
- Shape your loaf:
- Turn the dough onto a floured surface and gently fold the edges underneath to create a round loaf. Place it on parchment paper, cover loosely, and rest for 30 minutes while you preheat your oven.
- Preheat with the Dutch oven:
- Place your Dutch oven and its lid in the oven and heat to 450°F for at least 30 minutes. Getting it properly hot is the secret to that incredible crust.
- Bake covered:
- Carefully lift the dough by the parchment corners and lower it into the hot Dutch oven. Score the top with a sharp knife, cover with the lid, and bake for 30 minutes.
- Create the crust:
- Remove the lid and bake another 15 to 20 minutes until the crust is deeply golden brown. Brush with melted butter and extra herbs while its still hot.
 Save to Pinterest
 My grandmother always said bread making is about patience and paying attention to small cues, like how the dough feels under your hands. She was right. Now whenever I smell this bread baking, I think of her kitchen and how some of the best things in life really do take just a little bit of time.
Getting The Rise Right
Temperature affects your dough more than you might expect. In winter, I preheat my oven for just one minute, then turn it off and let the dough rise inside with the door cracked open. In summer, the counter works perfectly fine.
Herb Variations
Sometimes I swap in chopped fresh basil and oregano for an Italian inspired loaf, or add sun dried tomatoes for extra depth. Dried herbs work in a pinch, but use one third the amount since theyre more concentrated.
Serving Suggestions
This bread shines alongside hearty soups or simply torn into pieces for dipping in good olive oil. The butter brushed on top while its still warm makes it almost impossible to stop eating.
- Try adding grated Parmesan to the dough for a cheesy version
- Mix in roasted garlic cloves for even more flavor
- Leftovers make excellent garlic bread or croutons
 Save to Pinterest
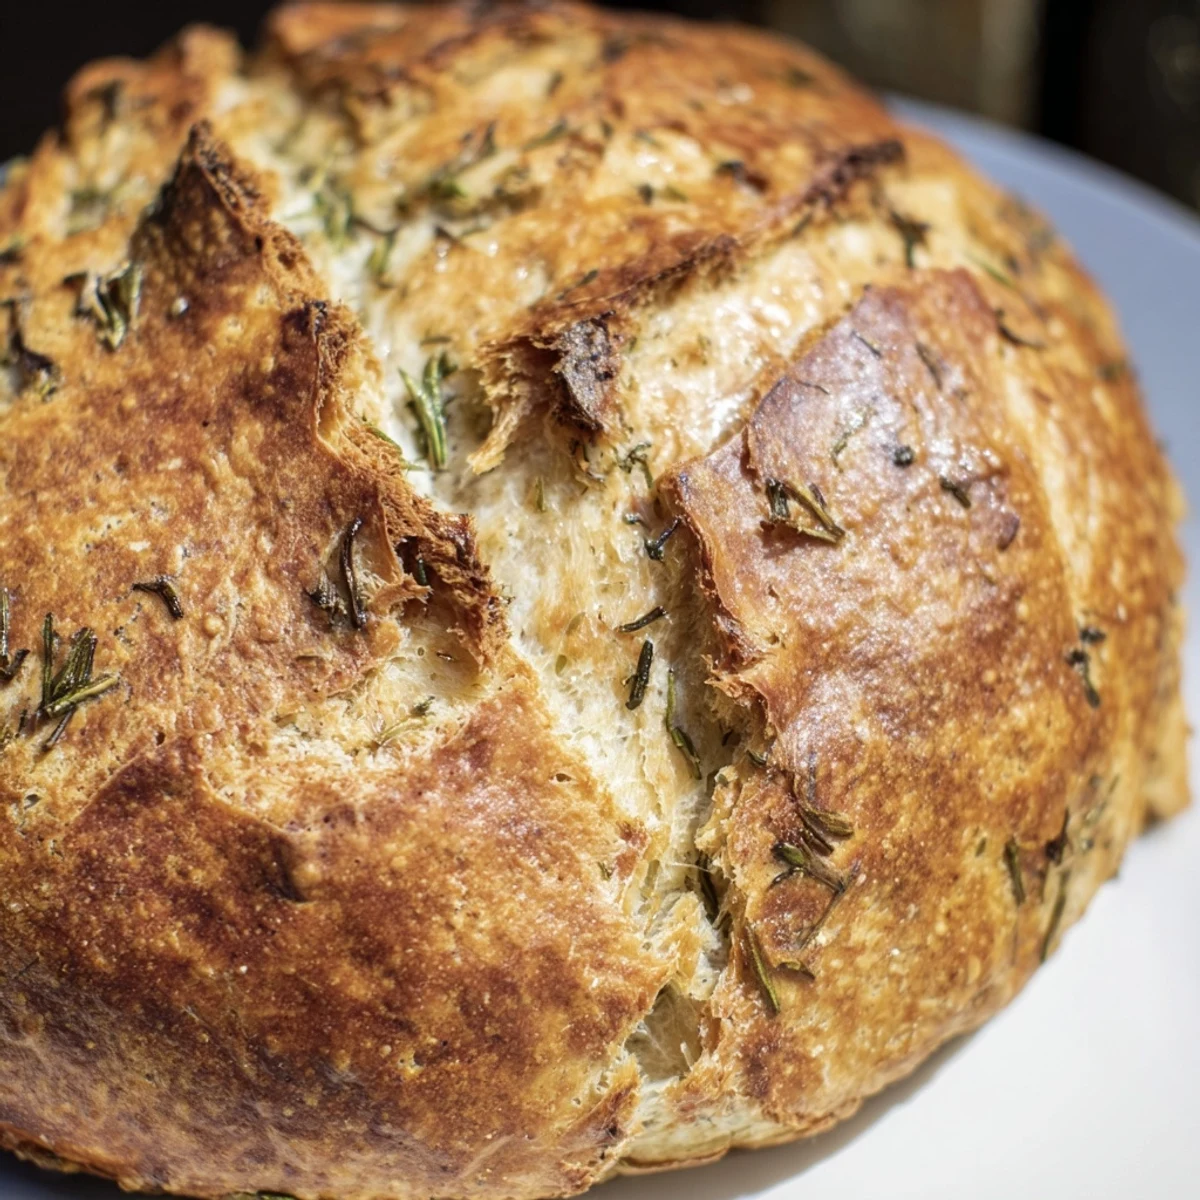
 There's nothing quite like the sound of a freshly baked loaf crackling as it cools on your counter. Enjoy every warm, garlicky slice.
Recipe FAQ
- → Why bake bread in a Dutch oven?
-
The Dutch oven traps steam from the dough, creating a moist environment that allows the bread to expand fully before the crust sets. This results in a beautifully crisp, crackly crust and a light, airy interior that's difficult to achieve with regular baking methods.
- → Can I use dried herbs instead of fresh?
-
Yes, substitute 1 teaspoon of each dried herb for the fresh version. Dried herbs are more concentrated, so you'll need less. Add them directly to the dough along with the garlic. The flavor will be slightly more subtle but still delicious.
- → How do I know when the bread is done?
-
The crust should be deep golden brown, and the loaf should sound hollow when tapped on the bottom. An instant thermometer inserted into the center should read between 190-200°F (88-93°C). If unsure, bake an additional 5 minutes and check again.
- → Can I make this ahead of time?
-
You can prepare the dough and let it rise in the refrigerator overnight (up to 24 hours). This slower fermentation develops deeper flavor. When ready to bake, let the dough come to room temperature for 30 minutes before proceeding with the shaping and baking steps.
- → What size Dutch oven do I need?
-
A 4 to 6-quart Dutch oven works perfectly for this loaf. The key is having enough room for the dough to expand without touching the lid too much. Cast iron, enameled cast iron, or ceramic Dutch ovens all produce excellent results.