 Save to Pinterest
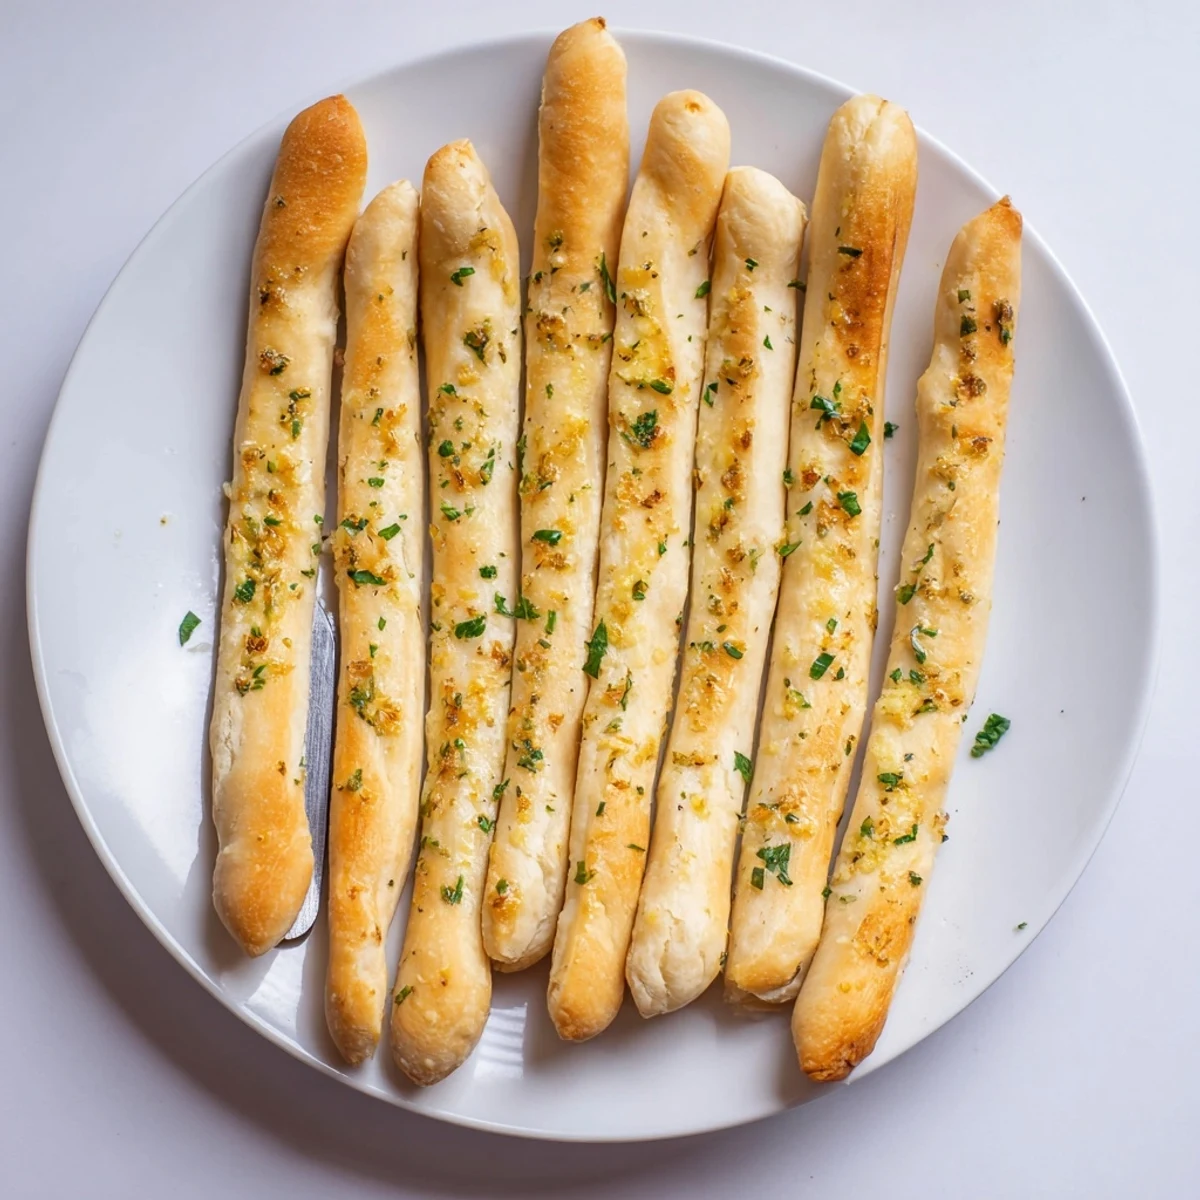
 These homemade breadsticks feature pillowy soft dough infused with rich garlic butter and aromatic herbs. The yeast-based dough rises to perfection, creating tender strips that bake to golden perfection. A generous coating of melted butter infused with fresh garlic and parsley adds irresistible flavor while keeping each stick moist and fragrant.
The smell of garlic butter hitting warm bread is the kind of thing that pulls people into the kitchen before you even call them. I learned this when I made a batch of these breadsticks for a casual Friday night dinner and suddenly had three neighbors at my door asking what was going on. There is something deeply satisfying about making bread from scratch, especially when it only takes a handful of pantry staples. These soft, pillowy sticks brushed with golden garlic herb butter have become the most requested item in my house, beating out even dessert.
One rainy Saturday my niece stood on a step stool at the counter and insisted on rolling every single breadstick herself, which is why half of them were crooked and twice as thick as the others. We ate them all anyway, dunked in warm marinara, and she still talks about it every time she visits. That lopsided batch taught me these breadsticks do not need to look perfect to disappear in minutes.
Ingredients
- All-purpose flour (2 cups, 250 g): Regular unbleached flour gives the best balance of softness and structure, and you do not need anything fancy here.
- Warm water (1 cup, 120 ml): Aim for about 110 degrees Fahrenheit so the yeast wakes up without getting killed by heat.
- Instant yeast (1 and 1/2 tsp, 5 g): Instant yeast skips the long proofing wait and gets right to work making those air pockets we want.
- Sugar (1 tsp, 5 g): Just enough to feed the yeast and give a tiny hint of sweetness to the dough.
- Salt (3/4 tsp, 4 g): Salt brings out the flavor of the bread itself, so do not skip it even though it seems like a small amount.
- Unsalted butter, softened (2 tbsp, 28 g): This goes into the dough for richness and a tender crumb that keeps them soft for hours.
- Unsalted butter, melted (3 tbsp, 42 g): For the garlic butter finish, melted butter coats every surface and carries the flavor beautifully.
- Garlic, finely minced (2 cloves): Fresh garlic minced as finely as you can manage makes a huge difference over jarred or powdered.
- Fresh parsley, finely chopped (1 tbsp): Optional but it adds a bright pop of color and a fresh flavor that balances the richness.
- Salt (1/2 tsp): For the garlic butter, this small pinch ties all the flavors together.
Instructions
- Wake up the yeast:
- Pour the warm water into a large bowl, stir in the sugar and yeast, and let it sit untouched for about five minutes until the surface gets foamy and bubbly. You will know it is alive when you see that frothy layer on top.
- Build the dough:
- Add the flour, salt, and softened butter to the yeast mixture, then stir until a shaggy dough comes together. Turn it out and knead by hand for seven to eight minutes or use a mixer for five minutes until the dough feels smooth and springs back when you poke it gently.
- Let it rise:
- Place the dough in a lightly greased bowl, cover it with a kitchen towel, and tuck it somewhere warm for about an hour. It should double in size and look puffy and alive when you check on it.
- Shape the breadsticks:
- Punch the dough down to release the air, then divide it into twelve equal pieces and roll each one into a rope about seven or eight inches long. Arrange them on a parchment lined baking sheet with a little space between each one.
- The second rise:
- Cover the shaped breadsticks loosely with a towel and let them puff up for another twenty to thirty minutes while the oven preheats to 400 degrees Fahrenheit. They should look noticeably plumper but not doubled again.
- Bake to golden:
- Slide the tray into the oven and bake for twelve to fifteen minutes until the tops are lightly golden and the bottoms sound hollow when tapped. Keep an eye on them near the end because they go from pale to perfect quickly.
- Make the garlic butter:
- While the breadsticks bake, stir together the melted butter, minced garlic, salt, and parsley in a small bowl. The warmth of the butter pulls the flavor out of the garlic and herbs instantly.
- Brush and serve:
- As soon as the breadsticks come out of the oven, brush them generously with the garlic butter while they are still piping hot so it melts right into the surface. Serve them warm and watch them vanish.
 Save to Pinterest
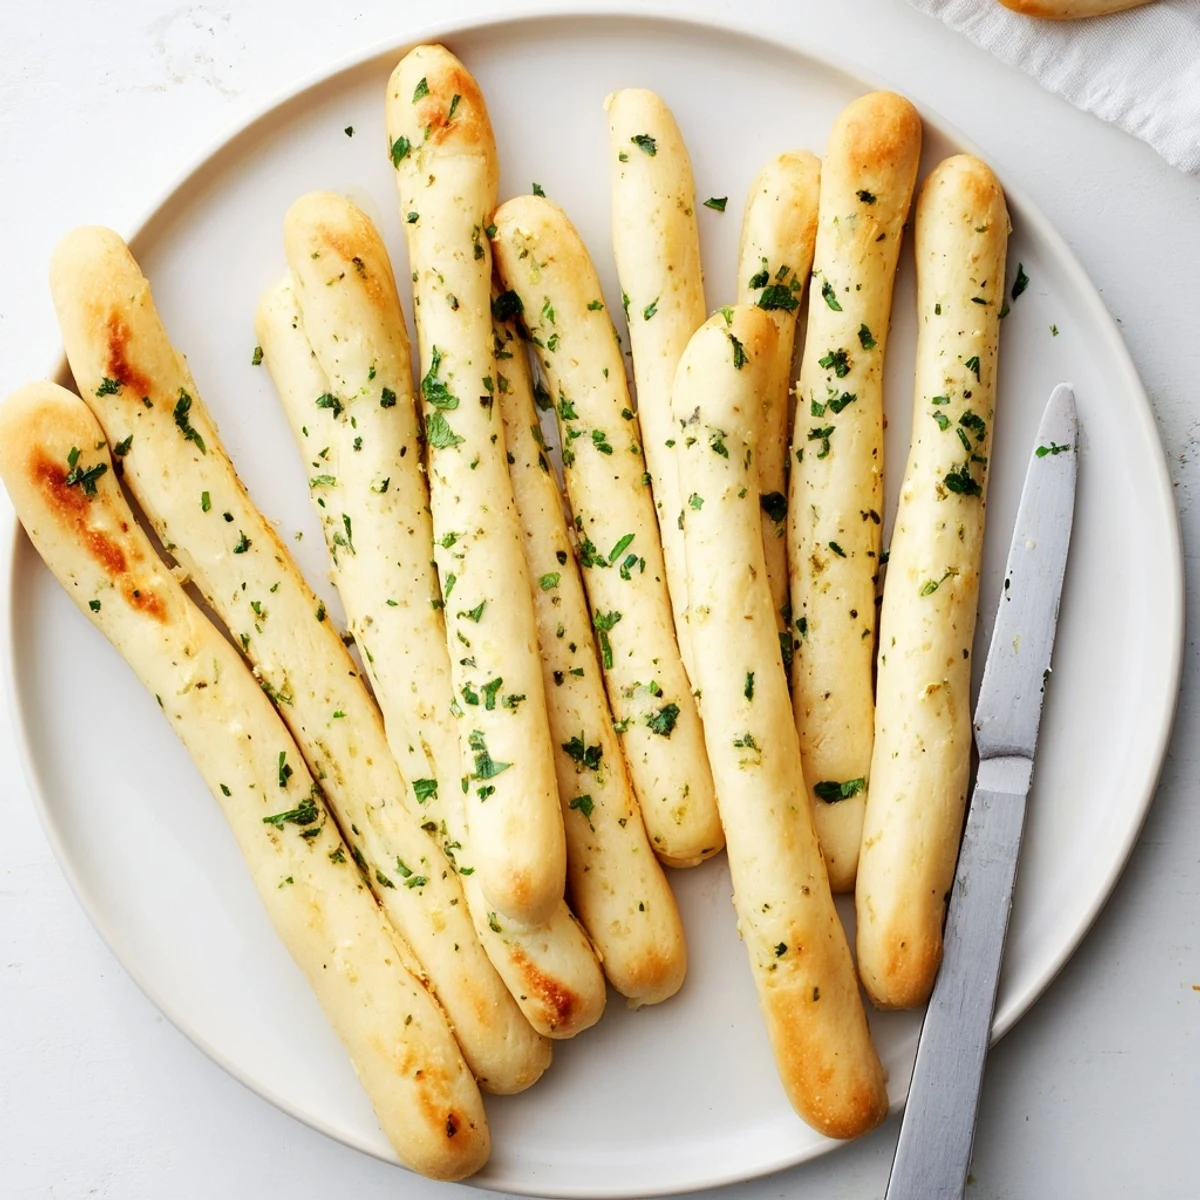
 The night I brought a basket of these to a potluck dinner, a friend who never eats bread had three of them standing by the kitchen counter before dinner was even served. She told me it was the garlic butter that broke her resolve, and honestly I understood completely.
Customizing Your Breadsticks
You can easily make these your own once you have the basic dough mastered. Try swapping the parsley for chopped fresh basil or a pinch of oregano for a completely different herb profile. A generous shower of grated Parmesan on top before baking turns them into something dangerously cheesy and golden. I once added everything bagel seasoning to the butter and my family practically rioted when I did not make them again the next week.
Getting the Texture Right
The softness of these breadsticks depends on not adding too much extra flour during kneading, which is a mistake I made early on. The dough should feel slightly tacky but not stick to your hands, like a soft pillow that holds its shape when you let go. If the dough is crawling up your hands and making a mess, add flour one tablespoon at a time until it behaves. Underkneading is just as common as overflouring, so make sure you give it the full kneading time for that smooth elastic feel.
Storing and Reheating
These breadsticks are best eaten the day you make them, but you can store leftovers in an airtight bag at room temperature for up to two days. Reheating them in a 350 degree Fahrenheit oven for five minutes brings back the softness better than the microwave ever will. You can also freeze the shaped unbaked breadsticks on a tray, then transfer them to a bag and bake them straight from frozen with an extra ten minutes added to the time.
- A quick brush of plain butter before reheating keeps the crust from drying out.
- If freezing baked breadsticks, wrap them tightly so they do not pick up freezer flavors.
- Always reheat gently because angry hot ovens will toughen the outside before the inside warms through.
 Save to Pinterest
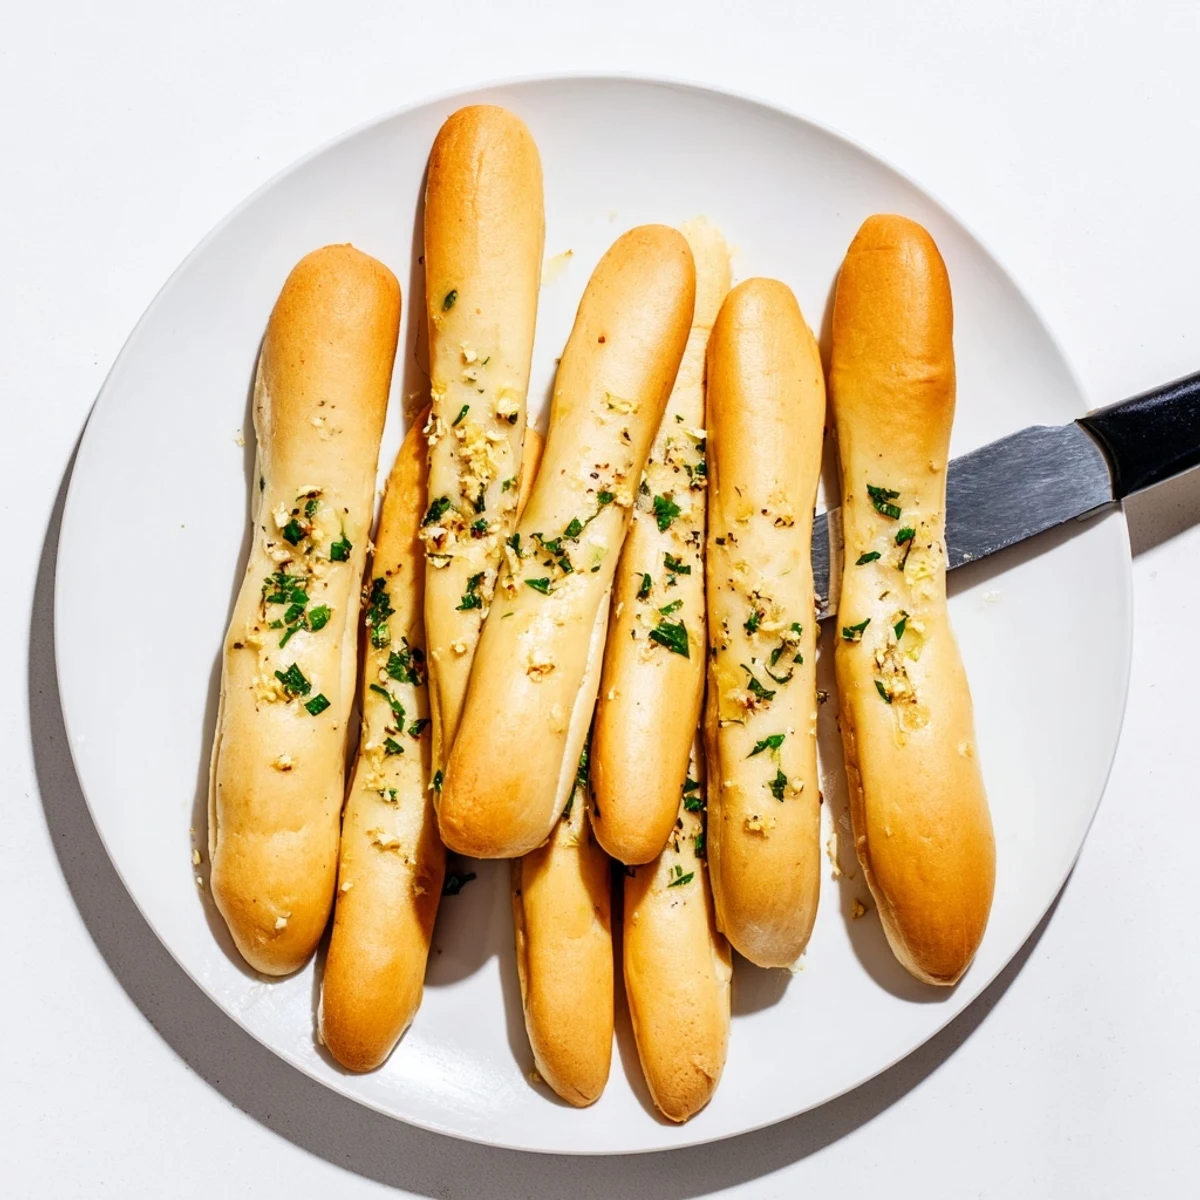
 There is a kind of quiet happiness in pulling a tray of golden garlic breadsticks from the oven and knowing you made something wonderful from flour and water and patience. Share them with someone you love, or keep the whole basket for yourself, because either way you earned it.
Recipe FAQ
- → How long do these breadsticks stay fresh?
-
Store in an airtight container at room temperature for up to 2 days. Reheat in a 350°F oven for 5 minutes to restore crispiness.
- → Can I make the dough ahead of time?
-
Yes, prepare the dough and refrigerate after the first rise for up to 24 hours. Let come to room temperature before shaping and baking.
- → What herbs work best in the garlic butter?
-
Fresh parsley, basil, or oregano all complement garlic beautifully. Dried herbs work too—use about 1 teaspoon dried instead of 1 tablespoon fresh.
- → Can I freeze these breadsticks?
-
Freeze baked breadsticks for up to 3 months. Thaw at room temperature, then warm in the oven. Apply fresh garlic butter after reheating.
- → Why did my dough not rise properly?
-
Ensure water is warm (110°F), not hot, which can kill yeast. Also check that your yeast is fresh—expired yeast won't activate properly.