 Save to Pinterest
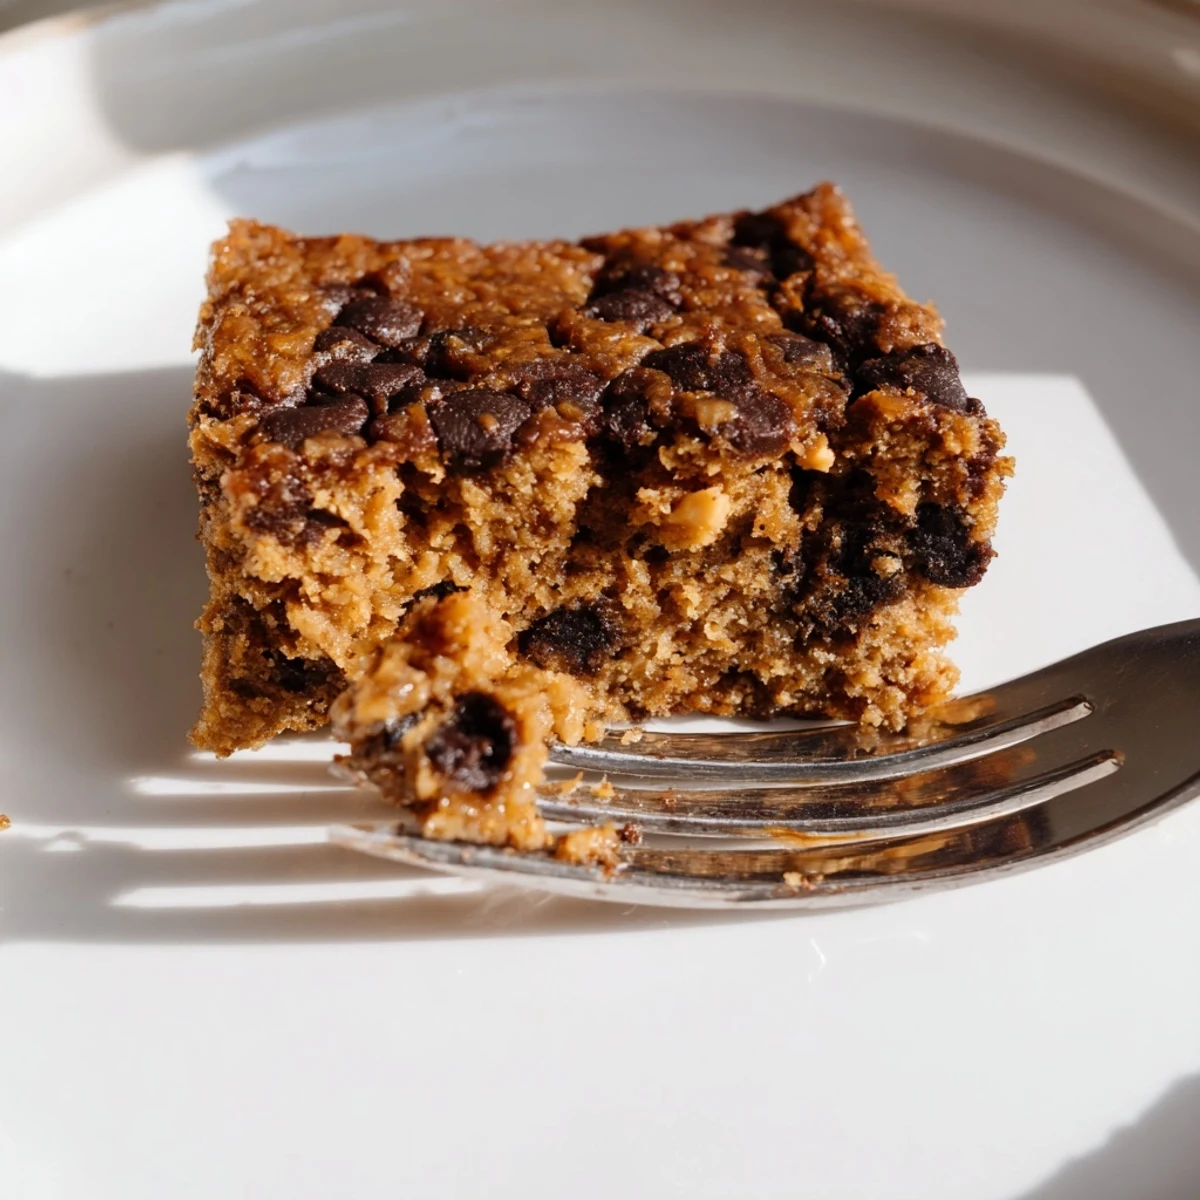
 These flourless peanut butter banana bars combine the natural sweetness of ripe bananas with creamy peanut butter for a moist, satisfying treat. Naturally gluten-free and ready in just 32 minutes, they make an ideal breakfast, afternoon snack, or wholesome dessert. The simple preparation requires only one bowl and basic pantry ingredients.
The smell of peanut butter warming in the oven always pulls me back to my first apartment kitchen where I discovered that some of the best desserts dont require a single cup of flour. I had overripe bananas sitting on the counter and a jar of peanut butter, so I threw them together without much expectation. The result was so incredibly fudgy that I couldnt believe something so simple could taste that good.
My sister was visiting last spring when I made a batch for afternoon coffee. She took one bite and immediately asked for the recipe, then proceeded to eat three bars while standing at the counter. Now she texts me every time she makes them for her kids, saying its the only dessert they all agree on.
Ingredients
- 2 large ripe bananas: The more spotted and brown the better, they provide natural sweetness and moisture
- 1 cup creamy peanut butter: Use a brand you love because the flavor really shines through
- 2 large eggs: These provide structure and bind everything together beautifully
- 1/4 cup pure maple syrup: Adds a subtle depth that complements the peanut butter
- 1 tsp vanilla extract: Dont skip this, it rounds out all the flavors
- 1/2 tsp ground cinnamon: Warm notes that make it feel like a treat
- 1/4 tsp fine sea salt: Crucial for balancing the sweetness
- 1/2 tsp baking soda: Helps the bars rise slightly and become tender
- 1/3 cup dark chocolate chips: Optional but highly recommended for pockets of melty goodness
Instructions
- Preheat your oven to 350°F and line an 8x8inch pan:
- Cut your parchment paper with extra overhang on the sides, this makes lifting the bars out so much easier later.
- Mash the bananas in a large bowl:
- Leave some small chunks if you like texture, or mash completely smooth for a uniform consistency.
- Add the peanut butter, eggs, maple syrup, and vanilla:
- Mix everything together until the batter is silky smooth, which usually takes about 30 seconds of energetic stirring.
- Stir in the cinnamon, salt, and baking soda:
- Make sure to scrape the bottom of the bowl so the baking soda gets evenly distributed.
- Fold in the chocolate chips if using:
- Use a gentle motion to keep them from breaking apart too much.
- Pour and spread the batter:
- The batter will be thick, so use the back of your spoon to press it into all corners evenly.
- Bake for 20 to 22 minutes:
- The edges should just start pulling away from the pan and a toothpick in the center comes out clean.
- Let cool completely before slicing:
- This is the hardest part but cutting them while warm makes them fall apart.
 Save to Pinterest
 Last autumn I brought these to a potluck where two people were glutenfree and didnt expect to eat dessert. Watching their faces light up when they learned they could have seconds was honestly the highlight of my month.
Make It Your Way
Swap the peanut butter for almond butter if you want a milder flavor profile. Sunflower seed butter works beautifully for schoolfriendly versions and actually tastes quite similar.
Storage Secrets
These bars keep remarkably well at room temperature for about three days. After that, I personally love storing them in the fridge where they become even denser and more fudgelike. They also freeze beautifully if you want to portion them out for quick breakfasts.
Serving Ideas
Sometimes I warm individual bars in the microwave for 15 seconds and top with a scoop of vanilla ice cream. A drizzle of melted peanut butter takes them over the top. My morning version gets a smear of greek yogurt and some fresh berries.
- Sprinkle flaky salt on top before baking if you love that sweet and salty combo
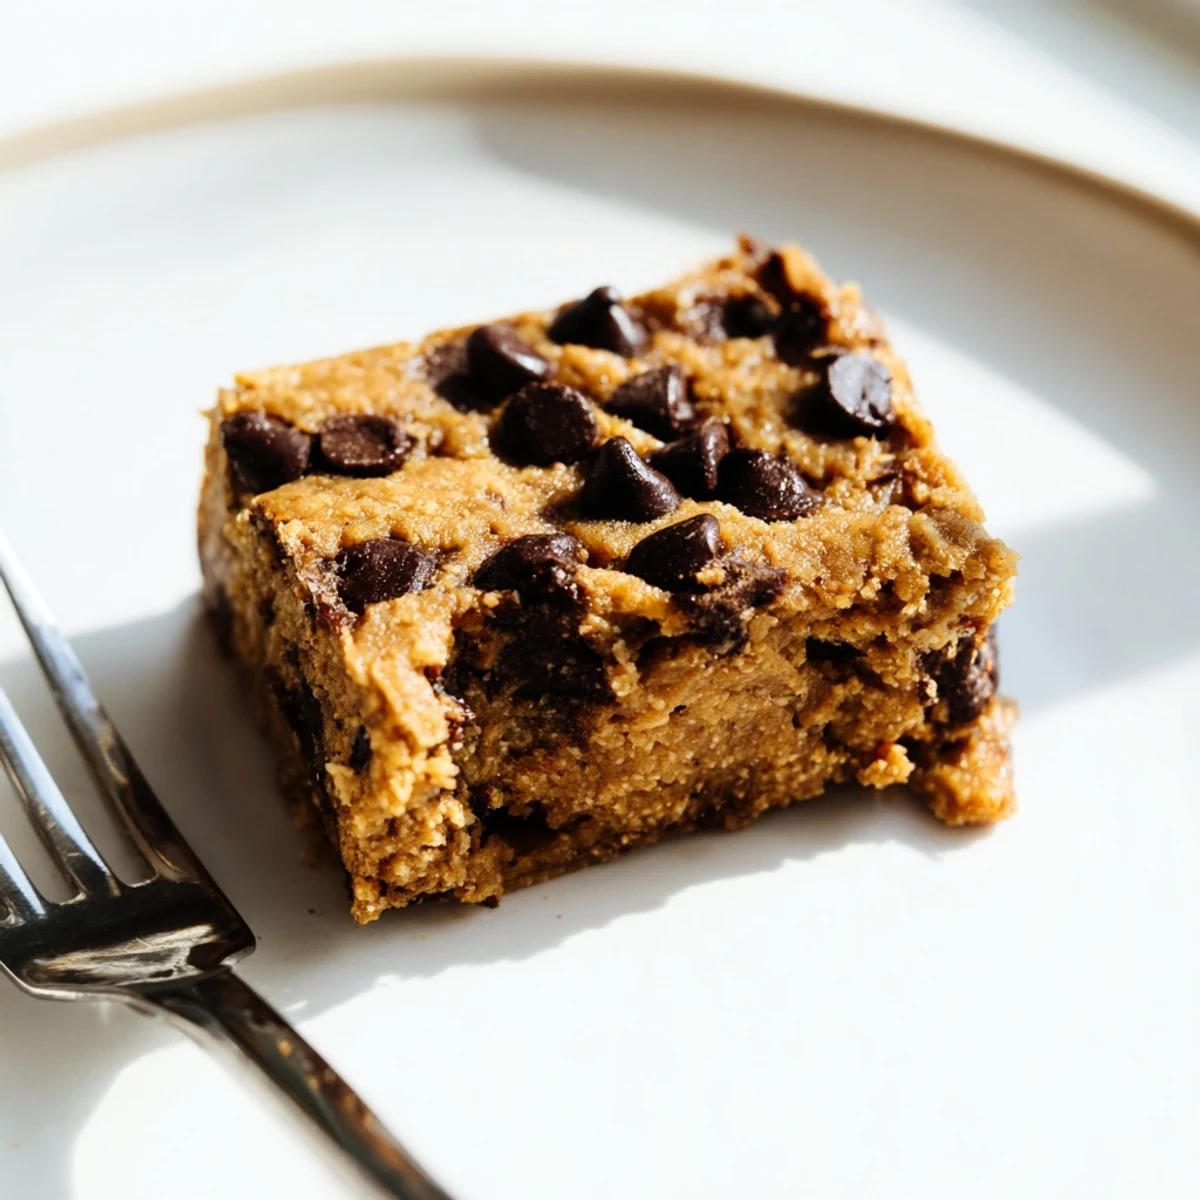
- Press extra chocolate chips onto the surface for an impressive presentation
- Serve slightly warmed for the ultimate peanut butter experience
 Save to Pinterest
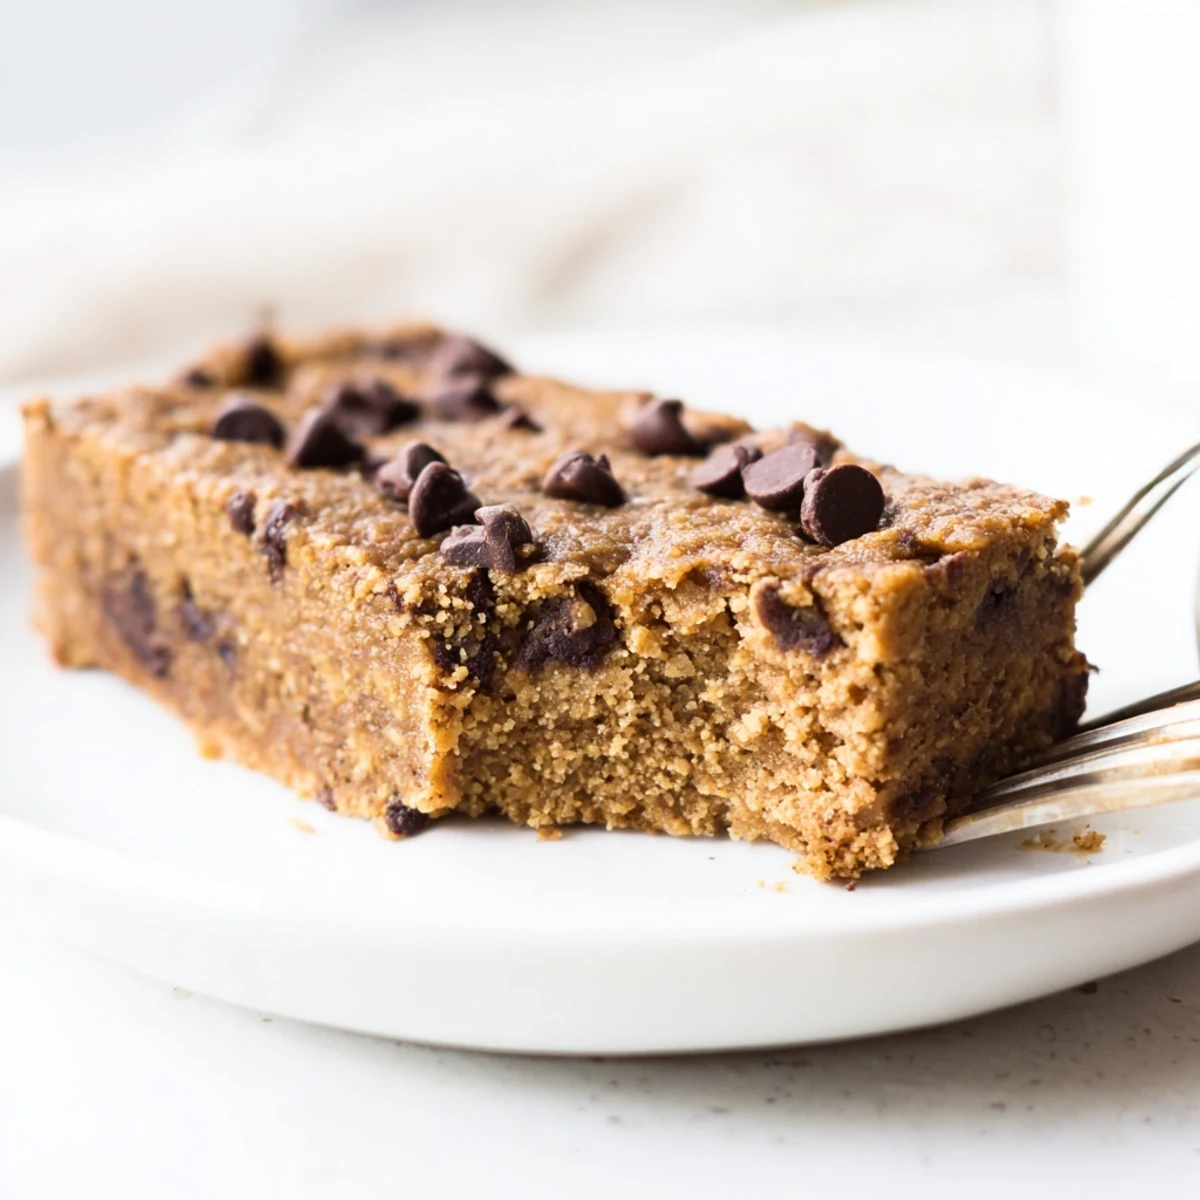
 Theres something deeply satisfying about a dessert that comes together in one bowl. These bars have become my goto for every occasion from bake sales to midnight cravings.
Recipe FAQ
- → Are these flourless bars actually gluten-free?
-
Yes, these bars are naturally gluten-free since they contain no wheat flour or other gluten-containing ingredients. Always verify your peanut butter and add-ins are certified gluten-free if you have severe sensitivities.
- → Can I make these bars vegan?
-
Absolutely. Replace the two large eggs with flax eggs (2 tablespoons ground flaxseed mixed with 5 tablespoons water) and ensure your chocolate chips are dairy-free. The texture remains wonderfully moist.
- → How should I store these peanut butter banana bars?
-
Store cooled bars in an airtight container at room temperature for up to 3 days. For longer freshness, refrigerate for up to a week or freeze individually wrapped portions for up to 3 months.
- → Can I use natural peanut butter?
-
Natural peanut butter works perfectly. Just ensure it's well-stirred before measuring, as the oil separation can affect ratios. Creamy varieties provide the smoothest texture, though chunky peanut butter adds nice nutty bits.
- → How ripe should the bananas be?
-
Use large bananas that are fully ripe with plenty of brown spots. These provide maximum natural sweetness and moisture. Yellow-green bananas won't offer the same depth of flavor or soft texture.
- → What can I substitute for maple syrup?
-
Honey or agave nectar work equally well as 1:1 substitutes. Honey adds a slightly richer flavor, while agave remains more neutral. Adjust based on your taste preferences and dietary needs.