 Save to Pinterest
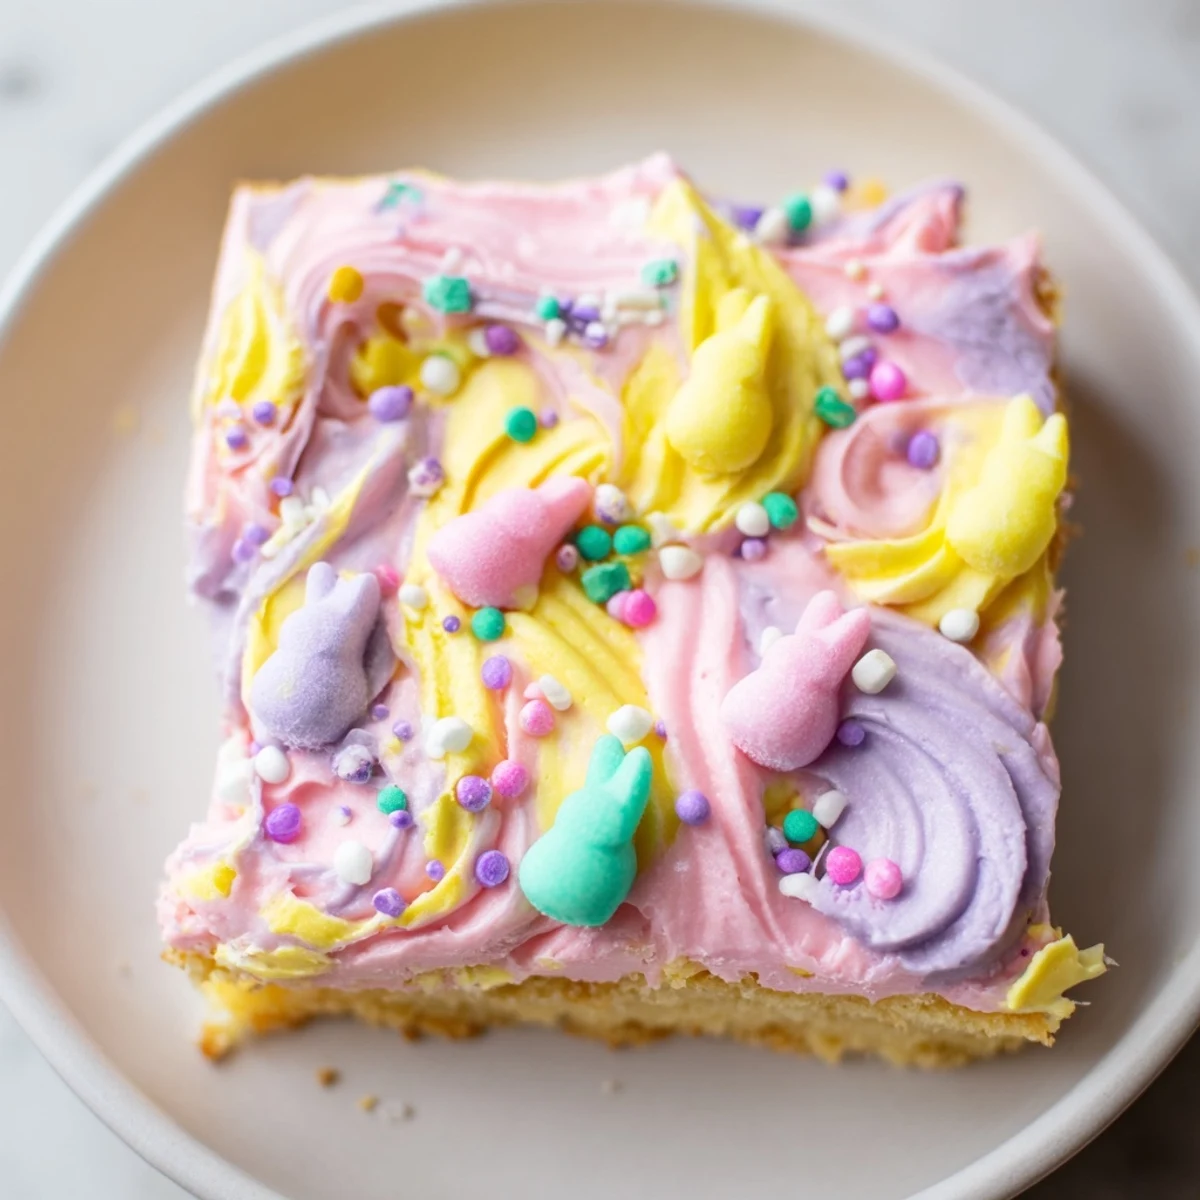
 These soft and tender sugar cookie bars feature a buttery vanilla base topped with smooth pastel frosting and colorful Easter sprinkles. The simple dough comes together quickly with basic pantry ingredients, while the creamy frosting can be tinted in any combination of soft pastel shades.
The bars bake in under 20 minutes for a texture that's perfectly moist and tender. Once cooled, spread the fluffy frosting generously over the surface and finish with festive sprinkles for a beautiful presentation that's ideal for Easter gatherings, spring parties, or holiday dessert tables.
Last Easter Sunday, my kitchen smelled like vanilla and butter while pastel frosting dotted my countertops like little edible clouds. My niece decided she needed to taste test every single color of frosting before we even decorated anything.
I made these for our neighborhood egg hunt last year, and watching the kids reach for the pink frosted squares first became its own kind of entertainment. One dad asked if I'd make them again next year before he'd even finished his first bite.
Ingredients
- All-purpose flour: Provides the structure for that tender cake-like cookie texture we want
- Unsalted butter: Room temperature butter creates the perfect creamed base for both cookies and frosting
- Granulated sugar: Sweetens and helps create those delightfully soft edges
- Large eggs: Add richness and help bind everything together beautifully
- Pure vanilla extract: The classic flavor that makes everything taste homemade
- Almond extract: Optional but adds such a lovely subtle warmth that complements the vanilla
- Baking powder: Gives these bars just enough lift without making them cakey
- Powdered sugar: Creates that silky smooth frosting that spreads like a dream
- Whole milk or cream: Adjusts frosting consistency to exactly what you need
- Pastel food coloring: Gel colors work best for those soft Easter shades without thinning the frosting
- Easter sprinkles: The finishing touch that makes everyone smile before they even take a bite
Instructions
- Getting Started:
- Preheat your oven to 350°F and line a 9x13 inch pan with parchment paper, letting the edges hang over slightly so you can lift the bars out later like a pro.
- Whisking the Dry Mix:
- In a medium bowl, combine the flour, baking powder, and salt, whisking gently to ensure everything is evenly distributed.
- Creaming the Butter:
- Beat the softened butter and granulated sugar together until the mixture looks pale and fluffy, which usually takes about 3 minutes of serious mixing.
- Adding Eggs and Extracts:
- Drop in those eggs one at a time, letting each one fully incorporate before adding the next, then mix in both extracts until fragrant.
- Combining Everything:
- Gradually add the flour mixture to your butter mixture, mixing just until the flour disappears, because overmixing makes tough cookies and nobody wants that.
- Spreading the Dough:
- Press the dough evenly into your prepared pan using an offset spatula or the back of a spoon, working to create a perfectly smooth surface.
- Baking to Perfection:
- Slide the pan into the oven for 18 to 20 minutes, watching for the edges to turn barely golden while the center stays set but soft.
- Cooling Completely:
- Let the bars cool completely in the pan, because frosting warm cookies creates a melty mess nobody signed up for today.
- Making the Frosting:
- Beat the butter until creamy, add the powdered sugar, vanilla, and 2 tablespoons of milk, then whip until fluffy and smooth, adding more milk only if needed.
- Adding Color:
- Divide the frosting into separate bowls and tint each portion with your chosen pastel colors, starting with just a tiny bit of gel coloring at a time.
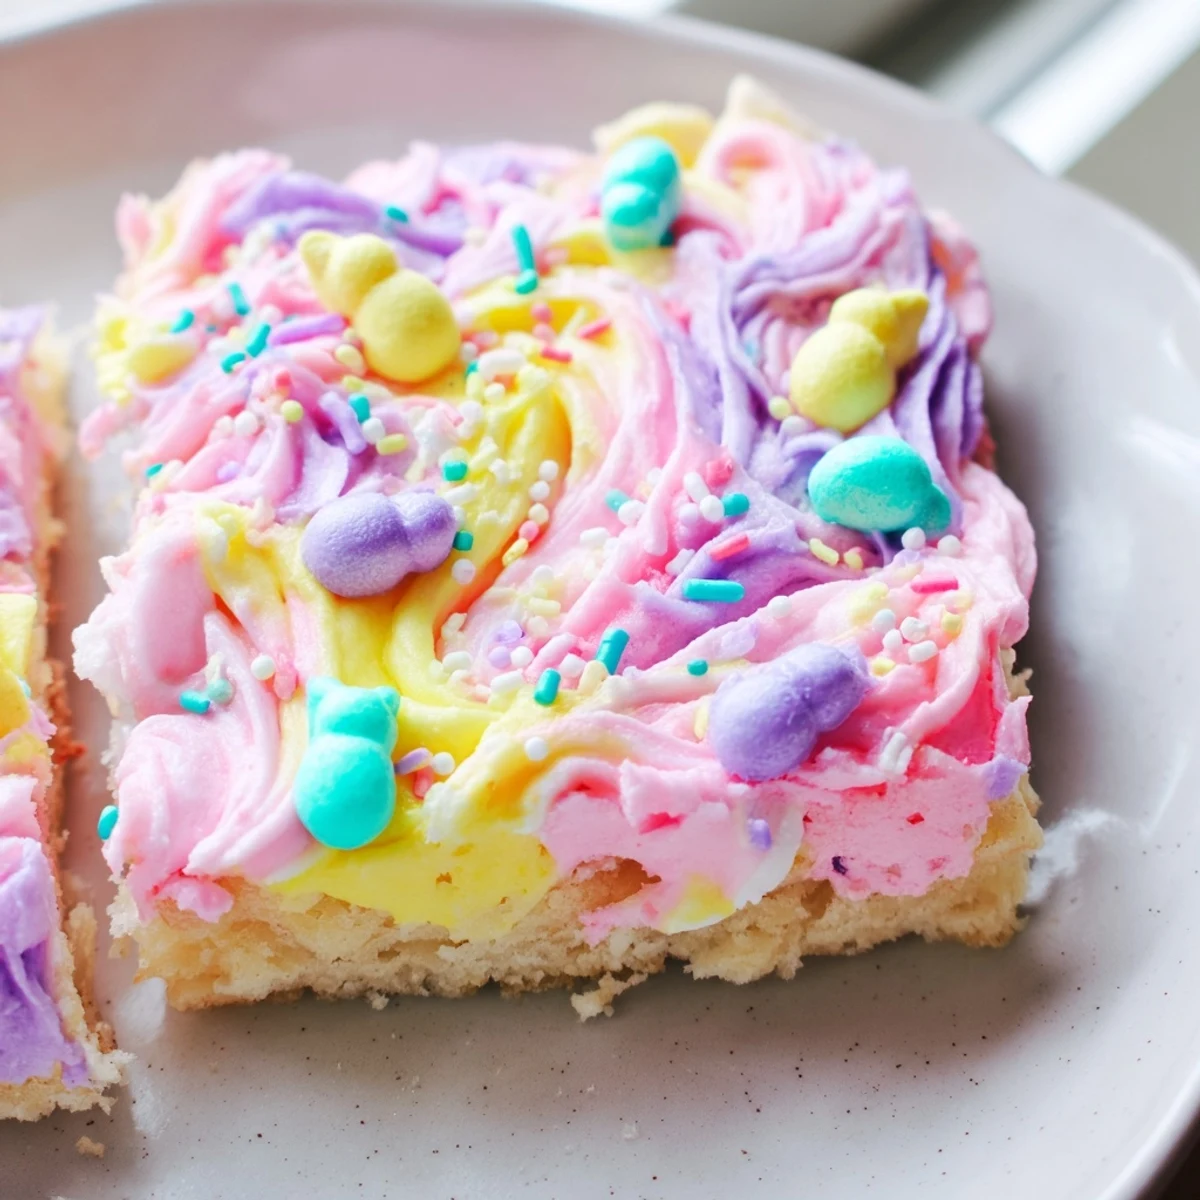
- Frosting and Decorating:
- Spread your colored frosting over the cooled cookie base, then shower those sprinkles over the top before the frosting sets.
- Cutting and Serving:
- Use the parchment paper overhang to lift the entire slab out of the pan, then cut into 16 squares and watch them disappear quickly.
 Save to Pinterest
 My mom accidentally used orange extract instead of almond one year, and it became such a happy mistake that now half our family makes them that way on purpose.
Getting the Texture Right
The difference between a dry bar and one that stays soft for days comes down to pulling them from the oven when the center still looks slightly underbaked. I learned this the hard way after making hockey pucks my first attempt, now I set a timer for 18 minutes and check them every minute after that.
Frosting Like a Pro
Sift your powdered sugar before adding it to the butter, because those tiny lumps will never fully beat out and you'll end up with speckled frosting. I once skipped this step and spent ten minutes fishing out lumps with a fork while my frosting started separating on me.
Color Your Easter
Gel food coloring is your friend here because liquid coloring can thin your frosting into something that slides right off the cookies. Start with a toothpick amount of gel and remember you can always add more, but you cannot take color back once it's in there.
- Use different frosting techniques in each section of the pan for variety
- Add sprinkles immediately after frosting each section so they stick properly
- Press sprinkles gently into the frosting to prevent them from rolling off
 Save to Pinterest
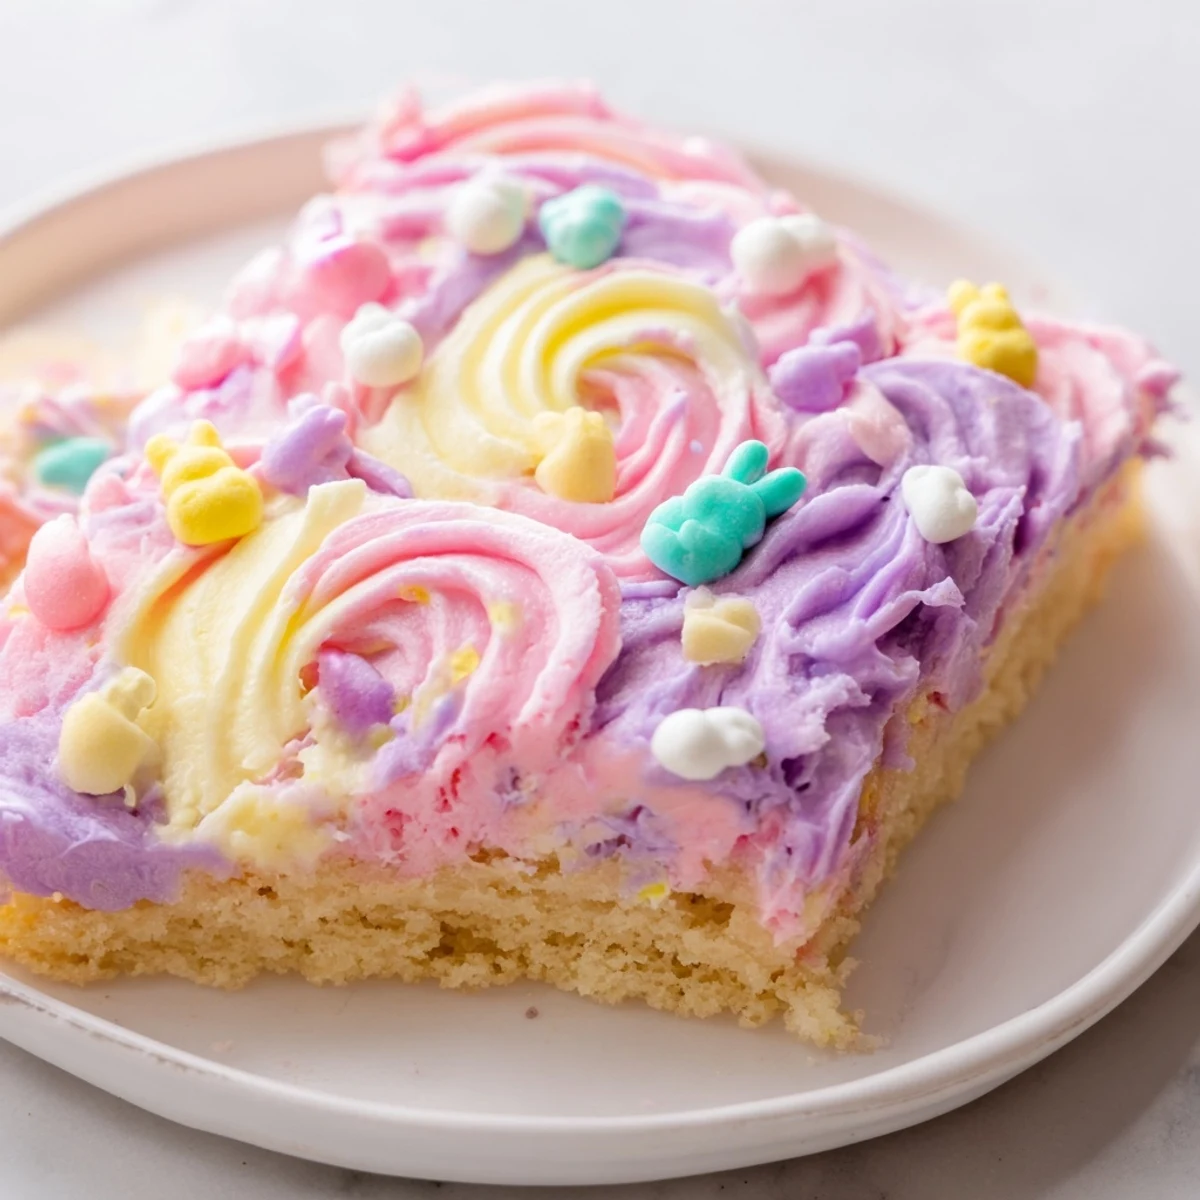
 These bars have become such a part of our Easter tradition that I'm not sure which we'd miss more, the egg hunt or the moment someone asks if the pink ones are ready yet.
Recipe FAQ
- → How do I store these frosted bars?
-
Store in an airtight container at room temperature for up to 4 days. For longer freshness, refrigerate for up to 1 week. Bring to room temperature before serving for the best texture and flavor.
- → Can I make these ahead of time?
-
Yes, bake the cookie base up to 2 days ahead and store unfrosted. Frost and decorate the day of serving for the freshest appearance. The frosted bars also hold up well overnight.
- → What other frosting colors work well?
-
Beyond traditional pastels, try soft mint green, lavender, peach, or baby blue. You can also create a marbled effect by swirling multiple colors together with a knife or offset spatula.
- → Can I freeze these cookie bars?
-
Freeze unfrosted bars tightly wrapped for up to 3 months. Thaw at room temperature, then frost and decorate. Frosted bars can also be frozen, though the sprinkles may slightly bleed into the frosting.
- → How do I know when the bars are done baking?
-
The edges should be barely golden and the center set but still soft. A toothpick inserted in the center should come out with just a few moist crumbs. Overbaking will result in dry bars.
- → Can I make these without almond extract?
-
Absolutely. Substitute the almond extract with an additional teaspoon of vanilla extract, or try lemon extract for a bright citrus variation that pairs beautifully with the buttery base.