 Save to Pinterest
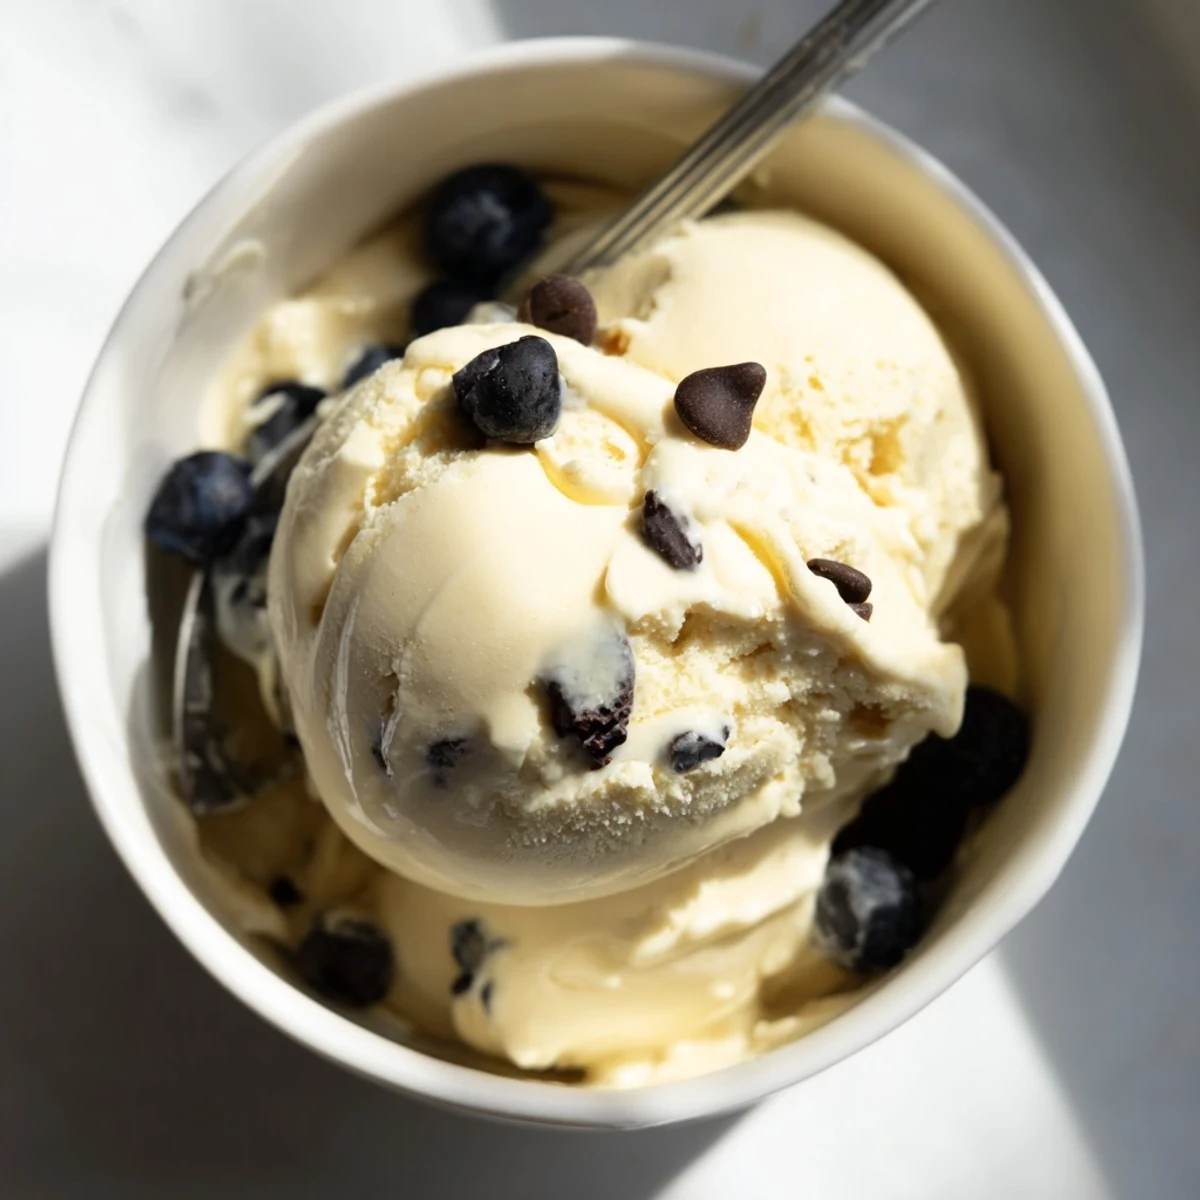
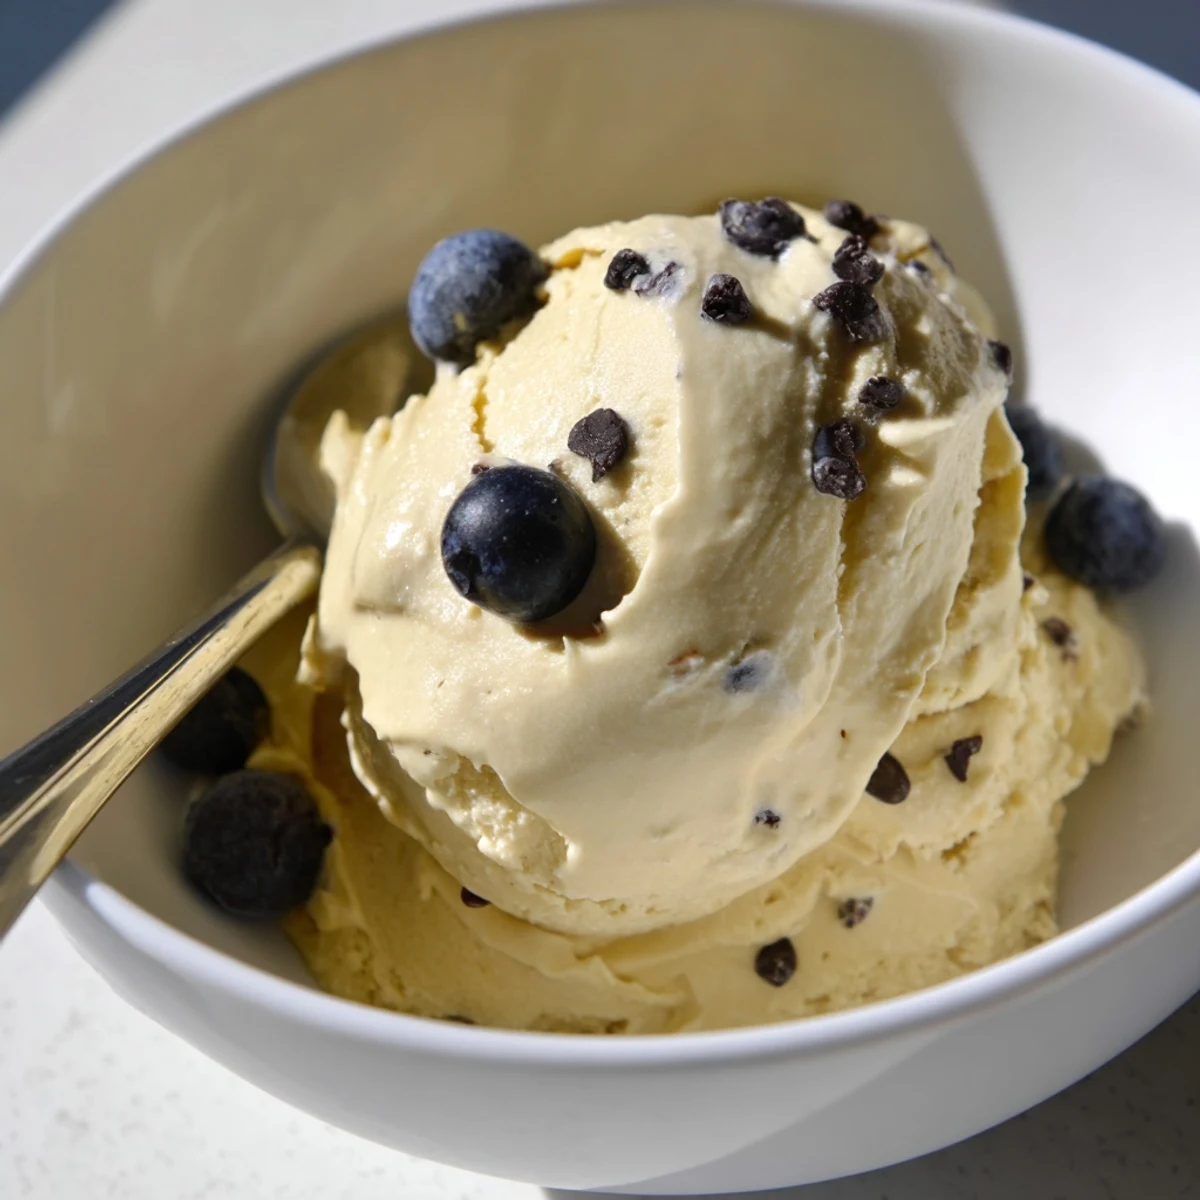
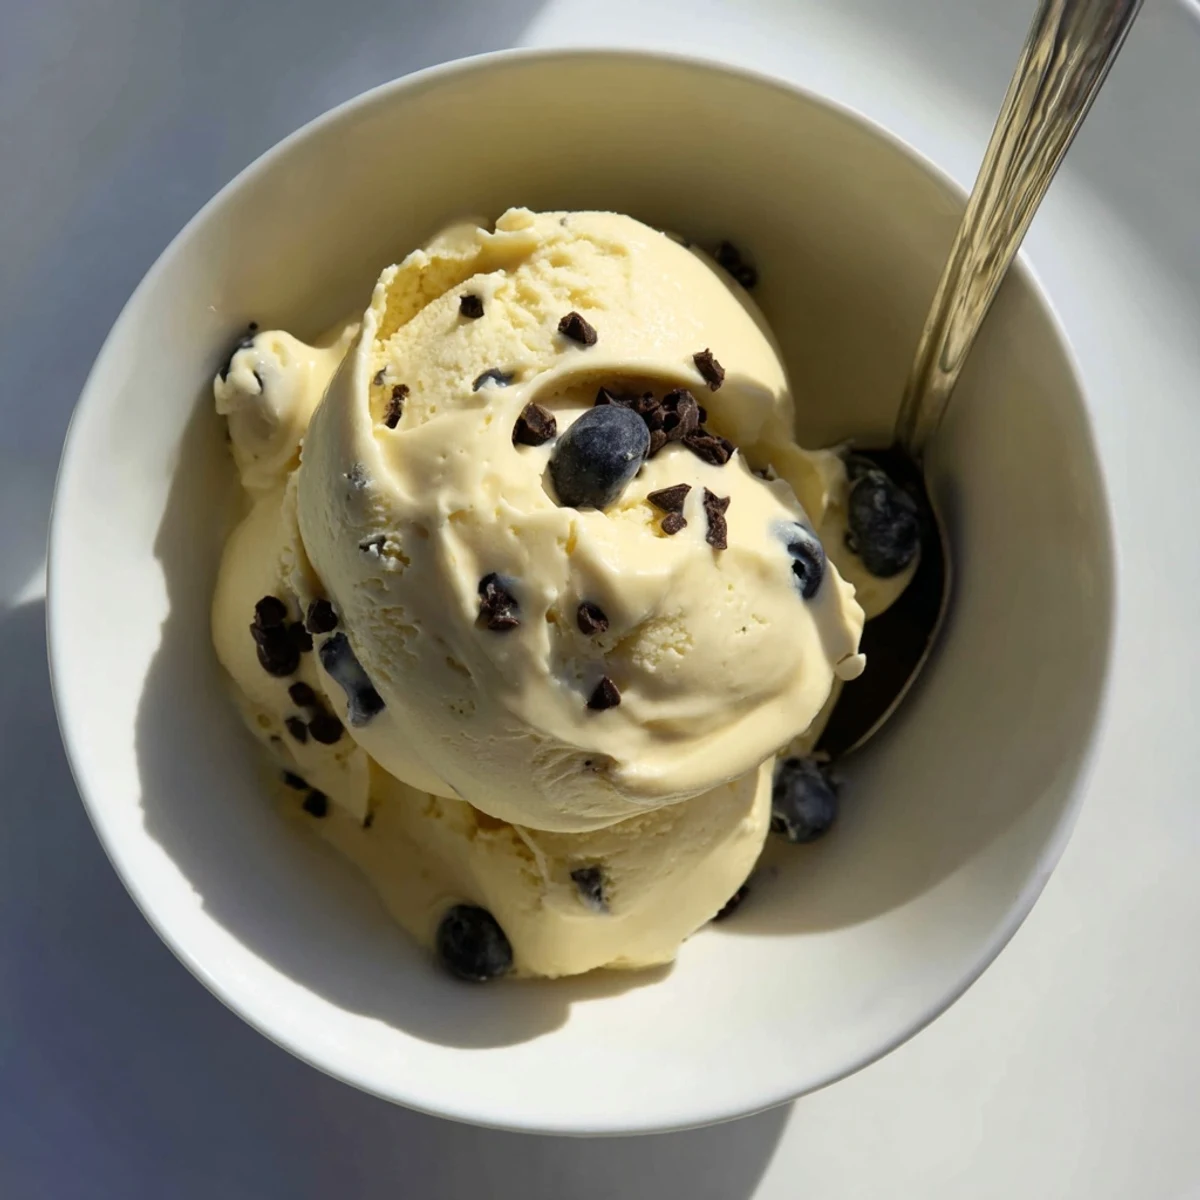
 Transform frozen ripe bananas into a lusciously creamy dessert that rivals traditional ice cream without dairy or added sugar. This naturally sweet frozen treat comes together in just 10 minutes using frozen banana slices blended until smooth and silky. Customize with vanilla, cocoa powder, or peanut butter for variety, then top with fresh berries, nuts, or chocolate chips for extra indulgence. Serve immediately for soft-serve texture or freeze longer for scoopable perfection.
My blender was loud enough to wake the neighbors the first time I tried making banana nice cream at eleven oclock on a Tuesday night.
I made a batch during a heat wave last summer and my roommate walked in, grabbed a spoon, and refused to believe there was no dairy involved.
Ingredients
- 3 ripe bananas: The riper the better here, those heavily spotted ones you might otherwise toss are exactly what you want for maximum sweetness.
- 1 tsp vanilla extract: Rounds out the flavor and makes it taste more like traditional ice cream.
- 1 to 2 tbsp plant based milk: Only if your blender needs help, add sparingly so the texture stays thick.
- 1 tbsp peanut butter or cocoa powder: Either one transforms the whole bowl into something completely different and wonderful.
- Optional toppings like fresh berries, chopped nuts, or chocolate chips: Fun but honestly the nice cream holds its own naked.
Instructions
- Freeze the bananas:
- Peel and slice the bananas into coins, then spread them in a single layer in an airtight container and freeze for at least two hours until completely solid.
- Start blending:
- Toss the frozen slices into a high powered blender or food processor and blend until the bananas look crumbly, scraping down the sides whenever they stick.
- Push through the awkward phase:
- Keep blending past the crumbly stage and it will suddenly transform into something silky and luscious, adding a splash of plant milk only if the machine is struggling.
- Add your flavors:
- Drop in vanilla, peanut butter, or cocoa powder and blend again until everything is fully incorporated and uniform.
- Decide your texture:
- Serve it right away for soft serve vibes, or pack it into a container and freeze for one more hour if you want firmer scoops.
- Top and eat:
- Spoon into bowls, scatter with whatever toppings make you happy, and dig in immediately before it melts.
 Save to Pinterest
 I once served this at a small dinner party and ended up writing the recipe on a napkin for three different people before the night was over.
Freezing Advice That Actually Works
Slice the bananas before freezing rather than freezing them whole, because whole frozen bananas will fight your blender and probably win.
Flavor Directions Worth Exploring
A spoonful of matcha powder turns the whole thing green and earthy, while a handful of frozen berries blended in at the end creates a swirled, fruity finish.
Tools and Kitchen Setup
A food processor tends to handle this job more easily than a standard blender, especially if you are working with a smaller batch.
- A freezer safe airtight container keeps banana slices from absorbing other flavors in your freezer.
- A good spatula saves you from losing half the batch stuck to the sides.
- Clean the blender immediately after because banana residue hardens fast.
 Save to Pinterest
 Keep it simple, keep it cold, and enjoy the easiest dessert you will ever make.
Recipe FAQ
- → What is banana nice cream made of?
-
Banana nice cream consists entirely of frozen ripe bananas blended until creamy and smooth. Optional add-ins include vanilla extract, plant-based milk for easier blending, or flavorings like peanut butter and cocoa powder.
- → How long should I freeze bananas before blending?
-
Freeze banana slices for at least 2 hours or overnight until completely solid. Properly frozen bananas blend into the creamiest texture and won't become mushy or watery.
- → Why is my nice cream not blending smoothly?
-
If your mixture isn't blending smoothly, add 1-2 tablespoons of plant-based milk to help the blades catch. Scrape down the sides frequently and blend in intervals, letting your machine rest between bursts.
- → Can I make nice cream without a high-powered blender?
-
A food processor works excellently for nice cream. The key is processing in stages, stopping to scrape down the sides and break up clumps. The process takes slightly longer but yields equally creamy results.
- → How should I store leftover nice cream?
-
Store in an airtight container in the freezer for up to 2 weeks. It will become quite firm, so let it thaw for 5-10 minutes before scooping. The texture is best when enjoyed fresh but remains delicious after freezing.
- → What toppings work best with banana nice cream?
-
Fresh berries, chopped nuts, chocolate chips, coconut flakes, granola, or a drizzle of nut butter all complement the creamy banana base beautifully. Choose toppings that add contrasting textures and flavors.