 Save to Pinterest
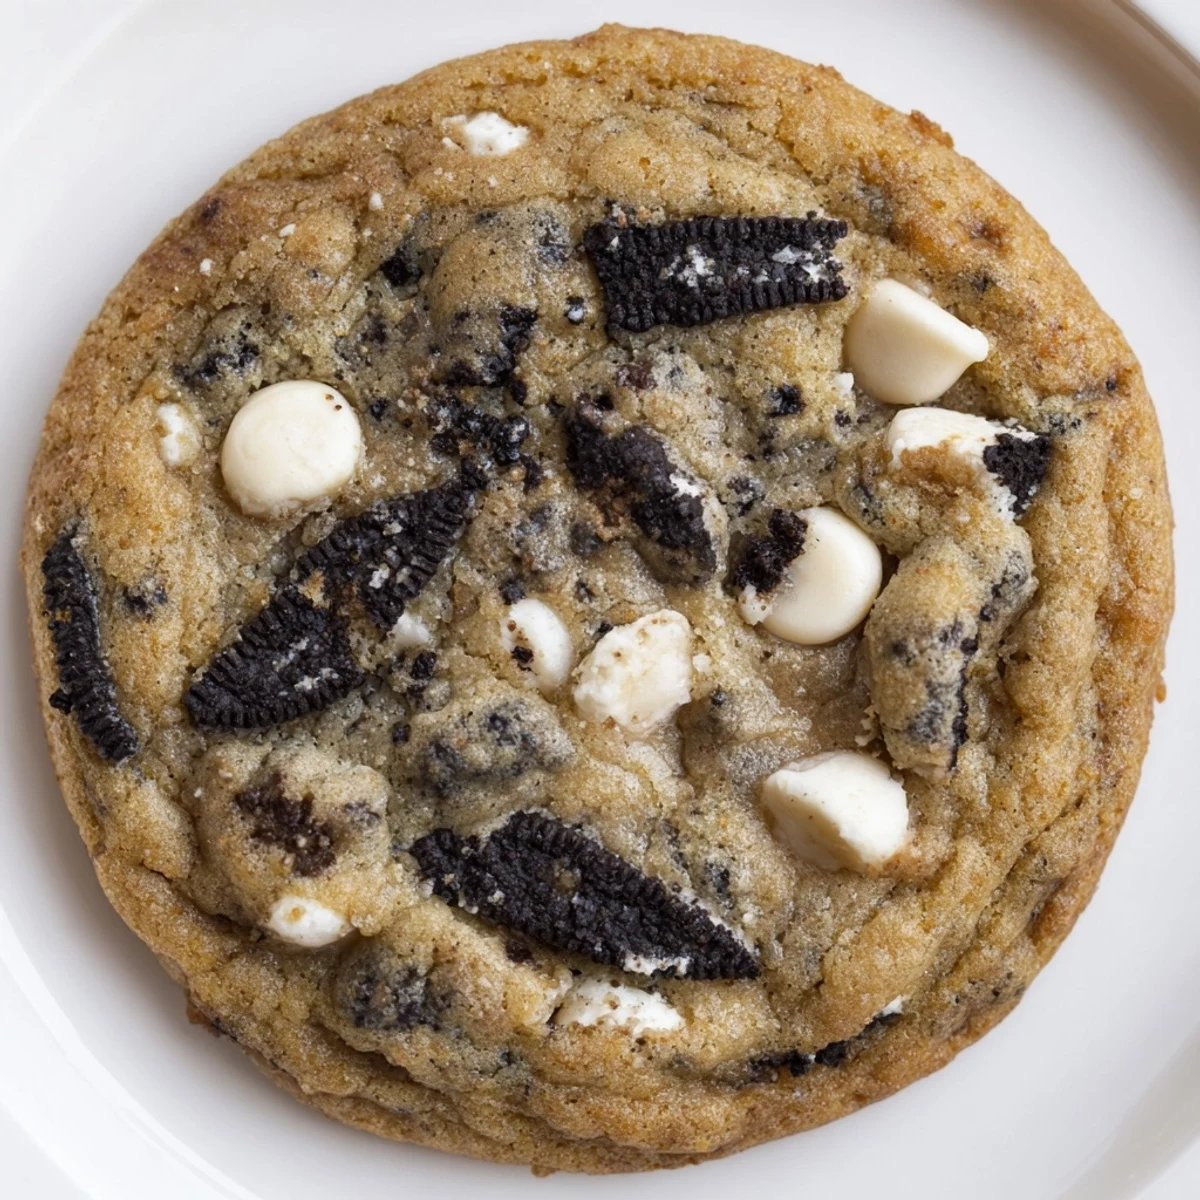
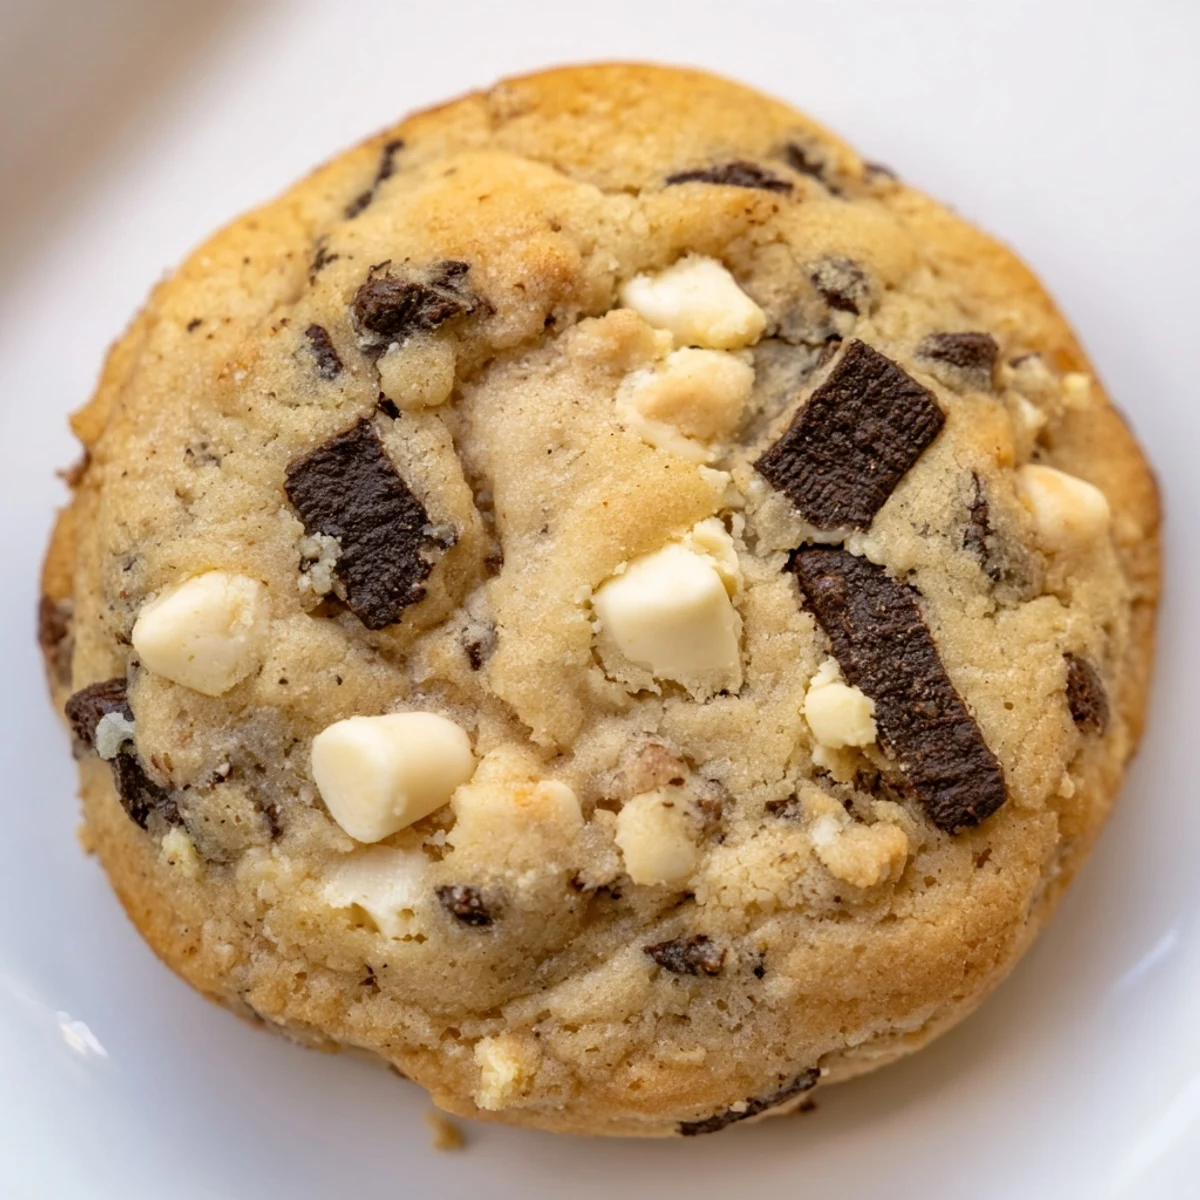
 These soft, chewy cookies feature crushed chocolate sandwich cookies and white chocolate chips throughout the dough. The classic combination delivers that beloved cookies 'n cream taste with a perfectly tender texture. Each bite offers crunchy cookie pieces and creamy white chocolate morsels nestled in a buttery, vanilla-infused base.
Ready in under 30 minutes, these treats bake up with lightly golden edges and soft centers. The dough comes together quickly using basic pantry staples, making them perfect for last-minute baking or whenever cravings strike. With 24 cookies per batch, there's plenty to share.
The first time I brought these cookies to a potluck, my friend Sarah actually hid two in her purse before anyone else could get seconds. That moment of seeing someone literally stash them away like treasure still makes me grin every time I scoop the dough.
I learned the hard way that chopping the sandwich cookies too finely makes them disappear into the dough. Now I crush them into chunky pieces so you get these satisfying little bursts of cream-filled cookies in every single bite.
Ingredients
- All-purpose flour: The foundation that gives these cookies their structure without making them tough
- Baking soda: Just enough to help them spread into those perfect craggy edges we all love
- Salt: Dont skip this, it makes all the chocolate flavors sing
- Unsalted butter: Softened to room temperature so it creams beautifully with the sugars
- Granulated and brown sugar: The combination creates those crispy edges and chewy centers
- Large egg: Binds everything together while adding richness
- Vanilla extract: Pure extract makes a noticeable difference in the background flavor
- Chocolate sandwich cookies: Roughly chopped into generous pieces, not fine crumbs
- White chocolate chips: They melt into creamy pockets that balance the dark cookie pieces perfectly
Instructions
- Prep your space:
- Preheat that oven to 350°F and line your baking sheets with parchment paper. Trust me, the parchment saves you from scrubbing baked-on sugar later.
- Mix the dry team:
- Whisk together the flour, baking soda, and salt in a medium bowl. Set this aside where it can hang out until needed.
- Cream the butter and sugars:
- Beat the softened butter with both sugars until everything looks light and fluffy. This usually takes about 2 to 3 minutes of serious mixing.
- Add the egg and vanilla:
- Crack in the egg and pour in the vanilla. Beat until the mixture looks smooth and glossy, about another minute.
- Bring it all together:
- Gradually add the dry ingredients to the wet mixture. Mix only until you no longer see streaks of flour, and I mean stop right there.
- The fun part:
- Gently fold in those chopped sandwich cookies and white chocolate chips. The dough should look absolutely loaded with chunky pieces.
- Scoop and space:
- Drop tablespoon-sized balls onto the baking sheets, leaving about 2 inches between each one. They need room to spread their wings in the oven.
- Bake to perfection:
- Slide them into the oven for 10 to 12 minutes. You want edges that are just barely golden and centers that still look slightly soft.
- The patience test:
- Let them cool on the baking sheets for exactly 5 minutes. This is when they finish cooking and set into that perfect texture.
- Final cooling:
- Transfer to a wire rack to cool completely. If you can resist eating one warm, you have more willpower than I do.
 Save to Pinterest
 My grandmother used to say that patience is the secret ingredient in baking, but she also kept a secret stash of broken cookies in her freezer. I think she was onto both those ideas.
Making Them Ahead
The dough balls freeze beautifully for up to three months. Just scoop them onto a baking sheet, freeze until solid, then transfer to a bag. Bake from frozen, adding 1 to 2 extra minutes.
Getting The Texture Right
If you prefer thicker cookies, chill the dough for 30 minutes before baking. This solidifies the fat and slows spreading in the oven.
Customization Ideas
Swap in milk chocolate chips for a sweeter version, or add a handful of sprinkles for birthday vibes. A pinch of espresso powder deepens the chocolate flavor without adding coffee taste.
- Press a few extra cookie chunks on top before baking for visual appeal
- Sea salt flakes on warm cookies create a fancy finishing touch
- Store in an airtight container with a piece of bread to keep them soft longer
 Save to Pinterest
 There is something deeply satisfying about a cookie that tastes like childhood but feels special enough for a dinner party dessert. Happy baking.
Recipe FAQ
- → Why chill the dough before baking?
-
Chilling the dough for 30 minutes helps prevent excessive spreading, resulting in thicker cookies with soft centers and chewy edges. This step also enhances flavor development.
- → Can I use different sandwich cookies?
-
Absolutely. While classic chocolate sandwich cookies work best, you can experiment with golden sandwich cookies, mint varieties, or even peanut butter sandwich cookies for unique flavor twists.
- → How do I know when they're done baking?
-
Remove from the oven when edges are lightly golden and centers appear slightly underbaked. They'll continue cooking on the hot baking sheet, resulting in perfectly soft, chewy texture.
- → Can I freeze the dough or baked cookies?
-
Yes. Scoop dough balls onto a baking sheet, freeze until solid, then store in freezer bags for up to 3 months. Bake from frozen, adding 1-2 minutes. Baked cookies freeze well for up to 2 months.
- → What's the best way to chop the sandwich cookies?
-
Place cookies in a sealed plastic bag and crush with a rolling pin for varied chunk sizes. Alternatively, pulse briefly in a food processor for finer pieces, being careful not to turn them into dust.
- → Why add both granulated and brown sugar?
-
Granulated sugar creates crisp edges while brown sugar adds moisture and chewiness. The combination yields the perfect texture—crisp outside, soft and tender inside with rich caramel notes.