
 Save to Pinterest
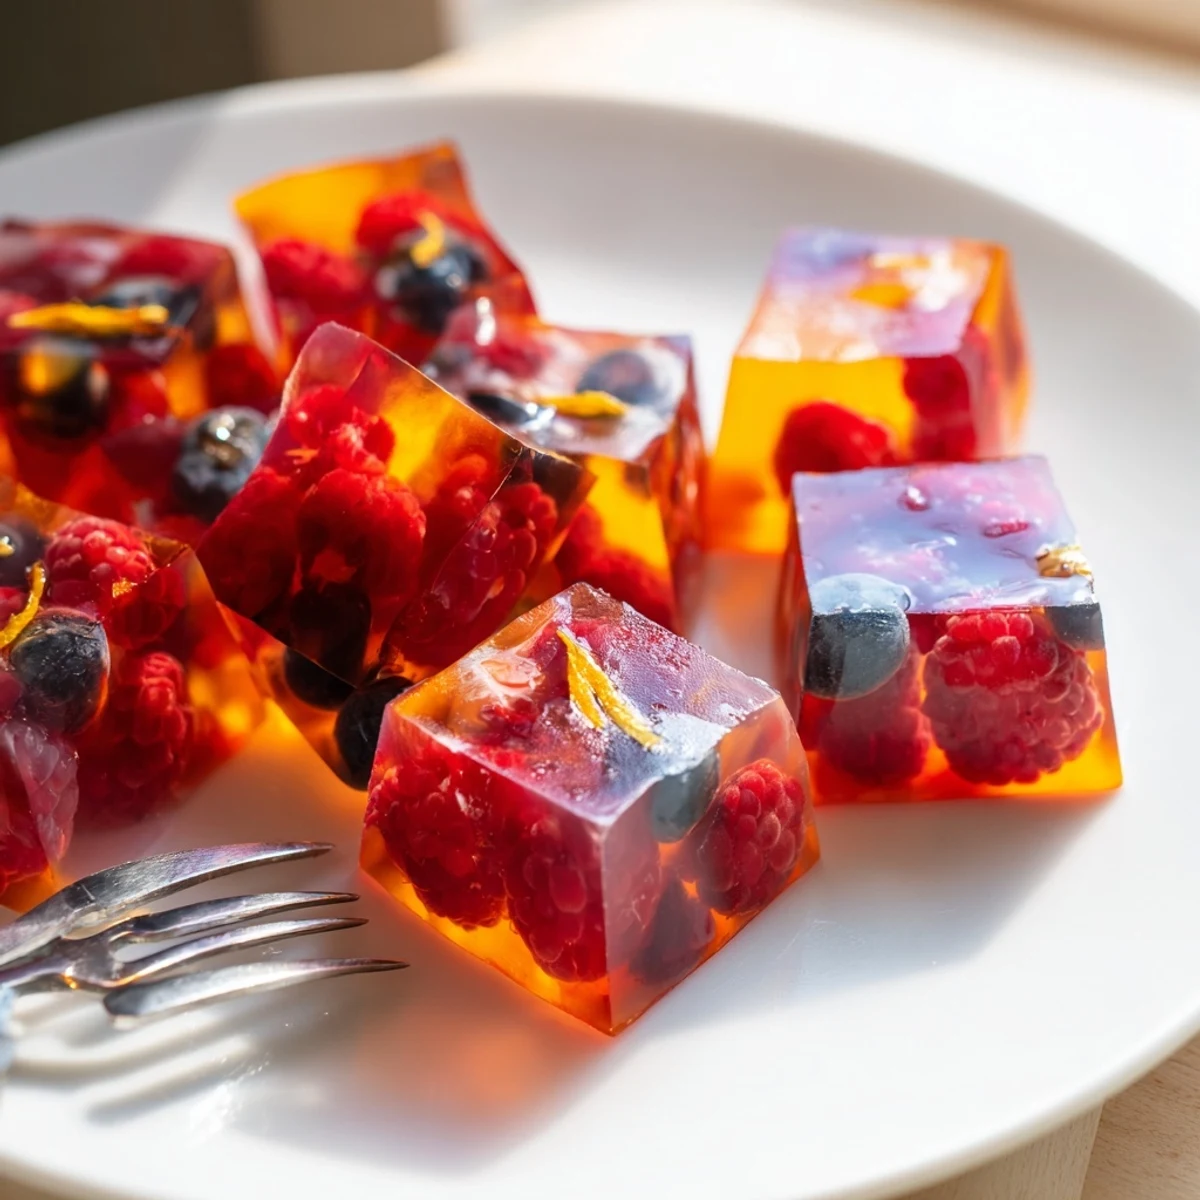
 These collagen fruit jellies combine pure fruit juice with collagen peptides and a touch of honey for a nourishing treat that's ready with minimal effort. After a brief bloom and gentle warming on the stovetop, the mixture sets in the refrigerator into perfectly tender, flavorful bites.
They're naturally gluten-free, low in carbs, and versatile enough to customize with your favorite juices, fresh berries, or citrus zest. Each serving delivers about 5 grams of protein from collagen alone, making them a smart choice for an afternoon pick-me-up or a light dessert.
My refrigerator started looking like a candy shop last summer after I discovered you could make fruit jellies with collagen at home. The first batch vanished in one afternoon because my neighbor stopped by, tried one, and then casually ate six more while telling me about her garden. The colors you get from real fruit juice are almost impossibly bright, nothing like the wobbly store bought squares I grew up with.
I started making these every Sunday as a weekly ritual, pouring whatever juice looked good at the farmers market into molds while the coffee brewed. My roommate now expects a full container in the fridge by Monday morning or I hear about it.
Ingredients
- Pure fruit juice (1 cup): Use 100 percent juice with no added sugar because the honey or maple syrup handles sweetness better and you control it entirely.
- Lemon juice (2 tablespoons): This perks up flat tasting juice and actually helps the gelatin set properly.
- Collagen peptides powder (2 tablespoons): Unflavored collagen dissolves invisibly and adds a surprising protein boost without changing the taste.
- Honey or maple syrup (2 tablespoons): Adjust based on how sweet your juice is, tart berry blends need more than something like apple.
- Unflavored powdered gelatin (2 and a half tablespoons): This is the structural backbone and the amount matters, so measure carefully.
- Vanilla extract (1 teaspoon, optional): A small touch that rounds out the flavor especially in citrus based jellies.
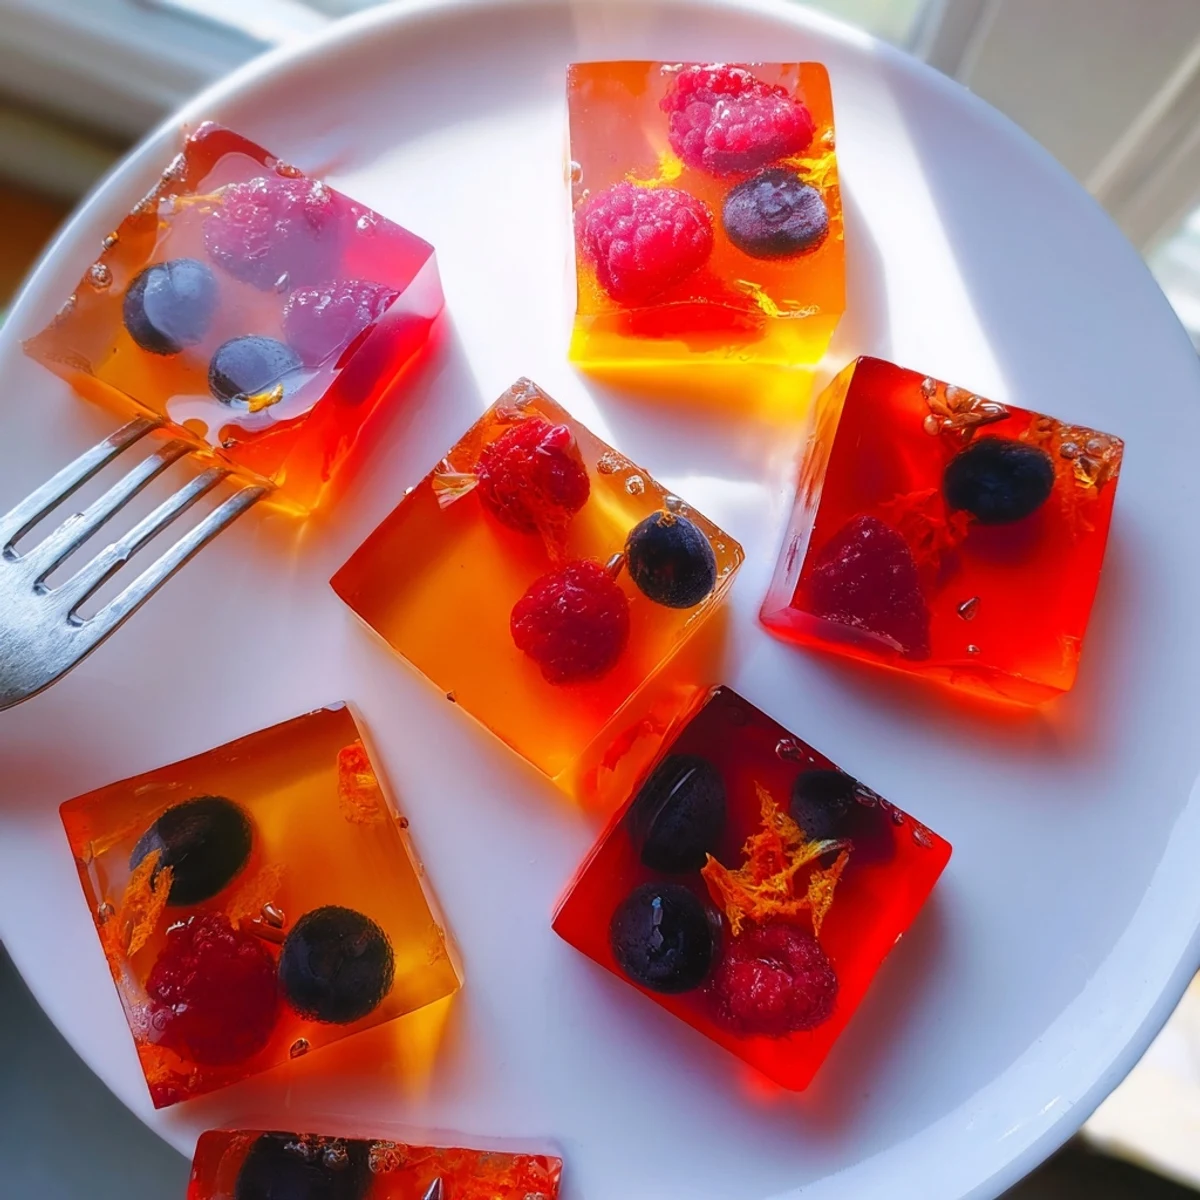
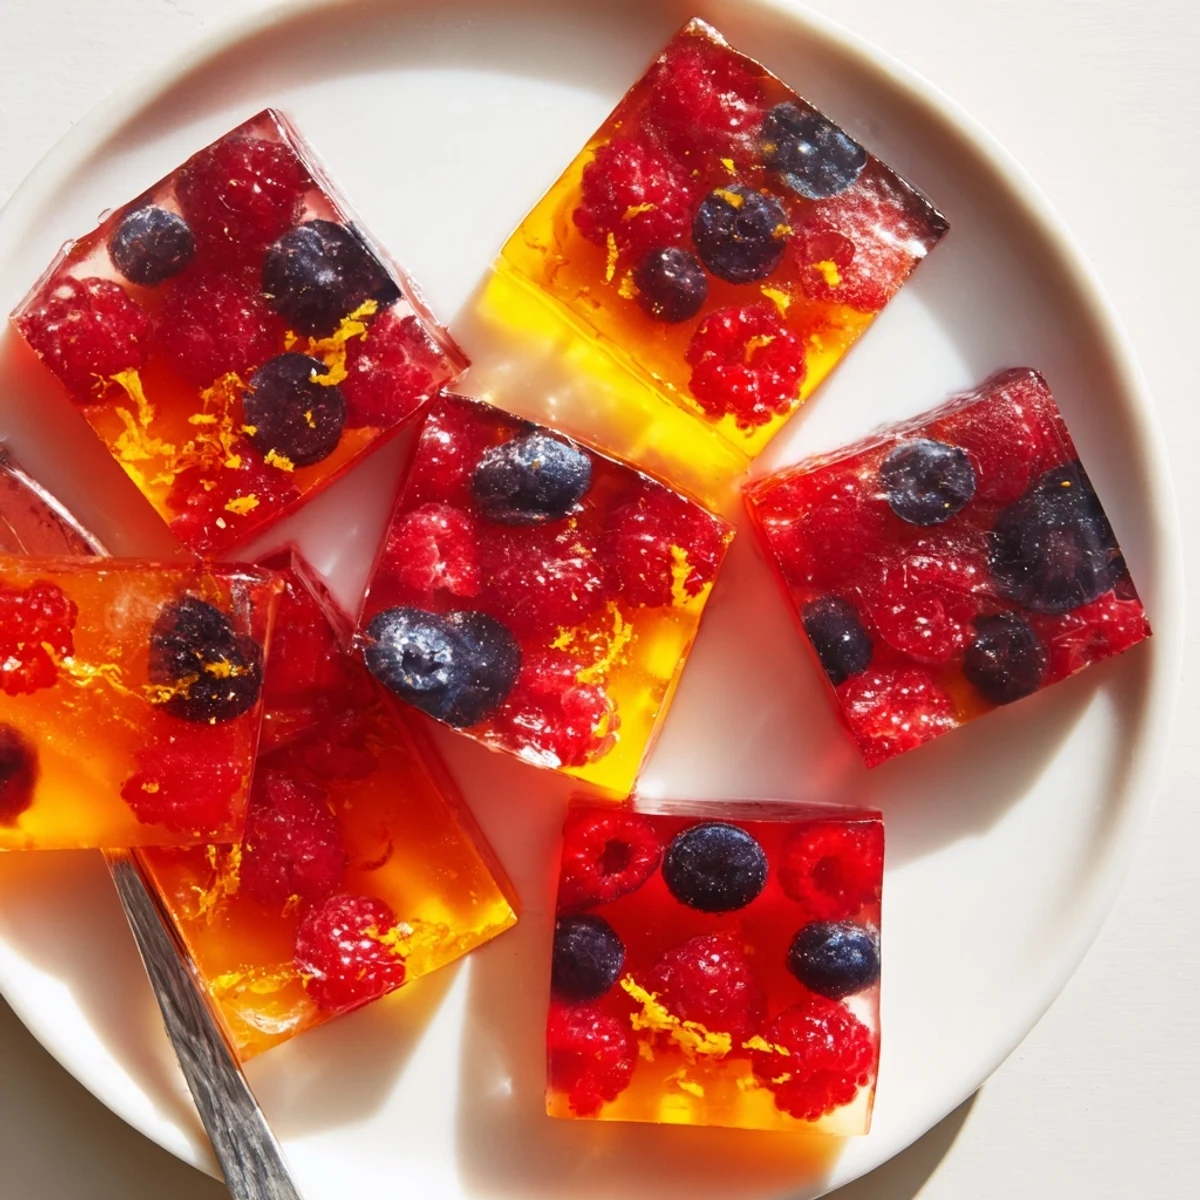
- Sliced fresh berries or citrus zest for garnish (optional): These float beautifully in the molds and make each jelly look like a tiny edible terrarium.
Instructions
- Bloom the gelatin:
- Pour the fruit juice and lemon juice into a small saucepan then sprinkle gelatin evenly across the surface. Walk away for three to five minutes and let it absorb quietly without stirring.
- Gently warm and dissolve:
- Set the pan over low heat and stir gently until you see no more grainy spots floating around. Never let this boil because high heat weakens the gelatin and your jellies will not set.
- Stir in the good stuff:
- Take the pan off the heat entirely and whisk in the collagen powder, honey or maple syrup, and vanilla if you are using it. Keep stirring until everything disappears and the liquid looks smooth.
- Taste and adjust:
- Dip a spoon in and decide if it needs more sweetness. This is your only chance to fix it before it sets.
- Pour into molds:
- Transfer the liquid into silicone jelly molds or a lined lightly oiled square baking dish. Leave a little room at the top so nothing overflows.
- Add garnishes:
- Press a berry slice or a twist of citrus zest into each mold now while the liquid is still warm and workable. They will suspend beautifully as it chills.
- Chill until firm:
- Slide everything into the refrigerator and leave it alone for at least two full hours. Patience here is the difference between perfect jellies and a sticky mess.
- Unmold and serve:
- Pop the jellies out of their silicone molds or slice the pan batch into neat squares with a sharp knife. Serve them chilled because they soften quickly at room temperature.
 Save to Pinterest
 I brought a container of these to a picnic once and watched three adults get genuinely excited about something that took me fifteen minutes to make. That is the real magic of homemade treats that look effortful but are actually simple.
Choosing the Right Juice
Darker juices like pomegranate and blackberry produce the most jewel toned jellies you have ever seen. Orange and apple work beautifully too but the color is more muted, so add a handful of sliced berries on top if you want visual drama.
Vegan Swap Options
You can replace both the gelatin and collagen with agar agar powder at the same quantity, though the texture becomes slightly firmer and less bouncy. The nutritional profile shifts too since agar does not provide the same protein benefits as collagen.
Storage and Make Ahead
These keep beautifully in an airtight container in the refrigerator for up to five days, which makes them ideal for weekly meal prep. The texture holds well but the colors can fade slightly after day three.
- Layer two different juice flavors in the same mold for a striped effect, just let the first layer set partially before adding the second.
- Always oil or line your pan even if you think it is nonstick because gelatin loves to cling to surfaces.
- Remember that jellies soften fast outside the fridge so only unmold what you plan to eat right away.
 Save to Pinterest
 Keep a batch in the fridge and you will always have something bright and satisfying waiting for you when the afternoon sugar craving hits. They are proof that the best snacks are often the simplest ones.
Recipe FAQ
- → Can I use any type of fruit juice for these jellies?
-
Absolutely. Orange, berry, apple, or any 100% pure fruit juice works well. For the best flavor and natural setting, choose juices without added sugars. Mixing citrus and berry juices also creates beautiful layered colors and more complex flavors.
- → Why does the gelatin need to bloom before heating?
-
Blooming gelatin means sprinkling it over cold liquid and letting it sit for 3–5 minutes. This step hydrates the granules evenly so they dissolve smoothly when warmed. Skipping it can leave you with lumpy, grainy jellies that never fully set.
- → How should I store leftover jellies?
-
Keep them in an airtight container in the refrigerator for up to five days. Because they're moisture-based, they don't hold up well at room temperature for long periods. Avoid freezing, as the texture becomes watery once thawed.
- → Is there a vegan alternative to gelatin and collagen?
-
Yes. You can replace both the gelatin and collagen with 2½ tablespoons of agar agar powder. The texture will be slightly firmer and more brittle compared to gelatin-based jellies, and you'll lose the protein benefit of collagen, but the result is entirely plant-based.
- → Can I reduce or skip the sweetener?
-
You can dial the honey or maple syrup down or leave it out entirely if your fruit juice is sweet enough on its own. Taste the warm mixture before pouring it into molds and adjust to your preference. Keep in mind that chilling dulls sweetness slightly.
- → What molds work best for shaping the jellies?
-
Silicone molds in any shape—squares, hearts, or bite-sized rounds—are ideal because they release the jellies cleanly without sticking. If you don't have molds, a lined and lightly oiled square baking dish works fine; just cut the set mixture into even squares with a knife.