 Save to Pinterest
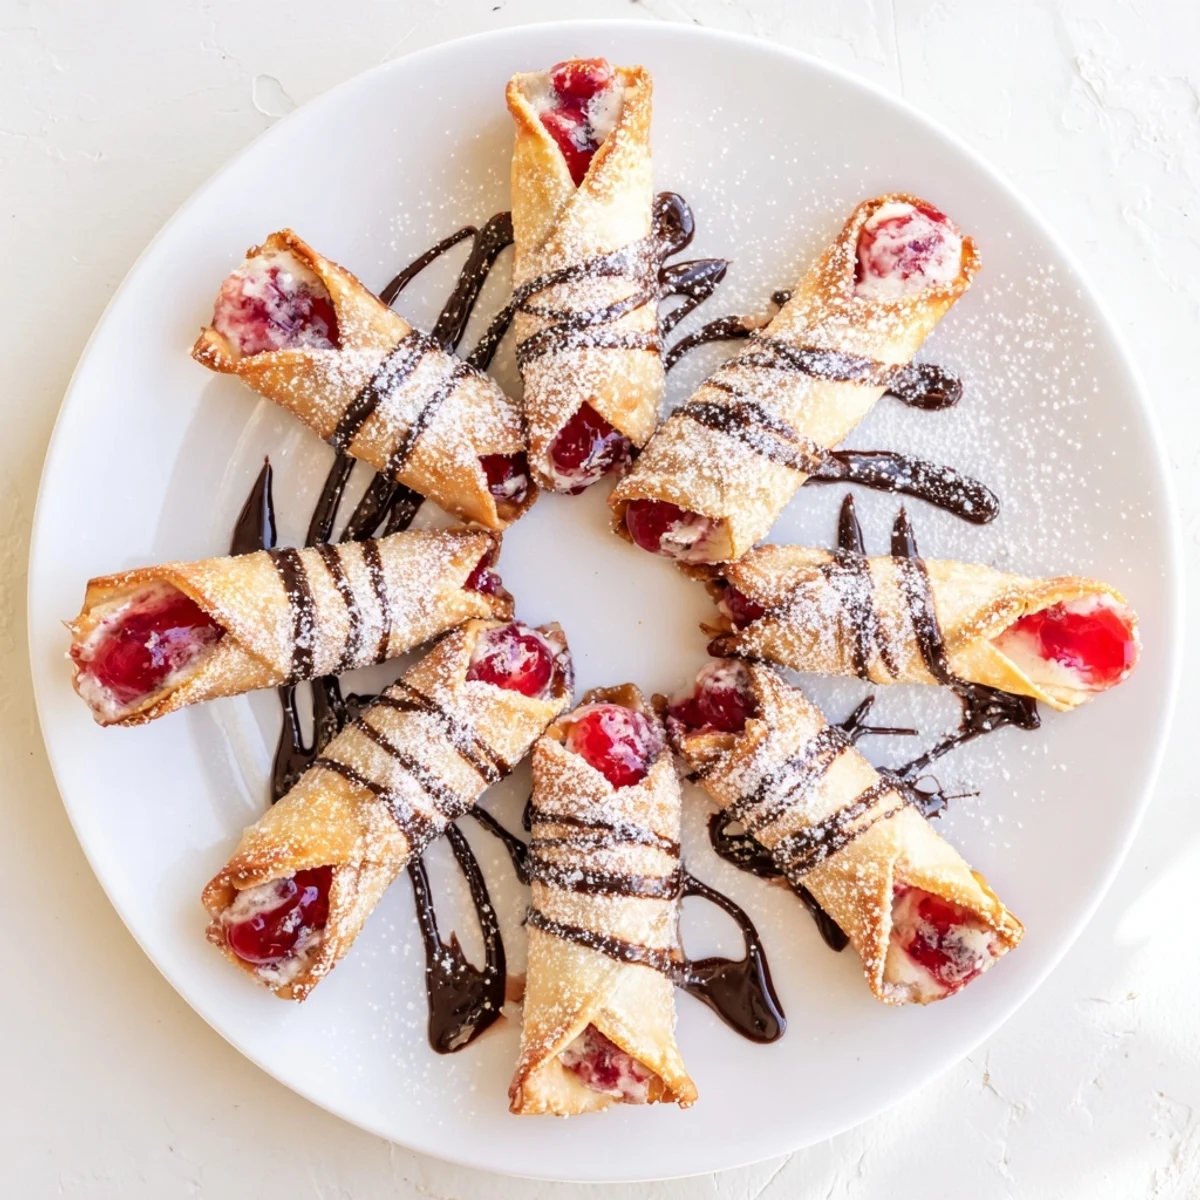
 These golden treats combine velvety cheesecake with sweet cherry pie filling, all tucked inside crispy egg roll wrappers. The magic happens when hot oil transforms the wrappers into perfectly crunchy shells while the filling becomes warm and gooey. Each bite delivers contrasting textures—shattering crispness giving way to smooth, creamy cheesecake studded with tart cherries.
The assembly is straightforward: spread the sweetened cream cheese mixture, add a spoonful of cherries, fold and seal tightly. Quick frying creates that signature golden exterior. A dusting of powdered sugar adds elegance, while melted chocolate drizzle elevates these into dessert-worthy indulgences.
They're ready in just 35 minutes from start to finish, making them impressive yet achievable for entertaining. The yield of eight rolls means generous portions or a crowd-pleasing platter.
The first time I tried making cherry cheesecake egg rolls, the scent of bubbling oil mixed with creamy vanilla stopped everyone who passed by the kitchen. I had been craving something playful, so these crispy treats felt like the perfect experiment. My hands were a little shaky as I rolled the wrappers, but anticipation (and a bit of cherry filling on my shirt) kept the nerves at bay. By the time the first batch cooled enough to taste, curiosity had already drawn a small crowd.
I remember making these for a movie night, and by the time the opening credits ended, every last egg roll had vanished. My friend admitted she almost missed the plot trying to decide if the next roll should get dusted in sugar or showered with chocolate. We ended up naming them 'disappearing desserts' after that night. Not a single crumb left behind—definitely a sign of success.
Ingredients
- Cream Cheese: Letting it come completely to room temperature keeps the filling extra smooth, and a hand mixer saves time.
- Granulated Sugar: Adds just the right touch of sweetness, but don’t be afraid to sneak a tiny taste before assembling.
- Vanilla Extract: It perfumes the filling and rounds out both cherry and cheese flavors—look for real extract if you can.
- Cherry Pie Filling: Homemade or store-bought works, but thicker cherry pie filling stays put better in the wrapper.
- Egg Roll Wrappers: Keep these under a damp towel while working so they don’t crack or dry out.
- Egg: Essential for sealing the rolls so all that luscious filling stays inside during frying.
- Vegetable Oil: Use a neutral oil, and make sure it’s hot enough—otherwise the wrappers absorb too much and won’t crisp.
- Powdered Sugar, Melted Chocolate or Extra Cherry Sauce (optional): These take the finished rolls from delicious to absolutely irresistible.
Instructions
- Smooth the Cream Cheese:
- Beat the softened cream cheese with sugar and vanilla until it’s completely creamy. You’ll know it’s ready when the beater leaves swirls that don’t look grainy or lumpy.
- Set the Wrappers:
- Arrange one egg roll wrapper out in a diamond shape and cover the rest with a slightly damp towel so they don’t get brittle.
- Layer the Cheesecake:
- Spoon a generous stripe of cream cheese filling across the middle of the wrapper, aiming for the lower third and resisting the urge to overfill.
- Add the Cherry Goodness:
- Top the cream cheese with a juicy spoonful of cherry pie filling, letting just a little spill to the sides for dramatic effect.
- Roll and Seal:
- Fold the bottom up over the filling, tuck in the sides, then roll up tightly like a little present, brushing the edges with beaten egg to seal it shut.
- Heat the Oil:
- Pour about 1.5 inches of oil into a deep skillet and heat it to about 350°F (180°C), watch for tiny bubbles when you dip the edge of a wrapper in to test readiness.
- Fry to Perfection:
- Gently place a few rolls at a time into the hot oil and fry 2 to 3 minutes per side, watching as the wrappers turn a gorgeous golden brown.
- Drain and Dust:
- Use a slotted spoon to move cooked rolls onto paper towels, then dust with powdered sugar while still warm or drizzle with chocolate.
 Save to Pinterest
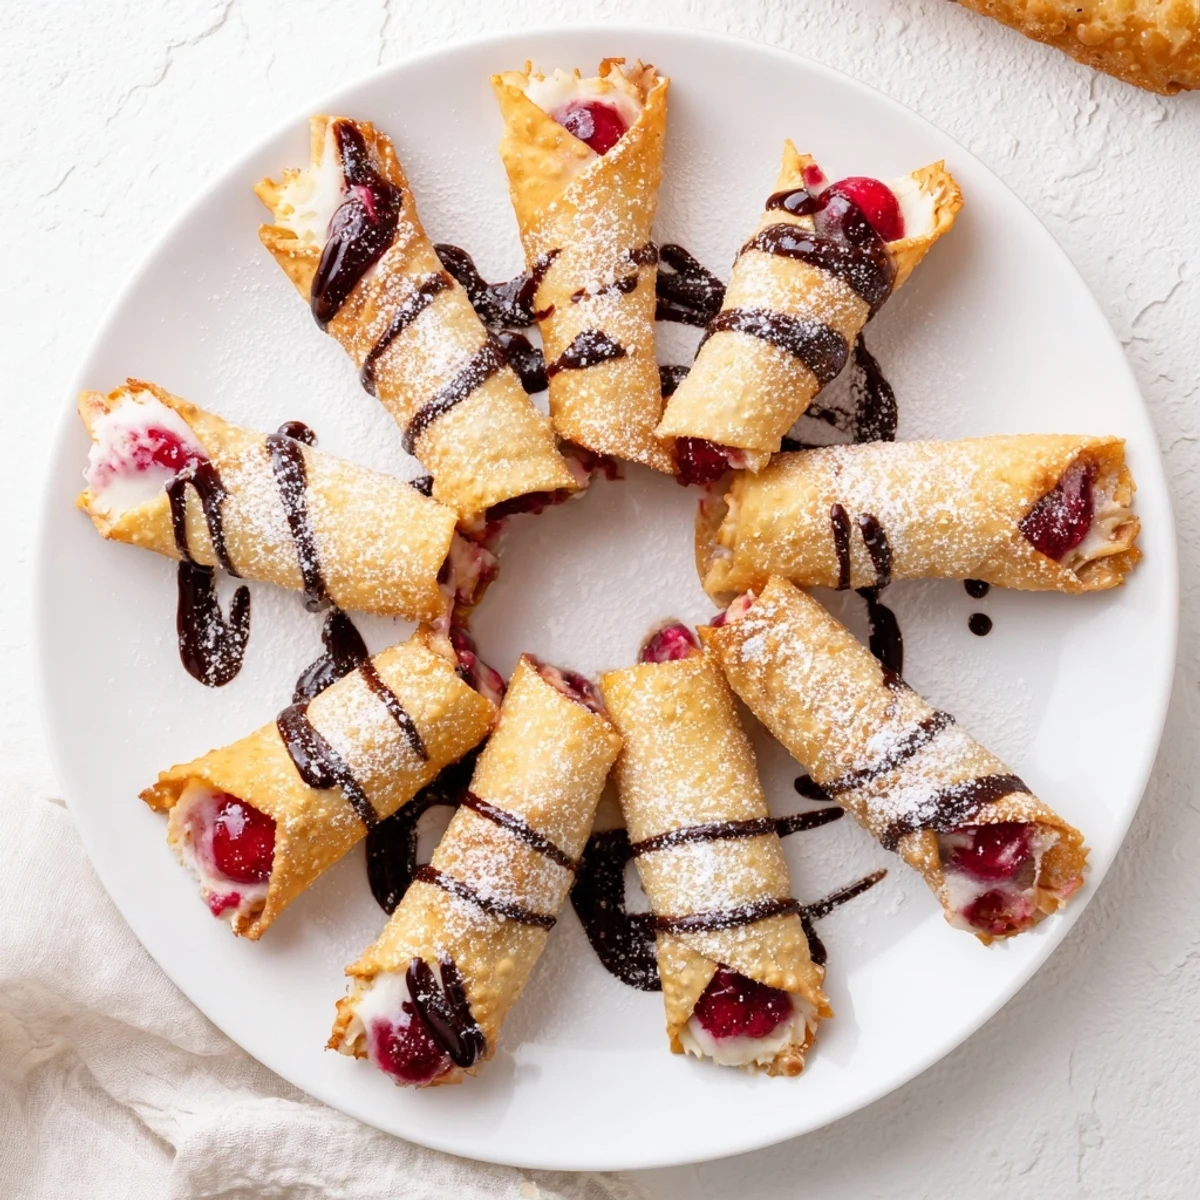
 We once brought these to a backyard gathering, and the look on everyone’s faces as they bit through the crackly shell into creamy, tangy filling is something I’ll never forget. It was one of those rare dishes that genuinely made people pause between bites to savor and smile.
How To Personalize Your Filling
Once, curiosity got the best of me and I swapped the cherry for blueberry—we wound up with a blue-stained countertop and even more grins. Don’t be afraid to play with different pie fillings or add a spoonful of lemon zest for brightness. Small tweaks can turn this into your signature dessert.
Frying Advice I Wish I'd Known
The difference between soft and shatteringly crisp rolls comes down to oil temperature. I tried guessing at first, but a cheap digital thermometer was honestly a game-changer. If you hear a gentle sizzle as you drop them in, you’re on the right track.
Serving and Troubleshooting: My Real-World Lessons
These disappear fastest when served hot, but honestly, they’re equally delightful at room temperature or even chilled for breakfast the next day. If you’re worried about leaks, letting the assembled rolls rest in the fridge before frying helps seal the edges even better. For gatherings, dusting with powdered sugar right at the table never fails to draw attention.
- If your filling oozes out, try using a bit less next time or chilling before frying.
- Swap out the cherry for different fruits and get creative with garnishes.
- Don’t forget: always keep an eye on oil temperature for the crispiest result.
 Save to Pinterest
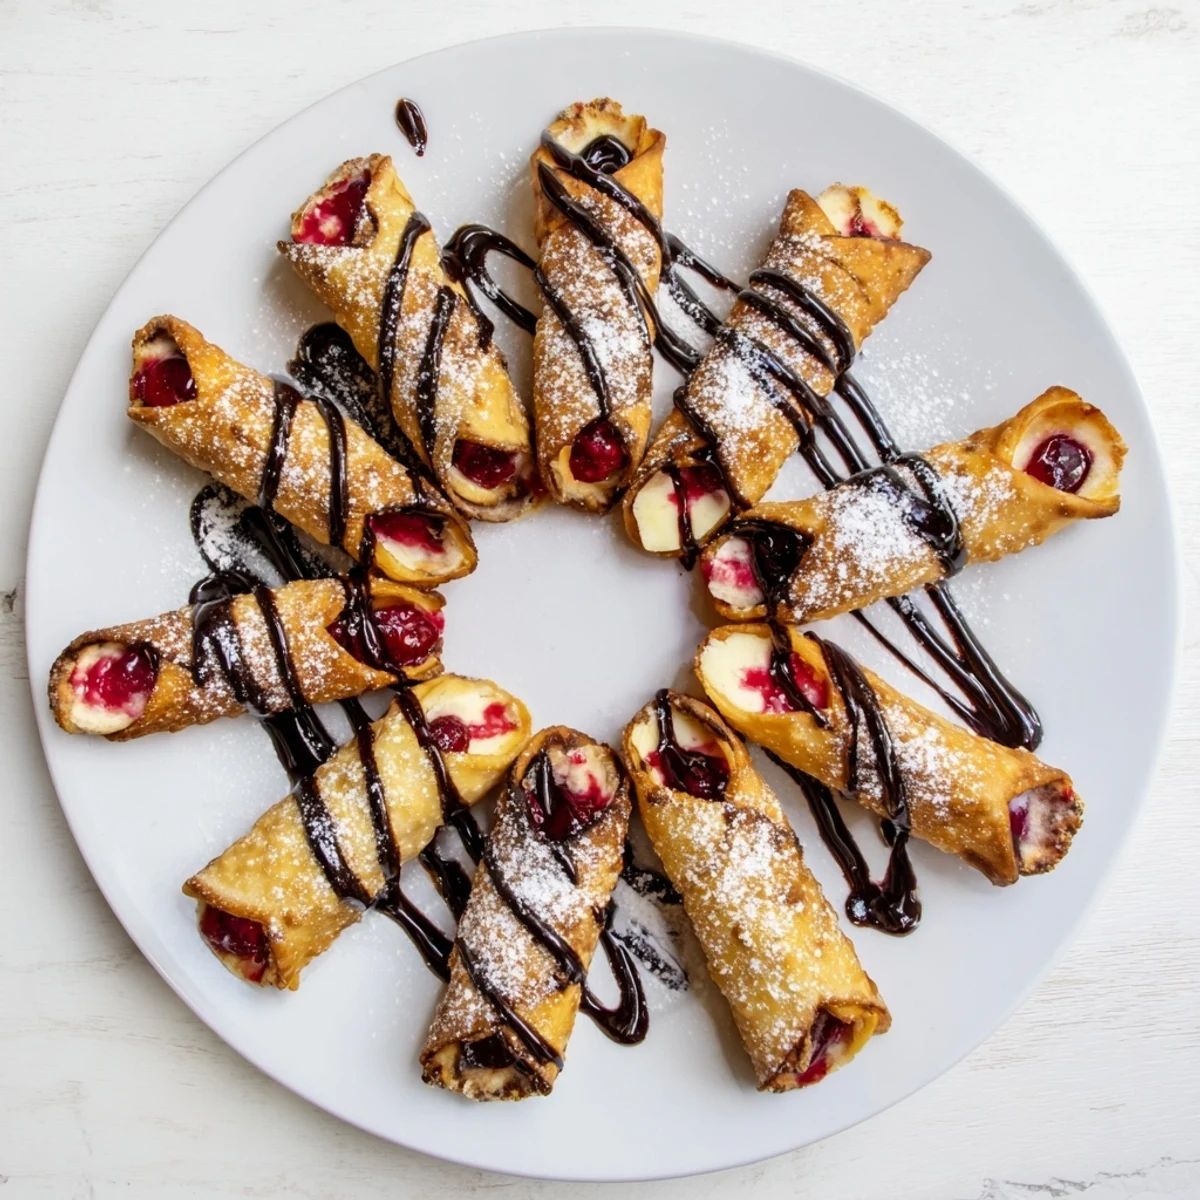
 Whether you serve these on movie nights or as a surprise treat, they have a way of turning an ordinary day into something worth celebrating. Here’s hoping you get to see them vanish just as quickly in your own kitchen.
Recipe FAQ
- → Can I bake these instead of frying?
-
Yes, bake at 200°C (400°F) for 18–20 minutes after spraying with cooking spray. The texture will be slightly less crispy but still delicious.
- → What other fruit fillings work well?
-
Strawberry, blueberry, raspberry, or apple pie filling all pair beautifully with the cheesecake base. Choose your favorite or match seasonal availability.
- → How do I prevent the filling from leaking during frying?
-
Roll wrappers tightly and seal edges thoroughly with beaten egg. Avoid overfilling—stick to 1–1.5 tablespoons of cheesecake and 1 tablespoon of fruit filling per roll.
- → Can these be made ahead and reheated?
-
They're best served fresh and warm. If needed, refrigerate assembled (uncooked) rolls for up to 24 hours, then fry when ready to serve.
- → What oil temperature is ideal for frying?
-
Heat oil to 180°C (350°F). Too cool and they'll absorb excess oil; too hot and they'll burn before cooking through. Use a thermometer for accuracy.
- → Can I make these gluten-free?
-
Look for gluten-free egg roll wrappers at specialty stores. The filling ingredients are naturally gluten-free aside from the wrappers.