 Save to Pinterest
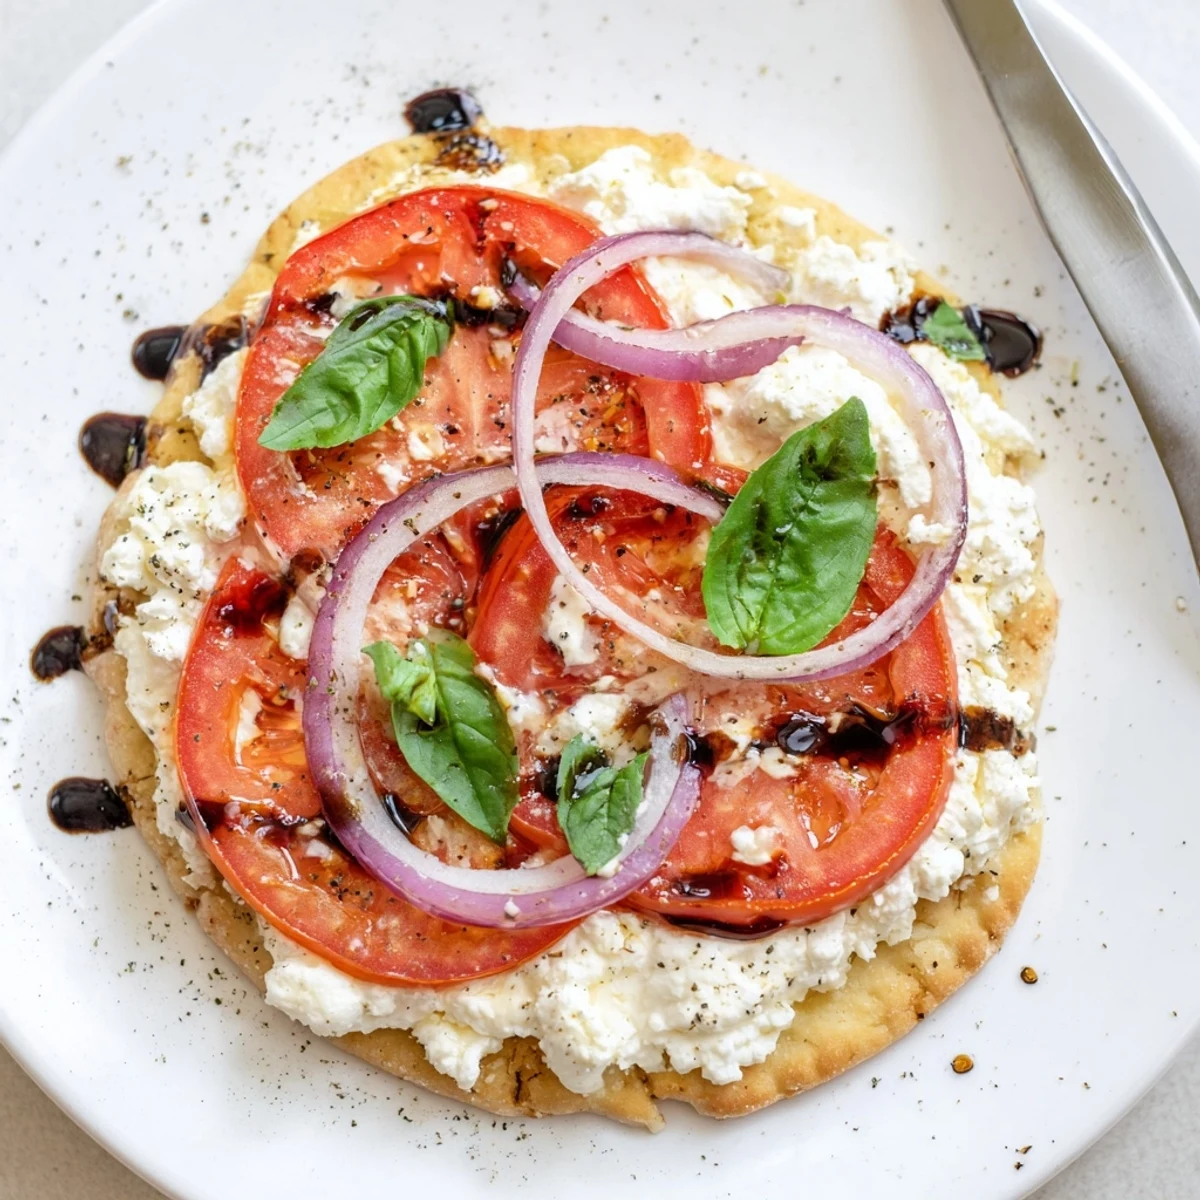
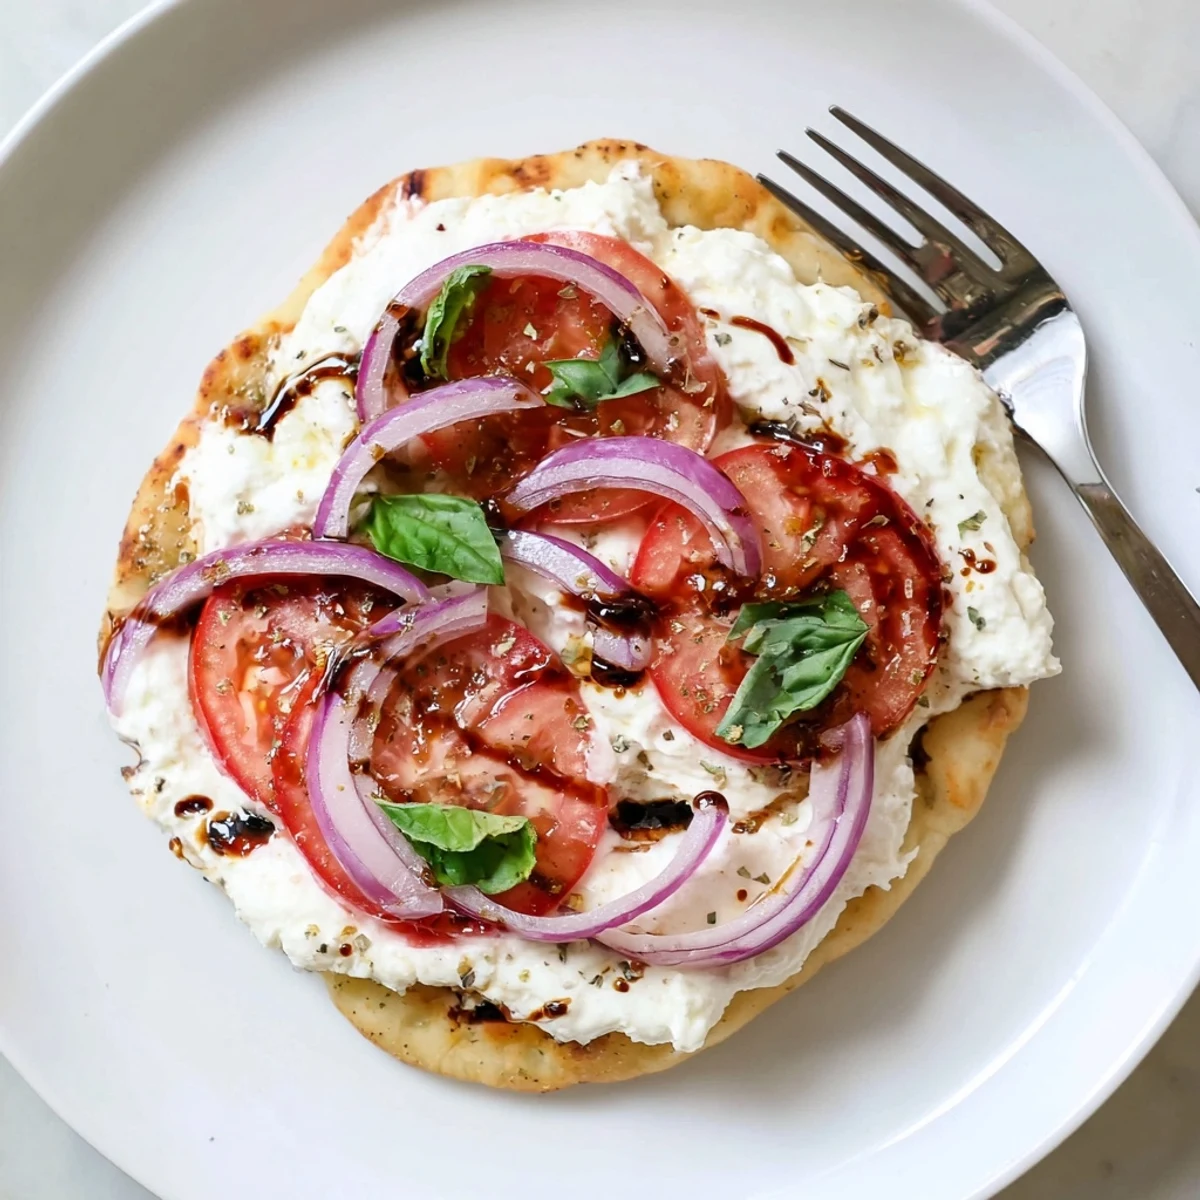
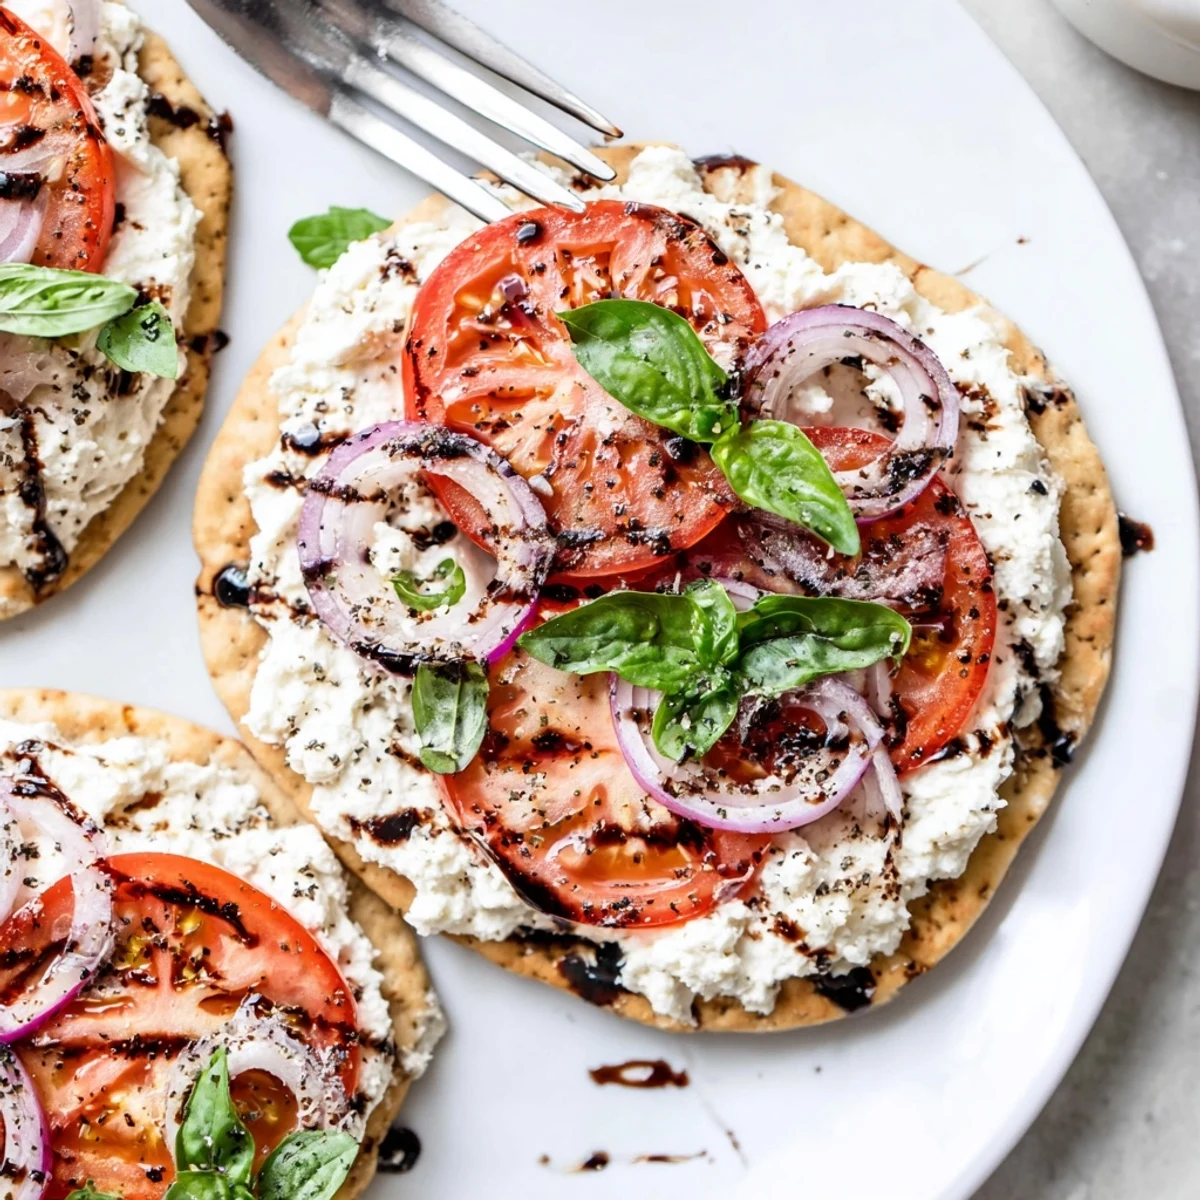
 This quick Caprese-style pita pairs a whipped garlic feta spread with sliced mozzarella and ripe tomatoes on lightly oiled pita rounds. Blitz feta and cream cheese with garlic, olive oil and lemon until silky, spread 2–3 tbsp per pita, top with cheese and tomatoes, then bake at 220°C (425°F) for 8–10 minutes. Finish with fresh basil and a drizzle of balsamic glaze. Makes 4 servings; ready in about 30 minutes. Store leftovers chilled and reheat briefly to preserve texture.
The first time I made these Caprese Pita Pizzas, the kitchen filled with the scent of toasted garlic and lemony feta before I even opened the oven. Not every meal is a grand event—sometimes it’s about hearing the gentle pop of tomato seeds sizzling or noticing the swirl of cream cheese folding into feta. It’s the sort of dinner that comes together before you have time to second-guess yourself. There’s always a little delight in realizing that pizza doesn't need dough, just what’s already stashed in the bread drawer.
A few months back, I made these for a neighbor who dropped by unexpectedly. I remember wiping my hands on a tea towel, slicing basil while we laughed about turning groceries into dinner in less than thirty minutes. There was something about serving warm, melty pitas that made our kitchen chairs feel just right that evening. Even my cat circled the table, eyeing a piece of mozzarella that almost hit the floor.
Ingredients
- Feta Cheese: Using barrel-aged feta brings a tangy richness to the whipped spread—it’s worth searching for the good stuff.
- Cream Cheese: Softened cream cheese gives body and silkiness; let it sit at room temp so blending is a breeze.
- Garlic: One fresh clove is plenty—mince it finely so the flavor melts through the cheese, not overpowers it.
- Extra-virgin Olive Oil: For both the spread and brushing, choose one you love the taste of since it’s not hidden by cooking.
- Lemon Juice: A squeeze brightens the cheese mixture and cuts through any heaviness; fresh is best, bottles won’t do.
- Freshly Ground Black Pepper: Just a few cracks for warmth—you can always add more later.
- Pita Breads: Grab the kind with a little puff to them so they crisp nicely; white or whole wheat both work.
- Fresh Mozzarella: The kind packed in water is soft and melts into dreamy puddles—dab it dry before slicing or it’ll slip right off.
- Tomatoes: Ripe and juicy make all the difference; if it’s off-season, cherry tomatoes bring extra sweetness.
- Red Onion (optional): Thin slices add zing—run under cold water if onions are too sharp for you.
- Fresh Basil: Tear the leaves by hand for big perfume and rustic charm.
- Balsamic Glaze (optional): Drizzle just before serving for a hit of sweet-tart drama—store-bought is fine in a pinch.
- Salt and Black Pepper: Don’t forget the final seasoning—it pulls all the flavors together.
Instructions
- Oven Ready:
- Heat your oven to 220°C (425°F) and line a baking sheet with parchment; you’ll hear a little crinkle as you smooth it out.
- Feta Fluff:
- Add feta, cream cheese, garlic, olive oil, lemon juice, and black pepper to your food processor—blend until lush and creamy, scraping down the bowl so every bit gets whirled together.
- Pita Prep:
- Lay out the pita breads on your tray and brush each with olive oil, letting a little soak into the edges for good crunch.
- Spread the Love:
- Spoon a generous layer of whipped feta over each pita, smoothing right up to the edges—try not to swipe with your finger, though I always sneak a taste.
- Top It Off:
- Arrange mozzarella and tomatoes over the feta, plus onion if you like, then sprinkle salt and pepper so each bite sings.
- Bake & Glow:
- Bake for 8–10 minutes till the pitas are golden and cheese bubbles in spots; the aroma is your best timer.
- Basil Finale:
- Let the pitas cool for a minute so the cheese settles, then scatter with torn basil and zigzag with balsamic glaze if you want a touch of drama.
- Serve & Smile:
- Slice up and eat immediately—the cheese has that perfect pull if you don’t wait too long.
 Save to Pinterest
 There’s a tiny thrill every time someone swirls balsamic glaze on their slice and looks up surprised at how bright and rich it tastes. It’s become a staple at quick summer get-togethers, turning our living room into a testing lab for new cheese-and-bread combinations. I love seeing empty platters and cheese smears left behind—proof of a good moment shared.
How to Store Leftovers (If Any)
Rarely do these pita pizzas last long, but if you do have leftovers, wrap them in foil and pop them in the fridge—reheat in a toaster oven the next day for best texture. Cold bites straight from the fridge are surprisingly tasty too.
Ingredient Swaps and Variations
Running low on mozzarella Try swapping in goat cheese or even a sprinkle of parmesan for something sharper. Arugula on top adds a peppery green crunch after baking, and if you’re feeling bold, a spoonful of pesto right before serving is pure happiness.
Easy Entertaining Tricks
If you make a platter of these for friends, cut each pita into bite-sized wedges and arrange on a big wooden board. They disappear even faster this way. Let guests drizzle their own balsamic so everyone can find their perfect bite.
- Keep some extra basil leaves aside to refresh the platter mid-meal.
- A squeeze of lemon over the top brightens up leftovers.
- Don’t be shy about encouraging a little mess—it means people are enjoying themselves.
 Save to Pinterest
 Whether you eat these standing at the counter or share them on a sunny evening with friends, Caprese Pita Pizza always brings a little brightness to the day. Here’s to the kind of meals that start with what’s in the fridge and end with something to remember.
Recipe FAQ
- → How do I make the whipped garlic feta?
-
Combine crumbled feta, softened cream cheese, minced garlic, olive oil, lemon juice and black pepper in a food processor or with a hand mixer. Blend until smooth and creamy, scraping down the sides as needed for an even texture.
- → What pita works best?
-
Use soft, round pita or slightly thicker pocket-style rounds brushed with oil. For crisper edges, split or press thin flatbreads. Gluten-free pitas or flatbreads work well as a substitute.
- → Can I prepare components ahead of time?
-
Yes — the whipped garlic feta can be made a day ahead and chilled. Assemble pitas just before baking to keep breads from getting soggy; assembled pitas can be refrigerated briefly if needed and baked directly from cold with a minute extra baking time.
- → How do I keep the pitas crisp?
-
Preheat the oven to a high temperature (220°C/425°F) and place pitas on a hot baking sheet or a baking stone. Lightly brush the pita edges with olive oil and avoid overloading with wet toppings to maintain a crisp base.
- → What can I use instead of mozzarella or feta?
-
For variations, swap mozzarella for burrata or fontina for creaminess. If you avoid cream cheese, blend feta with Greek yogurt for a tangy spread; for a stronger flavor, add grated Parmesan to the topping mix.
- → What are good serving ideas and pairings?
-
Finish each warm pita with fresh basil and an optional drizzle of balsamic glaze. Serve with a simple arugula salad or a crisp white wine like Sauvignon Blanc, or sparkling water with lemon for a nonalcoholic pairing.