 Save to Pinterest
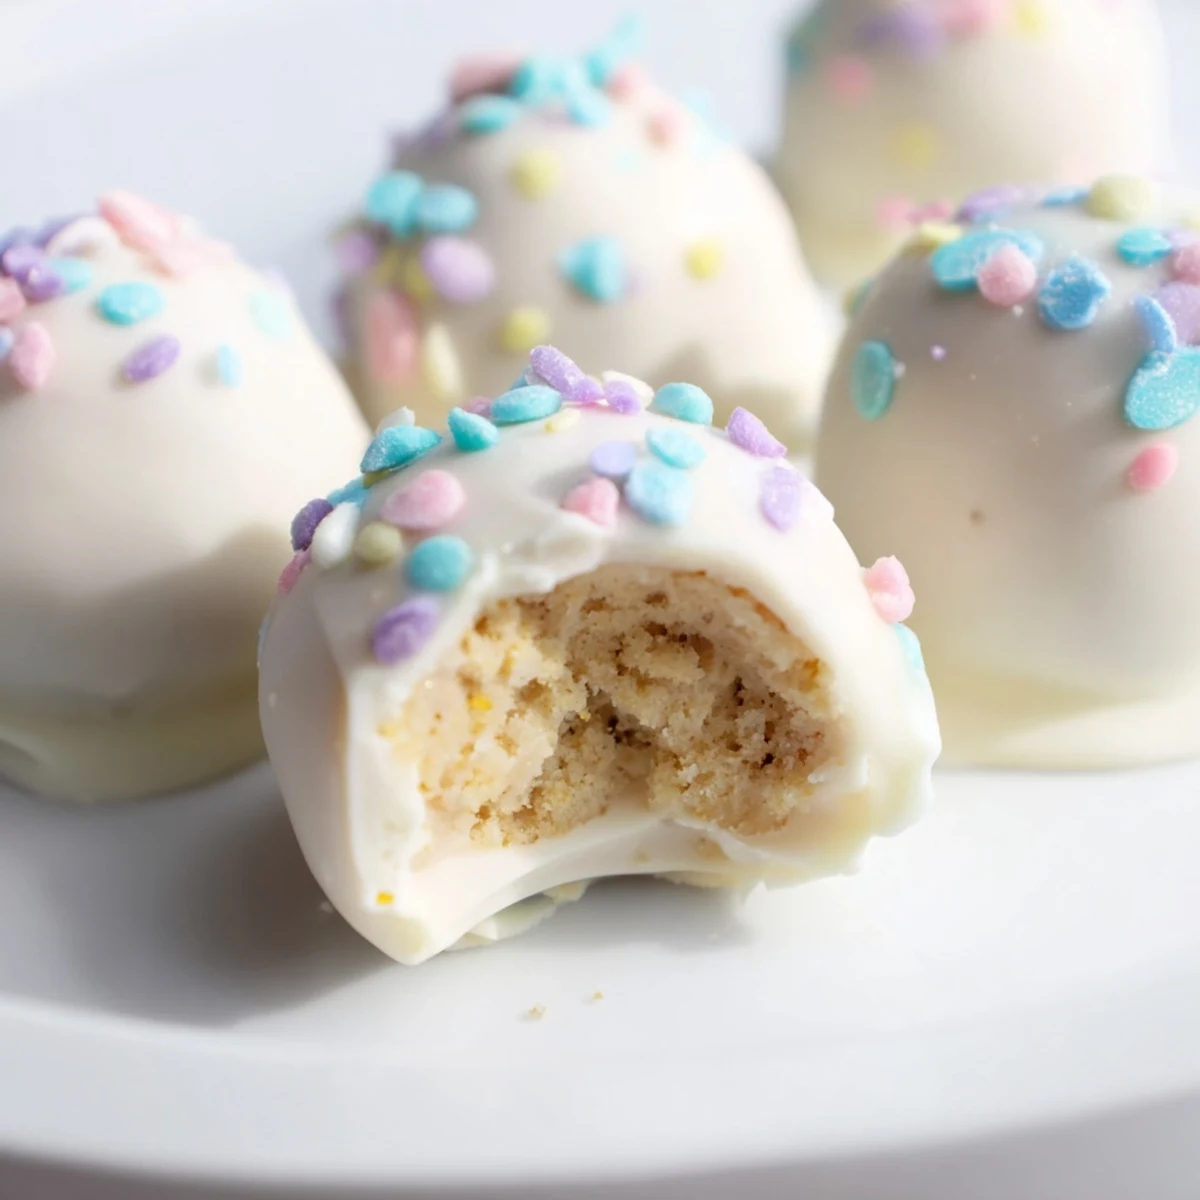
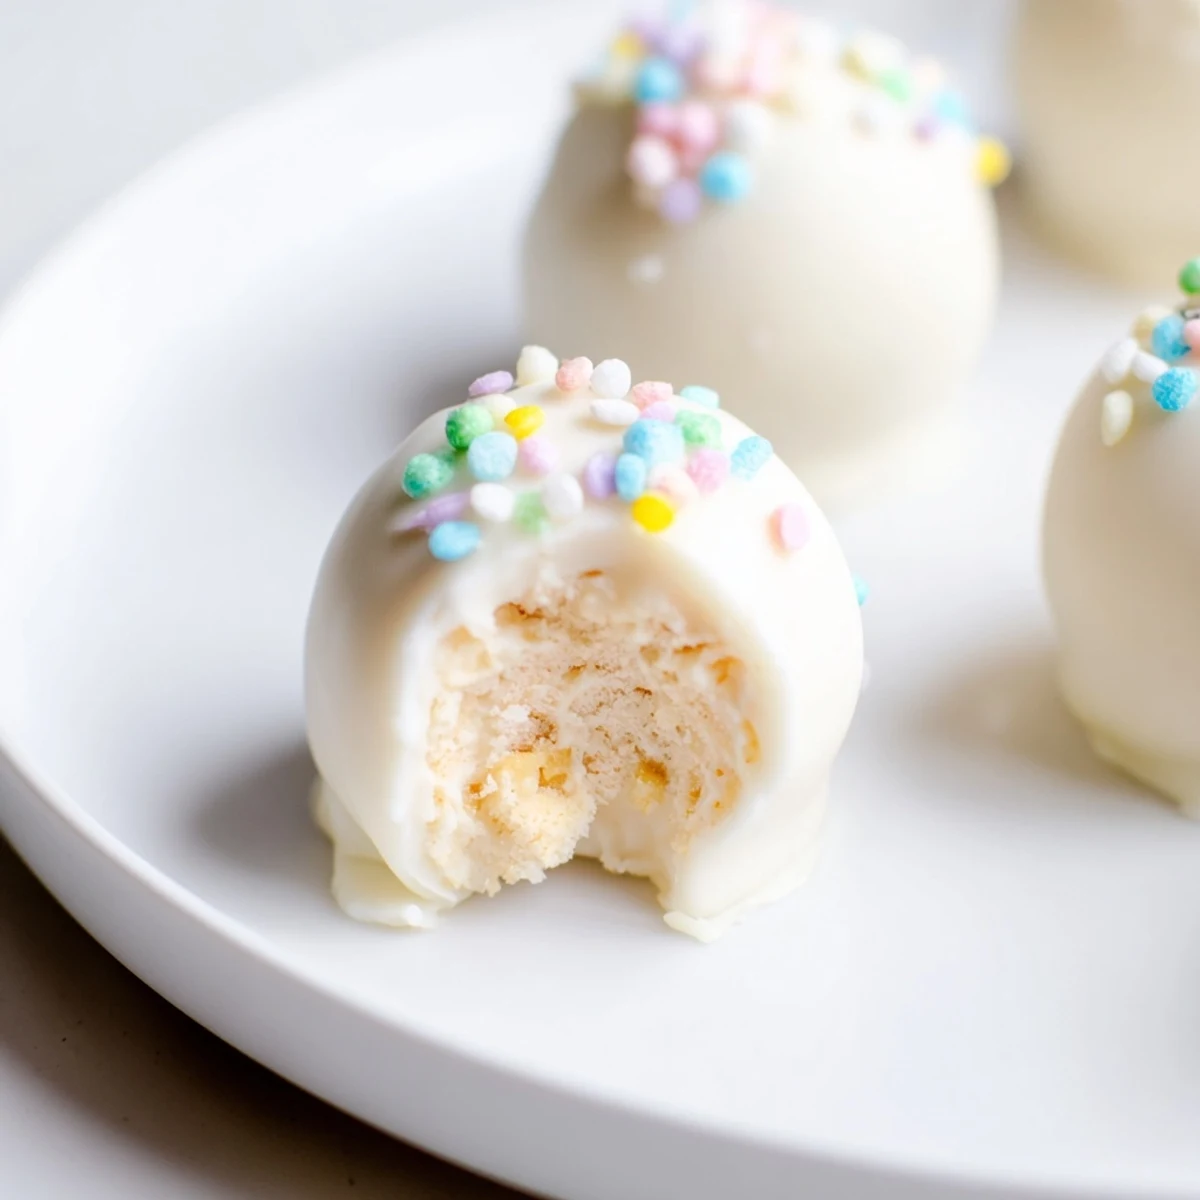
 These festive Easter treats combine creamy banana pudding with crunchy vanilla wafer crumbs, rolled into bite-sized balls and dipped in smooth white chocolate. The no-bake preparation comes together in just 25 minutes of active time, making them perfect for busy holiday weekends. Each truffle delivers the classic flavors of traditional banana pudding in an elegant, poppable format that guests will love. Decorate with colorful sprinkles or pastel sugars for a stunning Easter dessert display.
Last Easter, my sister-in-law brought these truffles to our family gathering and everyone kept asking what was in them. The banana flavor threw people off at first, then suddenly the plate was empty and kids were begging for the recipe. Now they are the first thing my nieces request when we start planning holiday desserts.
I accidentally made these way too small the first time, thinking bite-size meant tiny. My husband kept eating four at a time because they disappeared so fast. Now I stick to a proper tablespoon scoop, which gives you that perfect two-bite experience where the flavors actually register.
Ingredients
- Cold whole milk: Using this straight from the refrigerator helps the pudding set up quickly, which is crucial since we need a firm mixture for rolling
- Instant banana pudding mix: The instant variety is essential here because cook-and-serve pudding never gets quite thick enough to hold its shape in truffle form
- Cream cheese, softened: Let this sit out for at least an hour so it blends smoothly without leaving tiny lumps in your filling
- Vanilla wafer crumbs: Crushing your own wafers gives you better texture control than store-bought crumbs, and you can leave some slightly chunky
- White chocolate: Candy melts actually work better than real white chocolate for coating because they set harder and will not streak as easily
Instructions
- Whisk the pudding base:
- Combine the cold milk and instant banana pudding mix in a medium bowl, whisking vigorously for 2 full minutes until noticeably thickened.
- Beat in the cream cheese:
- Add the softened cream cheese and use an electric mixer on medium speed until absolutely smooth and no lumps remain.
- Create the dough:
- Fold in the vanilla wafer crumbs gently until everything comes together into a thick, moldable mixture.
- Shape the truffles:
- Use a tablespoon or small cookie scoop to portion the mixture, then roll into 1-inch balls and place on a parchment-lined baking sheet.
- Chill completely:
- Refrigerate the truffle balls for at least 30 minutes, though 45 minutes is even better to prevent melting during dipping.
- Melt the coating:
- Microwave the white chocolate or candy melts in 20-second intervals, stirring between each until completely smooth.
- Dip and decorate:
- Dip each chilled truffle into the melted chocolate, let excess drip off, and immediately sprinkle with Easter decorations before the coating sets.
- Final set:
- Refrigerate for 10 to 15 minutes until the chocolate is firm, then serve chilled or let them come to room temperature.
 Save to Pinterest
 My daughter started helping me make these when she was six, and dipping the truffles became her special job. She takes it so seriously, lining up all the sprinkles in color patterns and inspecting each one like a tiny quality control manager. Those moments in the kitchen together have become just as important as the dessert itself.
Make Ahead Magic
The beauty of these truffles is they actually taste better after resting a day in the refrigerator. The flavors meld together and the texture becomes more cohesive. I always make them at least 24 hours before any event, which removes so much stress from party day.
Coating Success
Keep a small bowl of warm water nearby while dipping. If your chocolate starts thickening, you can warm the bowl briefly over the water bath. Also, resist the urge to tap the fork too hard against the bowl edge, or your truffle might slide right off.
Serving & Storage
These truffles are best served slightly chilled but not ice cold. Take them out of the refrigerator about 15 minutes before serving for the ideal texture. Store them in an airtight container between layers of wax paper to prevent sticking.
- Layer them carefully so the decorations do not get smashed
- Place a small piece of wax paper between each layer
- They will keep perfectly for up to 5 days if stored properly
 Save to Pinterest
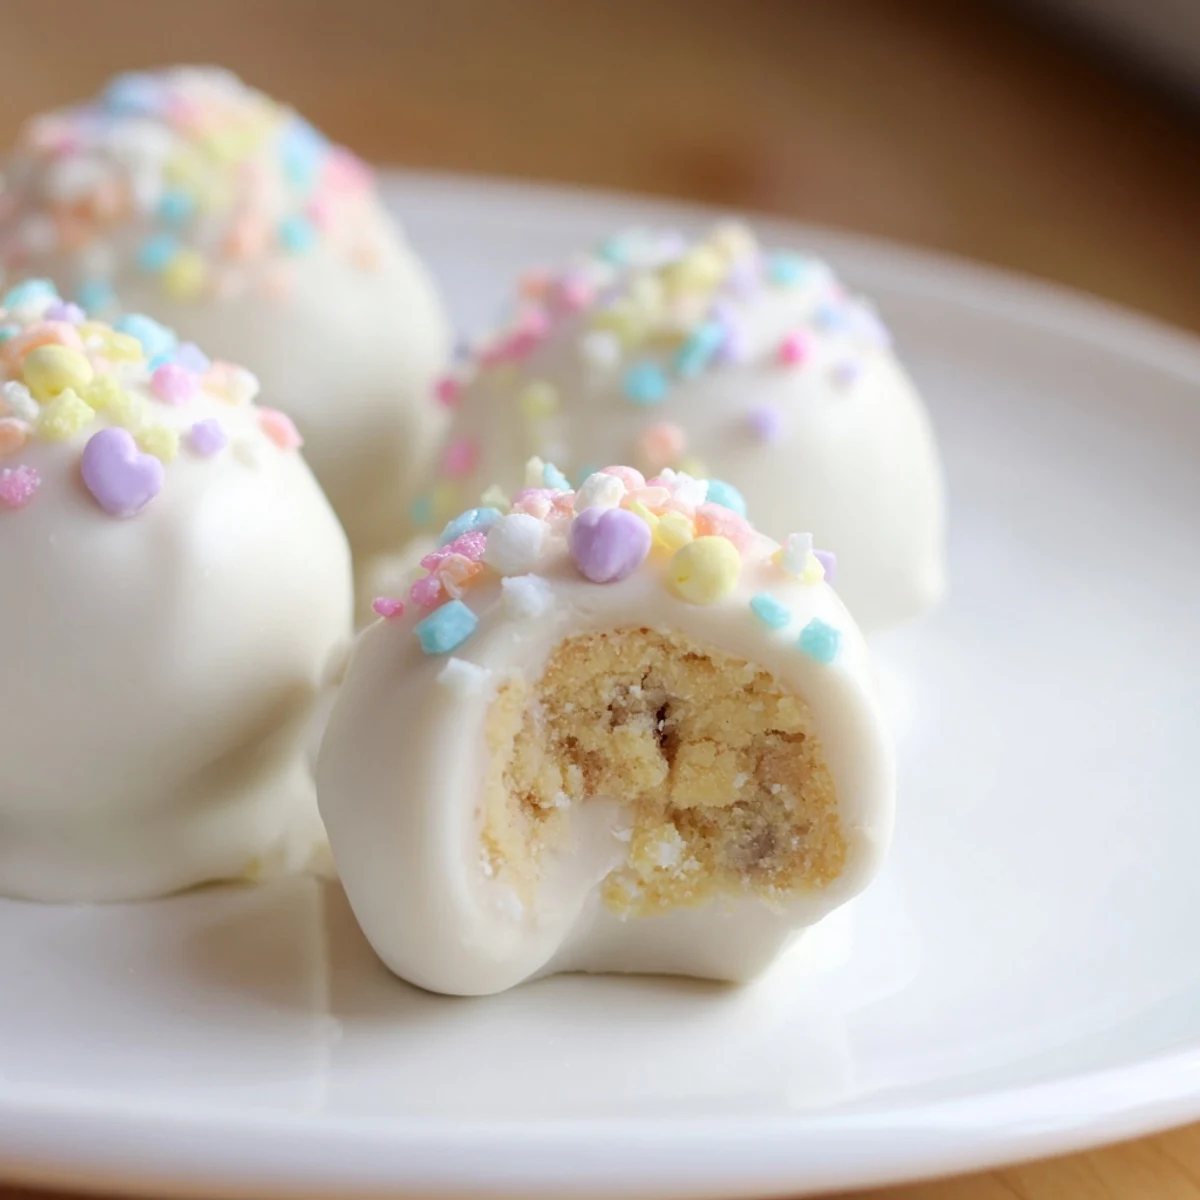
 These little truffles have become such a staple in our holiday rotation that I cannot imagine Easter without them now. Hope they bring as much joy to your table as they have to ours.
Recipe FAQ
- → How long do these truffles need to chill?
-
The truffle balls need at least 30 minutes in the refrigerator to firm up before coating. After dipping in chocolate, they require an additional 10–15 minutes to set completely.
- → Can I make these ahead of time?
-
Yes, these truffles can be prepared up to 5 days in advance and stored in the refrigerator. Keep them in an airtight container to maintain freshness and prevent the chocolate from absorbing other flavors.
- → What can I use instead of vanilla wafers?
-
Graham crackers make an excellent substitute for vanilla wafers, providing a similar crunch and subtle sweetness that complements the banana filling perfectly.
- → How do I prevent the chocolate from seizing when melting?
-
Melt the white chocolate in 20-second intervals, stirring thoroughly between each burst. Avoid getting any moisture in the chocolate, as even a few drops can cause it to seize and become grainy.
- → Can I freeze these truffles?
-
Yes, you can freeze these truffles for up to 2 months. Place them in a single layer on a baking sheet to freeze initially, then transfer to a freezer-safe container. Thaw in the refrigerator before serving.
- → What's the best way to coat the truffles evenly?
-
Use a fork or specialized dipping tool to lower each truffle into the melted chocolate, then gently tap to remove excess. Working with well-chilled truffles helps the coating set faster and more evenly.